

Your neighbor’s bass at 11 PM costs you sleep. Thin apartment walls broadcast every conversation. But actual soundproofing — the kind with mass-loaded drywall and resilient channels — runs $2,000+ per room and requires tearing into walls you probably don’t own.
Budget soundproofing won’t give you recording-studio silence, but it can block 30–50% of incoming noise for under $500, most of it renter-safe and reversible. The key is understanding what you’re stopping and choosing methods that match your specific noise problem. Layer the right approaches and you get measurable reduction — typically 20–35 decibels total — without a security deposit risk.
Affiliate Disclosure: This article includes affiliate links to products and retailers mentioned. We may earn a commission if you purchase through these links at no extra cost to you.
I’ve soundproofed three rentals in the last decade. Here’s what actually works on a normal-person budget, ranked by cost and effectiveness.
Understanding Sound: Absorption vs. Blocking
Before you spend a dollar, understand this distinction: NRC (Noise Reduction Coefficient) measures how much sound a material absorbs within your space — reducing echo and reverb. STC (Sound Transmission Class) measures how well a barrier blocks sound from passing between rooms. These aren’t interchangeable.
Absorption methods (acoustic panels, rugs, curtains) reduce echo and make your room sound less hollow, but they don’t stop your neighbor’s music from entering. Blocking methods (mass, sealed gaps, dense barriers) prevent sound transmission through walls and doors but won’t fix echo. Most rooms need both.
ASTM International maintains the testing standards (ASTM C423) used to measure sound absorption performance. When you see an NRC rating of 0.95 on insulation, that means laboratory testing showed it absorbs 95% of sound in mid and high frequencies — but says nothing about whether it stops sound transmission.
Diagnose Your Noise Problem First
Don’t buy materials until you know what you’re fighting. Noise comes in four types, each requiring different solutions:
Impact noise — Footsteps from upstairs neighbors, dropped objects, furniture scraping. This travels through structural connections. Solution: mass and decoupling (rugs, isolation, sometimes impossible in rentals).
Airborne noise — Voices, music, TV dialogue. This travels through air and thin barriers. Solution: sealing air gaps + absorption panels + added mass.
Low-frequency transmission — Bass, subwoofers, rumble. Long wavelengths pass through most materials. Solution: heavy mass-based blocking (the hardest to stop cheaply).
Air-gap leaks — Sound traveling under doors, through outlet gaps, via HVAC ducts. Solution: weatherstripping, seals, foam gaskets (cheapest to fix, often the biggest culprit).
Spend five minutes identifying your primary problem. If you hear every word clearly, you have airborne noise and air gaps. If you feel bass rumble but can’t hear voices clearly, you need mass. If you hear footsteps and thuds from above, impact noise is the issue. This diagnosis determines where your first $100 goes.
1. Weatherstripping and Door Seals — $20–$50
Realistic reduction: 5–10 dB for mid and high frequencies
Renter-safe: Yes (completely removable)
Start here because doors leak more sound than any other opening in most rooms, and sealing air gaps gives you the most return per dollar spent. A hollow door with a half-inch gap at the bottom might as well be open.
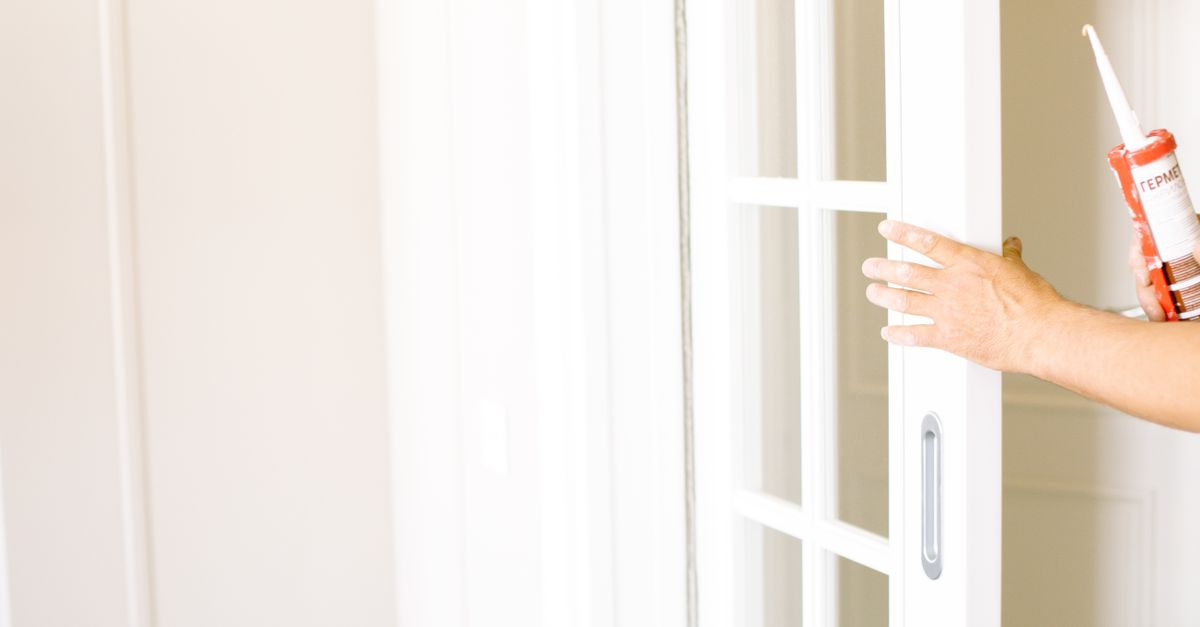
You need three things: foam or rubber weatherstrip tape around the door frame, a door sweep at the bottom, and acoustic seal tape to close remaining cracks. The whole job takes 30 minutes and requires scissors and maybe a screwdriver.
This won’t block bass — bass travels through solid materials, not just air — but it cuts conversational noise and street sounds noticeably. When I sealed my bedroom door in a Philly rowhouse, I stopped hearing my roommate’s phone calls through the wall. That’s worth $30.
For dedicated door improvement methods beyond basic sealing, see the soundproofing your door section below.
2. Heavy Curtains with Thermal Liners — $60–$150
Realistic reduction: 3–5 dB, plus echo reduction
Renter-safe: Yes
Blackout curtains or thermal curtains with an additional liner do two things: they absorb sound bouncing around the room (reducing echo) and provide a small blocking layer for noise through windows. They won’t stop a garbage truck, but they noticeably soften street noise and external rumble.
The effect stacks if you cover more wall area — I’ve hung curtains on non-window walls just for absorption. A 96-inch thermal blackout curtain runs $50–$80; add a separate thermal liner for $20–$40 and you’ve got a two-layer system that also cuts heating costs in winter.
Mount them as close to ceiling as possible and let them puddle slightly on the floor for maximum coverage. Velcro Command strips work for lighter panels if you don’t want to drill.
3. Rugs and Soft Furnishings — $50–$200
Realistic reduction: 2–3 dB, significant echo reduction
Renter-safe: Yes
Thick area rugs (2+ inches with a pad underneath), wall hangings, tapestries, or even strategically placed blankets break up sound reflections that amplify noise in a room. This is absorption, not blocking — you’re not stopping your neighbor’s music, but you’re keeping your own space from amplifying it.
I keep a 6x9 shag rug in my living room and a few fabric wall hangings near my shared wall. It doesn’t block my neighbor’s TV, but it keeps my space from turning into an echo chamber when action movies are on.
Note: this does almost nothing for bass. Low-frequency wavelengths are too long to be absorbed by fabric. For voices, footsteps, and higher-pitched noise, it’s a cheap cumulative fix that also makes a room feel less like a concrete box.
For upstairs footstep noise, impact-dampening strategies can be particularly effective.
4. DIY Acoustic Panels from Rockwool — $80–$150
Realistic reduction: 3–6 dB in mid/high frequencies
Renter-safe: Yes, with velcro or Command strips
This is where you get actual measurable sound absorption. Rockwool Safe & Sound insulation has a Noise Reduction Coefficient (NRC) of 0.95, meaning it absorbs 95% of the sound hitting it in mid and high ranges (Rockwool technical specifications). You build simple frames, wrap them in fabric, and mount them on walls.
For a small room, you need 4–6 panels roughly 2 feet by 4 feet each. Rockwool Safe & Sound boards cost $12–$15 at Home Depot. Furring strips for frames run $2 each. Fabric costs $10–$20 using remnants or old sheets. Velcro Command strips add another $15–$20.
Total cost: roughly $100–$150 for six panels. I built a set for my last apartment’s home office and mounted them with heavy-duty velcro — they came down when I moved with zero wall damage. They won’t stop a subwoofer, but they knocked down street-noise sharpness and made Zoom calls clearer.
Remember: high NRC means excellent absorption (good for reducing echo), but doesn’t indicate blocking performance. For cost-per-square-foot comparisons across panel brands, acoustic panels budget comparison breaks down brand options and performance.
5. Mass-Based Wall Blocking — $100–$200
Realistic reduction: 3–5 dB, especially for bass
Renter-safe: Yes
Bass and low-frequency rumble need mass to block, which means heavy, dense objects between you and the source. The cheapest version: load your shared wall with floor-to-ceiling bookshelves crammed with hardcovers, stacked storage, or heavy moving blankets hung on the wall.
I’ve used a fully loaded bookshelf along the wall I share with my neighbor’s living room. It’s not elegant, but it works — bass frequencies lose energy when they hit mass, and books are extremely dense for the price. You can also hang heavy moving pads or multiple blanket layers using a tension rod or removable hooks.
This is the least glamorous method, but if your main problem is a subwoofer or bass-heavy music, it does more than $200 of acoustic foam ever will. Acoustic foam absorbs mid/high frequencies; mass blocks low frequencies. They’re not interchangeable.
6. Soundproof Your Door Specifically

Realistic reduction: 8–20 dB depending on method
Renter-safe: Some options yes, some no
Doors are the single biggest weak point in most rooms. A hollow-core door with gaps around the frame can leak 50% or more of your soundproofing effort. Here’s a budget breakdown by commitment level:
Quick Fix — Under $50 (Renter-Safe)
Combine weatherstripping and a door sweep (covered in method #1) with a heavy draft stopper or acoustic blanket hung over the door with Command hooks. Expect 5–8 dB reduction — modest, but worth doing first.
Mid-Budget — $60–$150 (Renter-Safe with Care)
Add mass-loaded vinyl (MLV) to your hollow door’s interior using adhesive velcro strips or removable mounting squares. MLV barriers cost $40–$80 for a door-sized sheet and add substantial blocking power without permanent installation. You can also hang a thick moving blanket or acoustic curtain on the interior side. I did this in my last bedroom and got the door to around 8–12 dB reduction over baseline.
Step by step: measure your door, cut MLV to size (leave 1 inch margin on all sides), mount with velcro dots in a grid pattern, and seal edges with weatherstrip tape if gaps remain. Takes about 30 minutes, completely reversible.
Permanent Fix — $150–$300 (Homeowner or with Landlord Approval)
Replace your hollow-core door with a solid-core or composite door. Solid-core doors have significantly better sound transmission properties than hollow ones — the International Code Council building standards reference STC ratings of 25–30 for hollow-core doors versus 40–50 for solid-core, a difference of 10–20 dB in real performance. Add proper weatherstripping and a quality door sweep and you’re looking at 15–20 dB total reduction.
Solid-core doors run $100–$250 depending on size; installation hardware adds $30–$50. If you own your place or your landlord approves upgrades, this is the single most effective budget soundproofing option.
Layer Your Approach — But Understand Diminishing Returns
No single $50 fix transforms a loud room into a quiet one, but stacking methods gets real results. Here’s the critical piece most guides skip: decibels don’t add linearly. Because the decibel scale is logarithmic, improvements stack less efficiently than you’d expect.
When you combine soundproofing methods, your total gain is less than the sum of individual parts. The first method might give you 5 dB. Adding a second method that’s rated for 3 dB might only add 2 dB to your total, because you’re starting from a quieter baseline. By the third or fourth layer, each addition contributes diminishing returns — your fourth upgrade might add only 1–2 dB even if it would have contributed 4 dB on its own.
Here’s what realistic layering looks like:
- Weatherstrip door: 5 dB
- Add heavy curtains: +3 dB (total: ~7 dB, not 8)
- Place thick rug and wall hangings: +2 dB (total: ~9 dB, not 10)
- Mount DIY Rockwool panels on shared wall: +4 dB (total: ~12 dB, not 16)
- Add MLV to door: +8 dB (total: ~18–20 dB, not 25)
That’s still a substantial real-world improvement for $400–$500, all renter-safe — the difference between “I can hear every word through the wall” and “I hear muffled background noise I can ignore.” But you’re looking at 18–25 dB total, not 30+.
This math matters for budgeting. The first two or three methods deliver 70–80% of your total possible gains. Adding a fourth or fifth method might only contribute 5–10% more reduction. If you’re deciding whether that sixth upgrade is worth $150, the answer is often no — your money buys bigger improvements elsewhere (blackout shades for sleep, white noise machine, noise-canceling headphones).
You don’t have to do everything at once. Start with door sealing and see what’s left. Add curtains if windows are the problem. Build panels if mid-range noise (voices, dialogue) still breaks through. Each layer handles a different piece of the puzzle, but know when to stop.
Common Mistakes to Avoid
Buying acoustic foam expecting it to block bass. Foam absorbs mid and high frequencies; it does almost nothing for low-frequency rumble. If your neighbor’s subwoofer is the problem, you need mass (method #5 or a solid door), not foam.
Mounting panels behind furniture. Absorption only works when sound waves reach the panel. If you put a bookshelf in front of your DIY Rockwool panels, you’ve wasted the effort. Mount them on open wall space.
Expecting silence for $100. Budget soundproofing typically reduces noise by 20–40%, not eliminates it. Set realistic expectations: you’re aiming for “tolerable” or “noticeably quieter,” not “recording studio.”
Ignoring HVAC vents and electrical outlets. Sound travels through air pathways, including ductwork and outlet gaps. Add foam gaskets behind outlet covers ($5 for a pack) and consider acoustic duct wrap if you have shared ventilation.
Confusing absorption with blocking. The single most expensive mistake: buying high-NRC materials when you need high-STC performance, or vice versa. Diagnose your problem type first.
Frequently Asked Questions
Can you soundproof a room without construction?
Yes — weatherstripping, heavy curtains, rugs, DIY absorption panels, and mass-loaded vinyl can all be installed without modifying walls or ceilings. You won’t get the same performance as adding a second drywall layer, but you can achieve meaningful reduction with removable, renter-safe methods.
What’s the cheapest way to soundproof a bedroom door?
Start with weatherstrip tape around the frame and a door sweep at the bottom (under $30 total). If that’s not enough, add mass-loaded vinyl or a heavy moving blanket to the door’s interior using removable adhesive strips (another $40–$80). That combination blocks significantly more sound than the door alone.
Does acoustic foam actually block noise?
Acoustic foam dampens echo and absorbs mid-to-high frequencies, but it doesn’t block sound from passing through walls or doors. For blocking, you need mass (MLV, solid doors, packed bookshelves). Foam is useful for reducing room echo, not stopping outside noise.
How much noise reduction can I realistically expect on a budget?
With $400–$500 and renter-safe methods, expect 15–25 dB total reduction. That’s substantial — CDC NIOSH occupational noise guidelines note that a 10 dB reduction cuts perceived loudness roughly in half. You won’t achieve recording-studio silence, but you’ll move from “can’t concentrate” to “tolerable background noise.”
If your main issue is noise leaking under or around your door, start there — fastest return on investment for the lowest cost. For whole-room treatment, layer methods based on your specific problem: mass for bass, absorption for voices and echo, sealed gaps for everything. You won’t get silence, but you’ll get your sleep back, and you’ll know exactly where your money went.
Sources: