

A swollen door frame costs you $20 to $40 a month in conditioned air loss, won’t hold a latch, and telegraphs deferred maintenance to anyone who walks past. I patched my rental’s back door frame three times before I learned to test moisture and probe for rot first — the wood underneath was already compromised, and I was just smoothing over decay. The fourth repair, done after systematic diagnosis, is still holding eight years later in the same house I eventually bought.
This guide walks you through objective testing, root-cause identification, and a cost-benefit decision framework so you know whether you’re looking at a $30 epoxy fill or a $600 frame replacement before you waste a Saturday.
What you’ll need
Tools:
- Moisture meter (pin-type analog, $20–$35 — Extech MO260 or General Tools MMD4E)
- Pinboard, awl, or flat-head screwdriver (rot testing)
- 120- and 220-grit sandpaper
- Paintbrush
- Caulk gun
- Flashlight or headlamp
Materials:
- N95 mask (mold spore protection)
- Work gloves and safety glasses
- 2-part epoxy wood filler (Minwax High Performance or Elmer’s Carpenter’s Wood Filler)
- Polyurethane door frame sealant (DAP BLUESTIK or OSI QUAD)
- Primer and paint or stain to match existing finish
- Threshold seal or door sweep (if current seal is worn)
Affiliate note: This article includes product-specific recommendations. FixerDaily may earn affiliate commissions from some links.
Prerequisites:
- Access to both sides of the damaged frame
- Ability to control indoor humidity (fan, dehumidifier, or cross-ventilation)
- Water source identified and stoppable
Before you start
Put on an N95 mask and gloves before handling the frame. Water damage often harbors mold even when invisible, and disturbing wood releases spores into the air.
Stop the active water source first — clear the clogged gutter, patch the roof flashing, replace the missing threshold seal, redirect the downspout. Frames repaired without addressing the root cause typically fail within two to three years as moisture returns and the cycle repeats.
If the frame is load-bearing (supporting a header beam or adjacent to foundation), or if you see daylight through gaps when the door is closed, stop and call a contractor. Those signal structural settling, not cosmetic water damage.
Step 1: Test moisture and diagnose the water source
Use your moisture meter on six spots around the frame: both upper corners, both sides at mid-height, and both lower corners where pooling occurs. Press the pins 1/4 inch into the wood.
Moisture readings (APA wood moisture standards):
- 8–12%: Normal equilibrium moisture — safe to repair
- 12–18%: Elevated moisture — dry for 48–72 hours before filling
- 18% or higher: Recently saturated — assess for rot and likely call a pro
Write down your readings by location. The pattern tells you where water is entering.
Diagnostic patterns:
-
Top corners wet (18%+), bottom normal (under 15%): Water from above — roof leak, missing flashing, or clogged gutter overflow. Check the roof edge and siding joint directly above the frame.
-
Bottom corners wet, top normal: Water from below — failed threshold seal, improper grading (ground slopes toward door), or foundation seepage. Check for pooling on the threshold after rain.
-
Perimeter moisture (all edges elevated): HVAC condensation or chronic high indoor humidity. Common in bathrooms and basements without exhaust fans venting outside.
I test lower corners first every time. On my own back door, the bottom read 22% and the top was 11% — classic threshold failure. Replaced the sweep and the frame dried in three days. If I’d assumed roof leak and sealed the top, I’d have wasted materials and left the real problem open.
Step 2: Probe for rot and decide repair vs. replacement

Take your pinboard or flat-head screwdriver and press it slowly into swollen areas, discolored spots, and any section that read above 18% moisture. Apply steady pressure.
What you’re feeling for:
- Wood resists and springs back when you withdraw the probe: Structurally sound — repairable with epoxy fill
- Wood compresses easily, feels spongy, or the probe sinks in with little force: Dry rot — stop here and price replacement
If the probe goes through like pressing into cork, the frame is structurally compromised. Epoxy fill might look acceptable for a few months, but it won’t hold hinge screws under door weight and will fail under lateral stress. Dark staining plus soft wood is rot with surface mold — mask stays on, and you’re calling a remediation specialist.
Cost-benefit decision:
-
Epoxy repair: $25–$50 in materials, 4–6 hours over two days. Expected lifespan: 5–10 years if water source is fixed and frame had no rot. Common failure mode is bond separation during wet-dry cycling if moisture returns.
-
Pre-hung frame replacement (DIY): $150–$400 for the frame unit, 6–10 hours for removal and installation, plus trim and painting. Permanent fix if sized correctly.
-
Professional frame replacement: $600–$1,200 including materials, labor, trim, and finish. Required if the frame is load-bearing or adjacent to structural elements.
If moisture reads above 20%, the probe reveals soft wood in more than one spot, or you’re seeing recurring damage in the same location, replacement is almost always more economical than repeated repair attempts.
I replaced a bathroom door frame after the probe test once — the jamb looked fine on the surface but crumbled under my screwdriver. The $280 pre-hung replacement cost me one Saturday and has been solid for six years. An epoxy fill would have failed within a year and cost me the same materials twice.
Step 3: Dry the frame
If moisture readings are under 18% and wood passed the probe test, proceed — but dry it completely first.
Open windows on both sides of the door if possible and run a box fan to push air across the frame. For interior doors (bathroom, basement, laundry), run a dehumidifier in the room and target 40–50% relative humidity.
Dry for 24 to 72 hours depending on starting moisture. Retest with the meter each morning. Once readings drop below 15%, the frame is dry enough to fill.
Don’t skip this step. I filled over damp wood once and the epoxy bonded poorly — the patch popped loose three weeks later when subsurface swelling continued.
Step 4: Sand and fill
Start with 120-grit sandpaper and sand swollen areas until smooth and flush with the surrounding frame. Most cosmetic swelling resolves here — the wood expanded when wet, and sanding returns it to dimension.
If voids, splinters, or soft spots remain (areas you carved out during probe testing), fill with 2-part epoxy wood filler. Mix per instructions, overfill the void slightly (it shrinks as it cures), and let it set for the manufacturer’s recommended time — typically 4 to 24 hours.
Once cured, sand flush with 220-grit sandpaper. Wipe away dust, prime, and paint or stain to match the existing finish.
Epoxy bonds better than water-based filler on frames that were recently wet. I use Minwax High Performance because it accepts stain and has minimal shrinkage compared to single-part fillers. In repeated wet-dry cycles, epoxy fills typically last 5–8 years before bond failure if the water source was truly fixed; shorter if humidity remains elevated or moisture returns.
Step 5: Seal and prevent recurrence
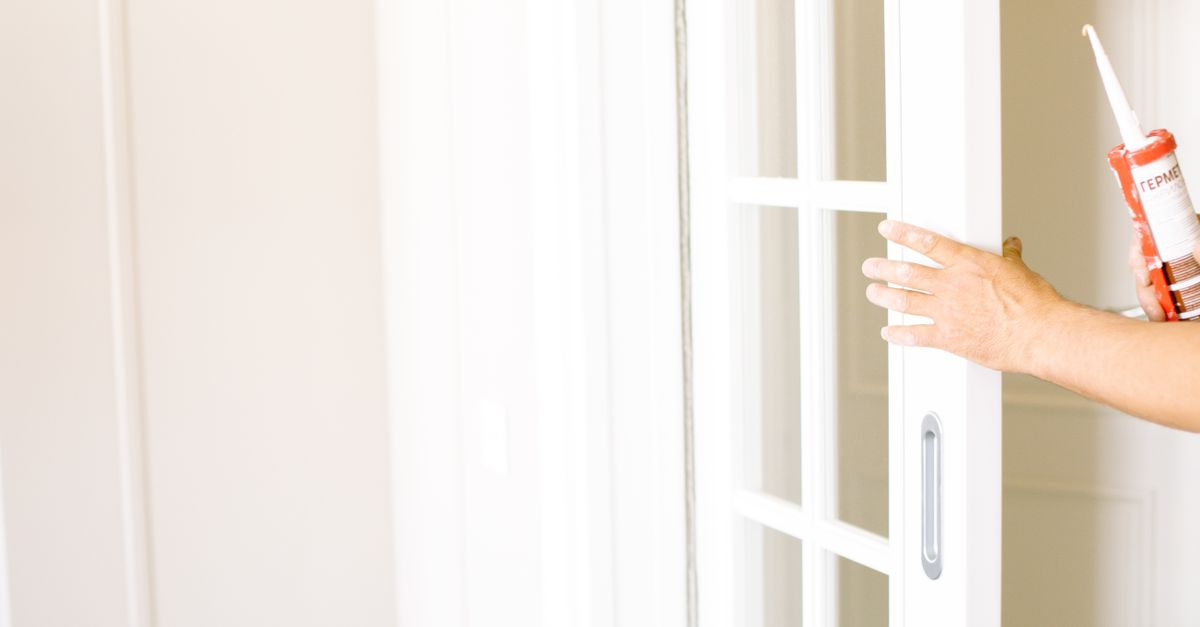
This step determines whether your repair lasts six months or six years. Most guides skip it entirely.
Fix the threshold: If your current threshold seal is compressed, cracked, or missing, replace it before you consider the job done. I use MD Building Products weatherstripping or an equivalent adjustable door sweep. Water that pools on the threshold wicks directly into end grain at the base of the jamb.
Seal the exterior joint: Clean the joint where the frame meets siding or masonry, then apply a continuous bead of polyurethane-based sealant (DAP BLUESTIK or OSI QUAD). Smooth with a wet finger or caulk tool and let cure 24 hours before painting over. Polyurethane stays flexible through freeze-thaw cycles and won’t crack open like acrylic latex.
Do not seal the interior side completely — you need air circulation so trapped humidity doesn’t accumulate inside the wall cavity. I sealed a bathroom door frame too tightly once and found mold growing on the interior jamb a year later even though the exterior was bone dry.
Check ventilation and drainage: If this is a bathroom or basement door, confirm the exhaust fan vents outside (not into the attic) and室内 humidity stays below 60%. For exterior doors, verify the ground slopes away from the threshold at least 1/4 inch per foot for the first six feet. High indoor humidity or poor grading will re-damage the frame regardless of how well you sealed the joints.
Verify the repair
Retest with your moisture meter 48 hours after finishing. Readings should stabilize at 12% or lower across all six test points.
Close and latch the door. It should operate smoothly without binding or requiring force. If it still sticks, the frame may have shifted during water exposure — you might need to adjust hinges or plane the door edge (separate repair).
Pour a cup of water on the threshold. It should sheet off or drain through a weep hole, not pool against the frame base.
Building codes and insurance coverage
Cosmetic door frame repairs (sanding, filling, weatherstripping) don’t require permits in most jurisdictions. Full frame replacement usually does, because it involves altering a structural opening — check your local building department or reference the International Residential Code if you’re replacing the entire jamb assembly.
Homeowner’s insurance typically does not cover water-damaged frame repair. Insurers classify this as maintenance or gradual wear rather than a covered peril (sudden loss from wind, fire, or burst pipe). If your damage resulted from a specific insured event (hurricane, plumbing failure), file a claim and document the timeline, but expect resistance on coverage for frames showing long-term moisture exposure.
When to call a professional
Call a contractor if:
- Moisture readings stay above 18% after 72 hours of controlled drying
- Probe test reveals soft, compressible wood in multiple locations (dry rot)
- The frame is load-bearing or part of a structural header assembly
- Visible mold covers more than a small area — you may need a certified mold remediation specialist rather than a general handyperson
- Water intrusion is recurrent and you can’t identify the source (indicates systemic drainage, foundation, or roof issues)
Full frame replacement with professional installation runs $600–$1,200 depending on door type, frame material, and regional labor rates, but it’s cheaper than repeated failed repairs or mold spreading into wall cavities.
Troubleshooting
Frame still feels damp after 72 hours of drying
The water source is still active, indoor humidity is too high, or the frame has significant internal rot holding moisture. Verify gutters are clear, threshold seal is intact, and you’re running a dehumidifier if this is an interior door. Don’t fill until moisture drops below 15%.
Filler cracked or popped out after a few weeks
You filled over damp wood, or moisture has returned. Retest with the meter, fix the water source, dry completely, and refill. If this is the second failure in the same spot, replacement is more economical than a third attempt.
Door still binds after frame repair
The frame shifted or settled during prolonged water exposure. Check that it’s plumb and square with a level — if it’s out of alignment, you’ll need to shim hinges, adjust strike plates, or in severe cases, reset the entire frame (different repair).
FAQ
Can I repair a frame with visible mold?
Small areas (less than a few square feet) can be cleaned per EPA mold remediation guidelines using detergent, water, and proper containment. You need an N95 mask, plastic sheeting to prevent spore spread, and a plan to fix the moisture source permanently. If mold covers a larger area, penetrates deep into the wood, or you have respiratory conditions, hire a licensed remediation contractor.
How long does a door frame repair last?
If you fix the root cause and the frame had no rot, a properly executed epoxy repair can last 5–10 years or longer. If you skip water source diagnosis or the frame had early-stage rot, expect failure within 18 months to 3 years as moisture cycles continue.
Do I need a permit to repair a water-damaged door frame?
Cosmetic repairs (filling, sanding, sealing) don’t require permits. Full frame replacement usually does because it involves modifying a structural opening. Check your local building department before removing the entire jamb assembly.
Water-damaged frames are repairable when you test first, diagnose the source, and seal properly. The moisture meter and probe test tell you whether you’re looking at a $40 DIY fix or a $700 professional replacement, and systematic prevention keeps you from repeating this job in two years.