

Every time you move a picture frame, take down a shelf, or yank out a drywall anchor, you’re left with a hole that catches light at exactly the wrong angle. If you’re renting, these turn into line items on a move-out inspection. If you’re selling, they read as “deferred maintenance” to buyers. Good news: most drywall holes take 10 minutes to fill and cost under $5 in materials.
The confusing part isn’t the repair itself — it’s standing in the hardware aisle trying to decide between spackle and joint compound while both containers promise the same result. They don’t deliver the same result, and using the wrong one adds an extra coat, extra sanding, or a visible bump where the hole used to be.
This guide gives you a decision framework based on hole size, explains why spackle and joint compound behave differently, and shows you how to avoid the most common mistake: over-filling nail holes so they turn into little domes that announce themselves under every light source in the room.
Match the Product to the Hole Size
Before you buy anything, measure your damage. The filler you need depends entirely on how big the hole is.
| Hole size | Product | Why | Approximate cost |
|---|---|---|---|
| Under 1/4” (nail holes, small punctures) | Spackling paste | Dries in 1-2 hours in ideal conditions; minimal shrinkage; sands smooth without flaking | $3-$5 |
| 1/4” to 1/2” (toggle bolt holes, small anchors) | Lightweight joint compound OR spackle | Joint compound allows slight overfill tolerance; spackle is faster | $6-$8 (compound) |
| Over 1/2” (large anchors, doorknob damage) | Joint compound + mesh tape | Needs structural reinforcement; spackle alone will crack | $6-$8 + $3 for tape |
I’ve patched hundreds of nail holes across three apartments, and the single biggest time-saver was learning this: don’t use joint compound on nail holes unless you have a full afternoon and enjoy sanding. Spackle air-dries fast, shrinks minimally, and gives you a same-day finish. Joint compound is the right tool for bigger jobs, but it’s overkill for the dimple left by a finishing nail.
What You’ll Need
Tools:
- Putty knife (1-2” width for nail holes; 3-4” for larger damage)
- Sandpaper (120-grit and 220-grit)
- Damp sponge or cloth
- Drop cloth or old towel (optional but saves cleanup)
Materials:
- DAP Fast ‘N Final Spackling for holes under 1/4” ($3-$5)
- USG Sheetrock Lightweight Joint Compound for holes 1/4” and larger ($6-$8)
- Primer (if you’re painting over the patch)
Safety:
- Dust mask (sanding produces fine silica dust — OSHA recommends respiratory protection even for small DIY jobs, and NIOSH guidance notes that crystalline silica exposure should be minimized regardless of project scale)
Before You Start
Open a window if you’re sanding. Joint compound and spackle both produce silica dust, which is fine enough to stay airborne for a while. A dust mask handles the immediate exposure; ventilation clears what’s left.
If the drywall around the hole feels soft, spongy, or crumbly, stop. That’s water damage, and painting over it just delays a bigger repair. Same if you see discoloration, mold spots, or multiple holes clustered in one area — call someone who can check what’s behind the wall before you patch the surface.
Repairing Nail Holes (Under 1/4”)

Nail holes are the fastest fix and the easiest to mess up. The mistake everyone makes: loading the putty knife with too much spackle and smearing it over the hole like frosting. You end up with a raised bump that needs aggressive sanding, which then creates a divot, which then needs another coat. Here’s the better way.
Step 1: Clean out the hole. If there’s a loose drywall anchor or a nail still sticking out, pull it. Use the corner of your putty knife to scrape away any loose paper or dust around the edges.
Step 2: Load a tiny amount of spackle onto your 1-2” putty knife — about the size of a pea for a single nail hole.
Step 3: Press the spackle into the hole with the edge of the knife held at a shallow angle (almost flat against the wall). You want to fill the void, not build a mound on top of it. One firm pass across the hole, then a second pass at a right angle to feather the edges. The goal is to leave the surface flush or even slightly concave — spackle shrinks as it dries, so a tiny dip will level out.
Step 4: Wait 1-2 hours in dry, room-temperature conditions (around 70°F with humidity below 50%). In a humid basement, cool room, or on a damp day, expect 4-6 hours before the patch fully cures. Touch the patch lightly; if it’s cool to the touch, it’s still releasing moisture. Sanding wet spackle gouges the repair and wastes your work.
Step 5: Sand lightly with 220-grit sandpaper using a circular motion. You’re blending the edges, not removing material. If you sand through to bare drywall around the hole, you went too hard.
Step 6: Wipe with a damp cloth, let dry 10 minutes, then prime and paint.
I’ve found that nail holes from picture-hanging almost always take one coat if you resist the urge to overfill. Drywall anchor holes (the kind that leave a 1/8” to 1/4” crater) sometimes need a second coat because the spackle shrinks more in a deeper void. If that happens, let the first coat dry completely, add a thin second layer, and sand again.
Patching Larger Holes (1/4” to 1/2”)
Lightweight joint compound is the better choice here. It tolerates a slight overfill without creating a noticeable dome, and it sands more predictably than spackle when you’re working with a larger surface area.
Step 1: Clean the hole and remove any loose material. If there’s a plastic anchor wedged in the drywall, pull it out with pliers or push it through to the other side (only works if the wall isn’t load-bearing and you’re okay with the anchor rattling inside).
Step 2: Load your 3-4” putty knife with joint compound. Apply it in a single smooth pass across the hole, pressing firmly to fill the void. Then make a second pass at a right angle to level and feather the edges. Feathering is what makes the patch invisible — the compound should taper out gradually, not stop at a hard line.
Step 3: Let it dry for 24 hours in typical indoor conditions. In humid weather or unheated spaces, add 12-24 hours. Joint compound dries by evaporation and shrinks more than spackle. Expect a slight dip in the center.
Step 4: Apply a second thin coat if needed (usually yes for holes this size). Let dry another 24 hours.
Step 5: Sand with 120-grit sandpaper to smooth ridges, then switch to 220-grit for the final finish. Wipe clean, prime, and paint.
For holes larger than 1/2”, back the repair with mesh tape before applying joint compound — otherwise the patch will crack as it shrinks. If you’re dealing with damage bigger than a golf ball, consider covering it with intentional decor instead.
Matching Wall Texture
A perfectly smooth patch on an orange-peel, knockdown, or popcorn-textured wall is immediately visible — even if it’s sanded flush and painted correctly. This is the detail that separates “looks fixed” from “looks professional,” and it’s the step most online guides skip.
Identify your wall texture first. Run your hand across the wall a few feet from the repair. Smooth/flat drywall needs no texturing. Orange-peel texture feels like fine sandpaper and has a subtle bumpy pattern. Knockdown texture has irregular raised peaks that look like they were stomped flat. Popcorn (acoustic ceiling texture) is raised, bumpy, and usually only found on ceilings.
For orange-peel or light knockdown: After your final coat of spackle or joint compound is dry and sanded, apply a very thin skim coat (just enough to re-wet the surface). While it’s still wet, mist it lightly with water from a spray bottle held 12-18 inches away, then gently stipple the surface with a damp sponge in a dabbing motion. Let it dry without touching it. This replicates the spray-texture pattern used on most modern drywall and blends the patch into the surrounding wall.
For heavier knockdown: Buy a small container of pre-mixed texture compound (sold as “orange peel texture” or “knockdown texture” at hardware stores for $8-12). Apply a thin layer over your dried, sanded patch using a putty knife or trowel, then knock down the peaks with a clean trowel held flat after 10-15 minutes. Practice on cardboard first — timing matters, and if you wait too long it dries hard.
For popcorn texture: You’ll need an aerosol texture spray designed for acoustic ceilings. Spray lightly in short bursts from 18-24 inches away, building up texture gradually. These sprays are hard to control; expect some overspray and practice on scrap material before you aim at your ceiling.
If you’re renting and your lease requires “original condition” on move-out, texture matching is not optional — landlords flag smooth patches on textured walls because they’re that visible.
Spackle vs. Joint Compound: Which to Use
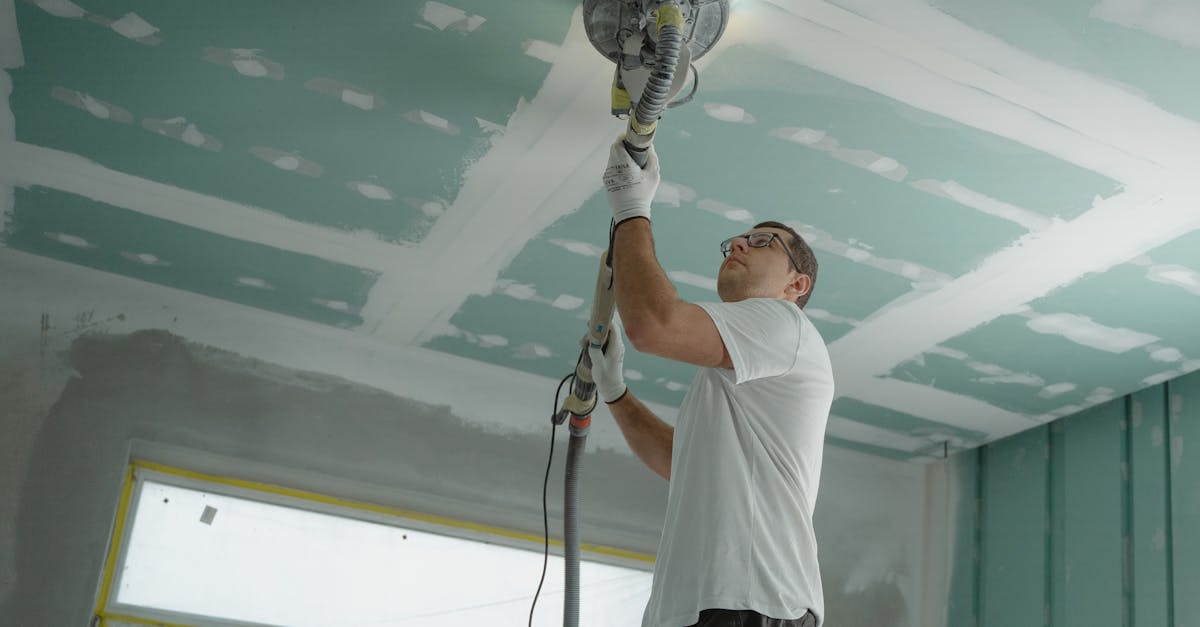
They’re sold in the same aisle and they both fill holes, but they work differently.
Spackle is a vinyl-based paste that air-dries. It shrinks minimally, dries hard in 1-2 hours under ideal conditions, and sands to a smooth finish without flaking. It’s fast, predictable, and costs about the same as joint compound for small containers. The downside: it doesn’t tolerate overfilling well. If you glob it on, you’ll sand forever trying to level it, and aggressive sanding can cause spackle to chip at the edges.
Joint compound is a gypsum-based slurry that dries by evaporation. It shrinks more than spackle (plan on a second coat for anything deeper than 1/8”), but it’s more forgiving if you overfill slightly — it sands down smoothly without chipping. Drying time is 24 hours per coat under typical indoor conditions, which is why I don’t use it for nail holes. For larger repairs, though, joint compound gives you a more durable finish and better adhesion to drywall paper.
The decision tree:
- Nail holes and small punctures: spackle
- Anchor holes up to 1/2”: either works; spackle is faster, joint compound is more forgiving
- Anything larger than 1/2”: joint compound with mesh tape
Common Mistakes (and How to Avoid Them)
Over-filling nail holes. This is the one I see most often, and it’s the reason patched walls still look patched. If you leave a mound of spackle on the surface, it catches light and shadow exactly like a pimple. Fill the void, feather the edges, and trust that slight shrinkage will level it out.
Sanding too aggressively. You’re blending a repair into the surrounding wall, not removing material. If you sand hard enough to create dust clouds and arm fatigue, you’ve gone too far. Light pressure, 220-grit sandpaper, circular motion.
Skipping primer. Spackle and joint compound are both porous; bare drywall paper is also porous but in a different way. Without primer, these materials absorb paint at different rates — the patch soaks up more pigment than the sealed, painted drywall around it, creating a dull spot that shows up under angled light even when the surface is perfectly flush. Primer seals the patch and the surrounding drywall to the same baseline so paint adheres uniformly. One coat fixes the problem.
Using joint compound when spackle would be faster. Joint compound is great for big repairs, but it’s a 48-hour commitment (two coats, 24 hours each). If you’re patching nail holes before a lease walk-through and you grab joint compound, you’ve just added two days to a 2-hour job.
Rushing the drying time. Spackle that feels dry on the surface can still be releasing moisture underneath, especially if the hole was deep or the air is humid. If you sand too early, you’ll gouge the repair and have to start over. Touch the patch — if it’s cool, it’s still drying.
Ignoring wall texture. A smooth patch on a textured wall announces itself under every light in the room. Match the texture or the repair will always be visible.
When to Call a Professional
Drywall patching is solidly DIY territory, but a few scenarios need a pro:
- Cracks longer than 12 inches or cracks that reappear after you patch them — that’s a framing or foundation issue, not a cosmetic fix.
- Soft or crumbly drywall around the hole — indicates water damage or rot.
- Multiple large holes in the same area — could be impact damage that compromised the studs.
- Holes that reveal mold, discoloration, or wet insulation — patch the surface and you’re just hiding a bigger problem.
Otherwise, this is a repair you can handle with $8 in materials and an hour of your time.
FAQ
How long does spackle take to dry before I can paint?
Fast-dry spackle is usually ready to sand in 1-2 hours under ideal conditions (70°F, low humidity) and ready to paint after sanding and priming. In humid or cool environments, expect 4-6 hours. Joint compound needs 24 hours per coat in typical conditions; add 12-24 hours in damp weather. Touch the patch — if it feels cool, it’s still curing.
Can I use toothpaste to fill nail holes?
Toothpaste will shrink, crack, and discolor over time. It also doesn’t sand or paint well. A $3 container of spackle will patch 50+ nail holes and actually stay in place. Don’t use toothpaste.
Do I need to prime before painting over a patch?
Yes. Spackle and joint compound are more porous than painted drywall, so they absorb paint differently. If you skip primer, the patch will show up as a dull spot even if the surface is perfectly smooth. Primer seals both the patch and the surrounding drywall to the same baseline so paint adheres uniformly. One coat of primer fixes that.
What’s the difference between lightweight and regular joint compound?
Lightweight joint compound is easier to sand and dries with less shrinkage than traditional “heavy” compound. For small repairs, lightweight is the better choice — it’s more forgiving and you’re less likely to need a third coat. Regular compound is denser and better for large structural repairs, but it’s harder to work with for nail holes and small patches.
How do I match orange-peel texture on my patch?
After your patch is dry and sanded, apply a thin skim coat of compound, mist it lightly with water from a spray bottle, then stipple it gently with a damp sponge in a dabbing motion. Let it dry untouched. For heavier knockdown or popcorn textures, buy pre-mixed texture compound or aerosol texture spray and practice on scrap material first.
The first time I patched a wall of picture-hanging holes before a lease walk-through, I used joint compound on everything and spent two days waiting for coats to dry. The second time, I used spackle on the nail holes and joint compound only on the two toggle-bolt craters from a floating shelf. Total active time: 45 minutes. Total drying time: 3 hours. That’s the difference a decision framework makes.