

The first question isn’t how to patch drywall — it’s whether you should. A nail hole is a Saturday morning. A 4-inch gouge from moving furniture is an afternoon plus two coats. Anything bigger than 6 inches or anything soft, water-stained, or crumbly is a phone call to a contractor, not a trip to the hardware store.
This guide covers cosmetic damage you can reasonably fix yourself: nail pops, small punctures, corner dings, and holes up to about 6 inches. Sheetrock is just USG’s brand name for gypsum wallboard — the repair process is identical regardless of brand.
What you’ll need
Tools:
- Putty knife (4-inch or 6-inch, flexible blade)
- Utility knife or drywall saw (for cutting out damaged sections)
- Sanding block with 120-grit and 220-grit sandpaper OR a damp sponge for wet-sanding
- Measuring tape
- Dust mask (if dry-sanding)
- Drop cloth
Materials:
- Joint compound — see selection guide below
- Self-adhesive mesh tape or paper drywall tape
- Primer-sealer
- Matching wall paint
- Optional: pre-made patch kit for holes 1-6 inches (DAP or 3M brands are effective)
Cost estimate: $15-$30 for materials if you already have basic tools. A 1-quart tub of joint compound runs about $8; mesh tape is $4; primer and paint depend on what you have on hand.
Choosing the right joint compound
The ASTM C475 standard defines three main types of joint compound, and picking the right one matters more than most guides admit:
Lightweight all-purpose — Shrinks about 10%, sands easily, dries in 4-24 hours depending on conditions. This is what most DIYers should buy. Forgiving, easy to feather, and works in normal household humidity. If this is your first drywall repair, start here.
Standard all-purpose — Shrinks around 20%, takes longer to dry (6-24 hours), but it’s more forgiving to work with when you’re learning to feather edges. Slower drying gives you more time to smooth mistakes. Good choice if you’re working in a humid basement or during a rainy week.
Fast-setting (hot mud) — Sets chemically in 30-90 minutes regardless of humidity, shrinks minimally, but dries rock-hard and is difficult to sand. Professionals use this for high-humidity environments or when time matters more than ease. Not recommended for beginners — once it starts setting, you can’t rework it.
For most home repairs in climate-controlled rooms, lightweight all-purpose is the right call. If your repair is in a bathroom, basement, or you’re working during humid weather, consider standard all-purpose for the slower cure time.
Before you start
Gypsum dust from sanding joint compound is a respiratory irritant, and drywall work generates a lot of it. You have two options: dry-sand with a dust mask and open windows, or wet-sand and skip the dust entirely.
Wet-sanding is the professional technique most DIY guides don’t mention. Instead of sandpaper, you use a damp sponge (not soaking, just moist) to smooth dried compound. It eliminates airborne dust, produces a finer finish, and is gentler on textured walls. The tradeoff is that it’s slower and requires a light touch — too much water reactivates the compound and creates a slurry. For small to medium repairs, wet-sanding is cleaner and safer than dry-sanding with a mask.
Check the damaged area by pressing firmly with your thumb. If the drywall feels soft, crumbly, or gives more than it should, stop. That’s moisture damage or rot, and patching over it cosmetically won’t fix the underlying problem. Same goes for water stains, visible mold, or a persistent musty smell. Those need a contractor to identify and address the moisture source.
If you’re working near a textured or popcorn ceiling installed before 1980, assume asbestos is present and do not sand or disturb it. The OSHA guidelines on asbestos are clear: hire a certified abatement professional for identification and removal.
For homes built before 1978, be aware of EPA lead paint regulations if your repair involves sanding or scraping painted surfaces.
Assess the damage first
Before you buy anything, size up what you’re dealing with:
Small holes (under ½ inch): Nail pops, thumbtack holes, small dings. Use lightweight spackle. No tape needed. One coat, sand, prime, paint. Done in under an hour.
Medium damage (½ inch to 6 inches): Doorknob impacts, furniture gouges, corner dings. This is the range where joint compound and tape earn their keep. Plan on 2-3 thin coats, drying time between each, and careful feathering at the edges. Total active work time is maybe 90 minutes spread across 2-3 days of drying.
Large damage (over 6 inches): This crosses into patch-cutout territory. You’re cutting out a clean rectangle, screwing in backer boards, taping seams, and finishing multiple coats. It’s doable but it takes practice to make it invisible. If this is your first sheetrock repair, consider hiring it out or expect a visible result.
Step 1: Clean the damage
Use your putty knife to scrape away loose paper, paint chips, or crumbled gypsum. Don’t dig into solid material — you’re just clearing debris, not enlarging the hole. For ragged edges on medium holes, trim them back to solid drywall with a utility knife. Clean edges take compound better than frayed ones.
Step 2: Apply tape (medium holes only)

For holes larger than ½ inch, you need reinforcement or the compound will crack as it dries.
Self-adhesive mesh tape is the easiest: center it over the hole, press it down firmly with the putty knife, and smooth out any wrinkles. Mesh sticks directly to the wall.
Paper tape is stronger but requires a thin base coat of joint compound first. Spread a skim coat over the hole, press the tape into it, then smooth it down with the knife. Either method works; mesh is faster, paper is slightly more durable for high-traffic areas.
Step 3: Apply the first coat of joint compound
Load your 4-inch or 6-inch putty knife with a small amount of compound. Spread it over the tape (or directly into small holes) in one smooth motion, holding the knife at about a 45-degree angle. The goal is thin and even — if you can see texture through it, that’s about right.
Here’s the part most guides gloss over: feather the edges. Don’t stop at the tape line. Drag the knife 2-3 inches beyond the damage, pressing lighter as you go, so the compound tapers to nearly nothing at the outer edge. Abrupt edges show up under side lighting and through paint.
Lightweight all-purpose compound shrinks around 10% as it dries; standard all-purpose shrinks closer to 20%. Less shrinkage means fewer coats and a flatter final surface. (USG’s technical resources detail these properties if you want the engineering breakdown.)
Drying time depends on conditions, not just the clock. A thin coat in a 70°F room at 40% humidity might be ready in 4-6 hours. The same coat in a basement at 55°F and 60% humidity can take 24 hours or longer. High humidity above 50% can push drying past 48 hours. Temperatures below 55°F significantly slow the cure. Don’t go by the package time estimate — do the thumb test: press the patch firmly. If it gives at all or feels cool to the touch, it’s not ready. Sanding damp compound just makes a mess.
Step 4: Sand and apply a second coat
Once the first coat is fully dry, you have two options:
Dry-sanding: Use 120-grit paper on a sanding block. Put on your dust mask and open a window. Knock down high spots and rough edges with light pressure — a few passes is enough. You’re not grinding the patch flat, just smoothing it.
Wet-sanding: Dampen a sponge (wring it out so it’s barely moist, not dripping) and work the dried compound in light circular motions. The sponge smooths the surface without creating airborne dust. Rinse the sponge frequently and don’t oversaturate — too much water turns the compound into slurry. Wet-sanding takes a little longer but produces a finer finish and eliminates the respiratory hazard entirely.
Apply a second coat, spreading it slightly wider than the first. Feather it out another inch or two beyond the previous edge. This graduated buildup is what makes the repair invisible — you’re blending the patch into the surrounding wall gradually, not creating a visible ridge.
Let it dry. For second coats, expect similar drying times to the first coat unless you’ve applied it thicker. Most repairs need a third coat to fully hide the damage.
Step 5: Final coat and finish sanding
Third coat: even wider, even thinner at the edges. Let it dry completely.
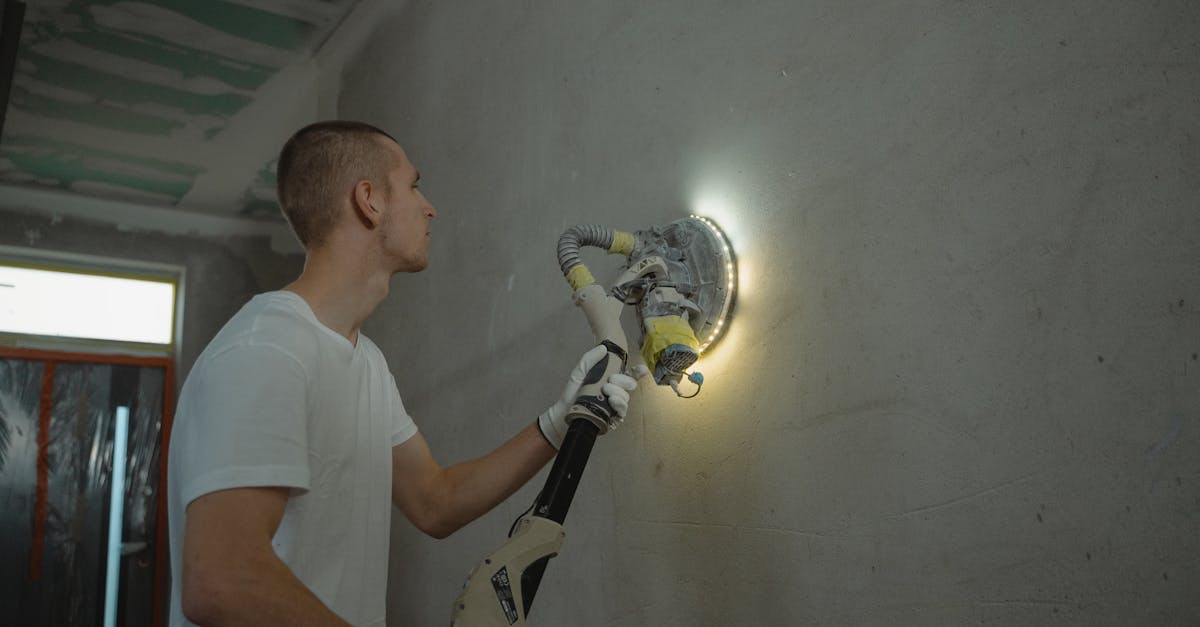
For the final pass, switch to 220-grit sandpaper (dry method) or a finer sponge (wet method). Work in a circular motion with light pressure, checking the surface from different angles under a work light. Side lighting reveals imperfections that overhead lighting hides. If you see ridges or divots, you can add another skim coat, but three coats usually gets you there.
Wet-sanding the final coat gives you the smoothest finish and avoids dust contamination before priming. If you dry-sand, wipe the wall with a barely damp cloth afterward to remove dust — otherwise it interferes with primer adhesion.
Step 6: Prime and paint
Joint compound is porous. If you paint directly over it, the patch will absorb paint unevenly and show up as a dull or chalky spot even if the surface is perfectly smooth. Always prime repaired areas with a primer-sealer first.
Once the primer dries, paint to match the wall. If you don’t have leftover paint, bring a paint chip or a small sample from an inconspicuous spot to the hardware store for color matching.
Common mistakes to avoid
Using spackle on anything bigger than a nail hole. Spackle dries hard and fast, which is great for tiny fills, but it’s rigid and cracks on larger patches. Use joint compound for anything over ½ inch.
Applying compound too thick. One thick coat will shrink, crack, and crater as it dries. Two or three thin coats beat one thick one every time.
Skipping the primer. I’ve learned this one the hard way more than once. The patch looks perfect until you paint it, and then it shows up as a dull spot under every light in the room.
Sanding too soon. Sanding damp compound clogs your sandpaper, creates a slurry, and makes more mess than progress. Wait for full dryness — and remember that humidity and temperature extend cure time significantly.
Dry-sanding without ventilation. Gypsum dust settles everywhere and irritates lungs. Wet-sanding eliminates this entirely and produces better results.
When to call a professional
Hire a contractor if you see any of the following:
- Damage over 6 inches, or multiple large areas. The skill gap between patching a nail hole and finishing a 12-inch cutout is real. Your first attempt will probably be visible.
- Soft, crumbly, or water-stained drywall. Moisture intrusion has to be fixed at the source — roof leak, plumbing, foundation water — before cosmetic repair. Patching over it just hides the problem until it comes back worse.
- Structural cracks — diagonal, stepped, or spreading cracks, especially near corners or door frames. These can indicate foundation settling or movement and need an engineer’s assessment, not a patch.
- Popcorn or textured ceilings installed before 1980. May contain asbestos. Don’t sand, don’t scrape. Call a certified pro.
- Damage near electrical outlets or behind-wall plumbing. If you can’t see what’s behind the drywall and the damage is bigger than a fist, call a licensed electrician or plumber to verify nothing is compromised before cutting.
If the damage recurs after you fix it, or if you notice a persistent odor, stop and get a professional inspection. Drywall is cheap. Mold remediation and structural repairs are not.
FAQ
Can I use spackle instead of joint compound for medium holes?
No. Spackle is designed for small fills (under ½ inch) and dries too rigid for larger patches. It will crack as the wall flexes slightly from temperature and humidity changes. Joint compound has more flex and bonds better for repairs over ½ inch.
How many coats of joint compound do I need?
Most repairs need 2-3 thin coats. Small holes might get away with one coat of spackle. Larger patches (3-6 inches) almost always need three coats to achieve an invisible finish, especially if you’re feathering the edges properly.
What’s the difference between Sheetrock and drywall?
Nothing functional. Sheetrock is USG’s brand name for gypsum drywall. The repair process is identical regardless of manufacturer.
Do I need a permit to repair drywall?
No. Cosmetic drywall repair is considered routine maintenance and doesn’t require a permit under most local building codes. (ICC building code standards categorize this as maintenance, not construction.) However, if the damage reveals structural issues, water damage, or requires opening walls to access plumbing or electrical, consult a licensed contractor and check local requirements.
Does wet-sanding really work as well as regular sanding?
Yes. Wet-sanding with a damp sponge is the technique professionals use when they want a dust-free finish. It’s slower than dry-sanding but eliminates respiratory irritants, produces a smoother surface, and doesn’t contaminate the room with gypsum dust. The key is keeping the sponge barely moist — too much water reactivates the compound.
The real test of a drywall repair isn’t how it looks straight-on under overhead light — it’s how it looks from an angle with side lighting. That’s where poor feathering and unprimed compound show up. If you take your time on the edges, choose the right compound for your conditions, and don’t skip the primer, most people won’t be able to find the patch six months later.
Related: how to patch a hole in drywall for quick nail-hole repairs, best drywall tools for putty knife and compound options, and rental repair tips for renter-friendly fixes.