

The first time I cut into water-damaged drywall, I assumed the stain on the surface told the whole story. It didn’t. Behind a cosmetic ceiling stain from a slow bathroom leak, I found framing so wet it left moisture on my hand when I touched it. If I’d patched over that without drying it first, I’d have built a mold farm inside my wall.
The difference between a $50 patch job and a $3,000 remediation call comes down to three things: how fast you dry it, whether the drywall is firm or soft when you press it, and what the framing looks like when you open the wall to check. Most water damage drywall repair guides skip straight to cutting and patching without teaching you how to assess what you’re actually dealing with. Here’s the full process, from wet wall to finished repair.
Affiliate disclosure: This article contains product recommendations with affiliate links. We may earn a commission if you purchase through these links, at no additional cost to you.
What you’ll need
For drying and assessment (first 24–72 hours):
- Moisture meter, pin-type (Extech MO55 or similar, $30–50)
- Dehumidifier, 50–70 pint/day capacity ($150–300)
- Shop fans, 2–3 units
- Utility knife
- Towels or wet/dry vac
- Plastic sheeting and tape
For patching (if drywall is firm):
- 120-grit sandpaper
- Shellac-based primer (Zinsser B-I-N, ~$25/qt)
- Joint compound (USG Sheetrock or DAP, $12–15)
- Putty knife set
- Paint to match
For section replacement (if drywall is soft or extensively damaged):
- Drywall saw or utility knife
- Replacement drywall sheet (1/2” standard; match original thickness)
- Drywall screws (1-1/4” for 1/2” drywall)
- Mesh tape
- Joint compound
- Sanding block
- Primer and paint
- Stud finder
Before you start
Stop the water source first. If you can’t identify where the water came from or confirm the leak is fixed, call a plumber before touching the drywall. Repairing drywall while water is still entering the wall is pointless.
Condensation damage vs. active leak
Before you start drying, figure out whether you’re dealing with an active leak or condensation damage—the repair strategy changes. Many bathroom, kitchen, and HVAC-adjacent water stains come from condensation, not leaks, and patching the drywall alone will fail within months unless you fix the humidity source.
Signs of condensation damage:
- Damage pattern near bathroom/kitchen ceilings, exterior walls in winter, or HVAC vents
- No obvious plumbing or roof leak above the damage
- Musty odor but no water intrusion events you can recall
- Damage reappears seasonally or after showers/cooking
Signs of active leak:
- Water stains that appeared suddenly or grew quickly
- Drips, pooling, or visible water entry during rain/use
- Damage directly below plumbing fixtures, appliances, or roof areas
- Framing saturation beyond what condensation would cause
If it’s condensation, you’ll need ventilation improvement (exhaust fans, dehumidifiers) or HVAC adjustments as part of the fix. The CDC’s moisture control guidance emphasizes controlling indoor humidity to prevent recurrent damage and mold risk. Patch the drywall without addressing humidity, and you’ll be back here in six months.
Mold timeline and when to call a pro
Water-damaged materials can develop mold quickly in the right conditions. According to the IICRC’s water damage restoration standards, mold risk increases significantly if drying doesn’t begin within the first few days. If the damage happened more than three days ago and you haven’t started drying it, consider hiring a professional—mold may already be growing in the wall cavity where you can’t see it.
You’ll be cutting into drywall to assess the back side and framing. Wear a dust mask and eye protection. If you find visible mold (black, green, or fuzzy growth) or smell anything musty when you open the wall, stop immediately and call a mold remediation company. Do not try to clean it yourself—disturbing mold releases spores, per EPA mold guidance.
Step 1: Dry the wall fast
Remove any standing water with towels or a wet/dry vac. Pull off baseboards, trim, or anything blocking airflow along the wet section—you need air movement on both sides of the drywall if possible.
Cut a small inspection hole (2×2 inches) in the drywall about 12 inches below the visible damage line. This lets you see the back side of the drywall and check the framing. Shine a flashlight in there. If you see water pooled in the cavity, you have a bigger problem than surface damage.
Seal off the room with plastic sheeting if practical, then run a dehumidifier continuously for 24–48 hours. Aim shop fans at the wet wall. Crack a window slightly to vent moisture outside—dehumidifiers work better with a small exhaust path.
Climate and humidity reality
The standard drying timeline assumes moderate climates with relative humidity around 40–50%. In humid regions (coastal areas, Gulf states, rainy seasons), drying can take two to three times longer, and reaching low moisture readings may be difficult without commercial equipment.
Use a pin-type moisture meter on the drywall surface every 12 hours. Target readings in the low range—most drywall is considered dry when moisture content drops significantly. Drywall won’t feel wet to the touch at higher readings, but it’s still too damp to repair safely. The meter doesn’t lie.
Regional drying adjustment: If you’re in a humid climate or it’s rainy season and moisture readings aren’t dropping below acceptable levels within seven days even with a dehumidifier running, you likely need professional drying equipment. Don’t close the wall until moisture is genuinely low—trapped dampness grows mold.
Step 2: Press the drywall to assess damage
Once the surface is dry to the meter, press firmly on the damaged area with your palm. This is the decision point.
If the drywall is firm and doesn’t give: You can patch this. The gypsum core hasn’t broken down. Staining is cosmetic.
If the drywall is soft, spongy, or your finger leaves an indent: You’re replacing this section. The gypsum has absorbed water and lost its structure. Joint compound won’t bond to it, and the repair will fail.
If you’re not sure: Cut it out. A failed patch costs more time and material than just replacing the section up front. I’ve tried to save questionable drywall before—it never works.
DIY vs. contractor decision matrix
Here’s the concrete threshold for whether this repair is in DIY range:
DIY viable (materials cost $50–$150):
- Damaged area less than 2 square feet
- Surface-level damage (firm drywall, dry framing)
- Easily accessible (not ceiling cavity, crawlspace, or behind fixtures)
- Water source identified and fixed
- No mold odor or visible growth
Hire a professional (assessment $500–$2,000; full remediation $3,000–$8,000+):
- Damaged area greater than 10 square feet
- Framing involvement (soft wood, rot, heavy saturation)
- Hard-to-access areas (inside ceilings, exterior walls, behind tile)
- Mold present or suspected
- Water source unknown or unfixed
- Structural concerns
The cost difference is real, but so is the risk of a failed DIY patch that turns into a bigger mold problem. When in doubt, get an assessment before committing to either path.
Step 3: Check the framing (critical step)
Before you patch or replace anything, inspect the wood framing behind the drywall through your test hole. Use the moisture meter on any studs or joists you can reach. Wood framing needs to be dry before you close the wall.
Press the wood with your thumb. It should be firm. If the framing feels soft, spongy, or shows dark staining, stop. That’s wood rot or heavy saturation, and it’s a structural issue. You need a contractor, not a drywall patch.
If the framing is still damp but firm, leave the wall open and keep the dehumidifier running. Do not install new drywall over wet framing—you’ll trap moisture and grow mold in the cavity. I’ve made this mistake. It cost me a second round of demo and a lot of profanity.
Step 4: Patching firm, stained drywall
If the drywall passed the firmness test and the framing is dry, you’re patching.
Sand the stained area lightly with 120-grit sandpaper to rough up the surface. Wipe away dust.
Prime the stain with shellac-based primer—I use Zinsser B-I-N. Latex primer will not block water stains. You’ll repaint three times and the stain will still bleed through. Shellac primer costs $25 a quart, but one coat locks the stain permanently. Worth it.
If there are shallow gouges or surface damage, fill them with joint compound. Apply thin coats (no more than 1/8” per layer), let each coat dry, then sand smooth. Thick coats crack.
Prime the patched area again if you added compound, then paint to match your wall finish.
For small holes or deeper gouges in dried drywall, best wood fillers for drywall repairs can be a faster alternative to multiple joint compound coats.
Step 5: Replacing water-damaged drywall sections
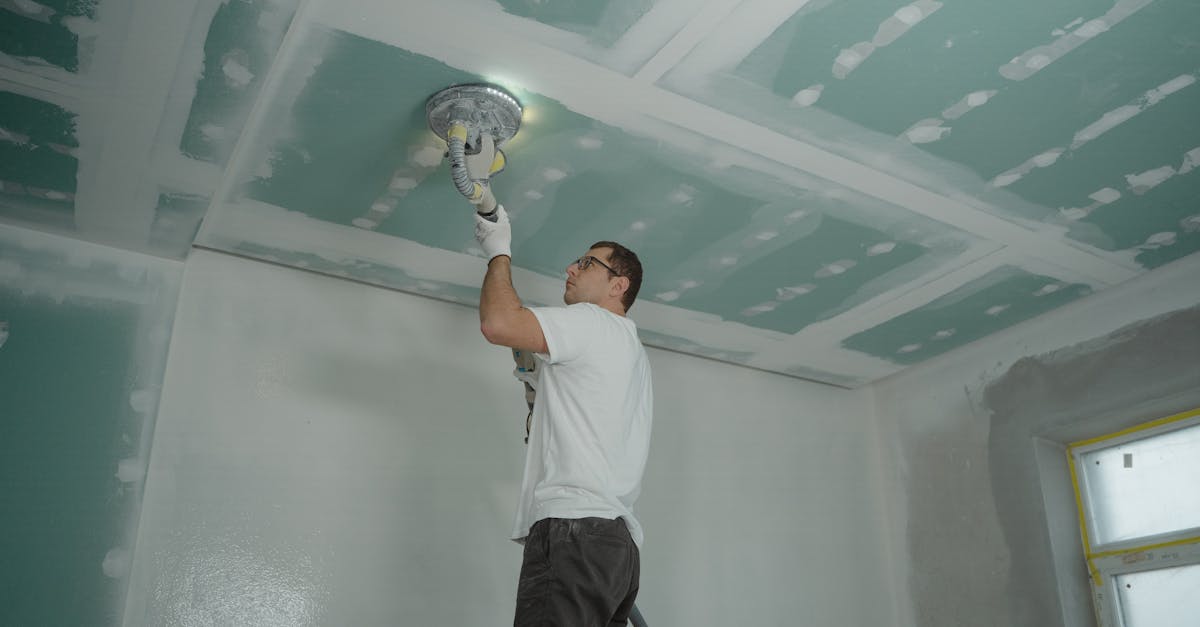
If the drywall was soft or the damage is extensive (more than about 2 square feet), you’re cutting it out and replacing the section.
Mark a rectangle around the damaged area using a level and pencil. Extend your cut lines to the center of the nearest studs on both sides—studs are typically 16 inches apart. You need a solid nailing surface for the new drywall edges. Use a stud finder if the studs aren’t obvious.
Cut along your lines with a drywall saw or utility knife. Score deeply with the knife, then snap the drywall along the score line. Pull out the damaged section.
Verify the framing is dry and firm. If not, stop and let it dry longer.
Cut a replacement piece of drywall to fit the opening. It should fit snugly between studs with about 1/8” clearance on all sides. Screw the new piece to the studs every 12 inches using 1-1/4” drywall screws. Sink screws just below the surface without tearing the paper.
Apply self-adhesive mesh tape over all seams. Mesh tape is more forgiving than paper tape for DIY work—it costs a few dollars more, but you won’t have to redo it.
Apply joint compound in three coats: a rough first coat to fill the seam, a second coat feathered 6 inches beyond the first, and a final skim coat feathered 8–10 inches. Let each coat dry completely (usually 24 hours) before sanding and applying the next. Sand between coats with 120-grit sandpaper.
Prime the entire patched area with drywall primer, then paint to match.
Verify it worked
Run the moisture meter over the repaired area and surrounding wall. Everything should read dry. If you’re still seeing elevated moisture a week after finishing the repair, you have an ongoing leak or trapped moisture. Open it back up and investigate.
Check that the patch is flush with the surrounding wall by running your hand across the seam. You shouldn’t feel a ridge or depression. If you do, add another skim coat of compound, sand, and repaint.
Troubleshooting
Problem: Moisture meter still reads high after 48 hours of dehumidification
The water source isn’t fixed, or there’s saturation in the wall cavity you can’t see from the surface. Cut a larger inspection hole to check for pooled water behind the drywall. If the cavity is wet, you may need to remove more drywall to allow airflow. In humid climates, consider that standard residential dehumidifiers may not be powerful enough—commercial equipment may be necessary.
Problem: Water stain bleeds through paint after two coats
You used latex primer instead of shellac-based primer. Sand lightly, apply Zinsser B-I-N, then repaint. Latex will not block water stains no matter how many coats you apply.
Problem: Joint compound cracked after drying
You applied it too thick. Compound shrinks as it dries—coats thicker than 1/8” will crack. Sand out the crack, apply a thinner coat, and feather the edges farther.
Problem: Damage keeps reappearing in the same spot
If you fixed the obvious leak but damage returns, check for condensation sources: poor bathroom/kitchen ventilation, HVAC condensation, or exterior wall humidity in winter. Install or upgrade exhaust fans, run a dehumidifier, or consult an HVAC tech.
When to call a professional
Stop and hire a contractor if you encounter any of these conditions:
- Visible mold (black, green, or fuzzy patches) or strong musty odor when you open the wall
- Soft or spongy framing wood, or dark staining on studs or joists
- Damage covering more than 10 square feet of wall surface—the scope exceeds practical DIY limits
- Moisture readings that won’t drop even after extended dehumidification, especially in humid climates
- Water source you can’t identify or confirm is fixed, especially if it’s coming from above (roof leak, second-floor plumbing)
- Damage occurred several days ago with no drying effort—mold may already be established in wall cavities
Mold remediation is not a DIY job. Structural wood damage isn’t either. A $500 assessment now beats a $5,000 problem later.
The repair itself isn’t complicated, but the assessment step—identifying whether it’s a leak or condensation, drying properly, testing firmness, checking the framing—makes the difference between a fix that lasts and one that fails in six months. If you’re not sure whether the drywall is firm enough or the framing is dry enough, err on the side of replacing the section or calling a pro. Drywall is cheap. Mold remediation is not.