

Pour a tablespoon of water onto your granite counter right now. If it beads up like rain on a windshield, you don’t need to seal it. If it soaks in within 30 seconds, you need to seal it. That’s the entire diagnostic, and it’ll save you from buying sealer you don’t need or resealing counters that are already protected.
Granite is porous at the microscopic level—even the densest slabs absorb liquids. Your fabricator may have sealed it at install, but most sealers wear out depending on traffic, granite type, and which cleaners you use daily. Unsealed granite stains from wine, lemon juice, cooking oil, and water rings. Sealing fills those pores with a barrier. The good news: it’s a low-stakes DIY project if you avoid the one mistake that causes cloudiness.
The water-absorption test: Does your granite actually need sealing?
Before you buy anything, do this test in three spots on your counter:
- Pour a tablespoon of room-temperature water onto the granite.
- Wait 30 seconds.
- Watch what happens.
If the water beads up and pools: Your granite is still sealed. Don’t reseal yet.
If the water darkens the stone or absorbs quickly: Time to seal.
This standard porosity test tells you whether your specific granite needs sealing right now, not whether some generic timeline says you should. Polished dark granite typically needs resealing every 3-5 years, while honed or light-colored granite may need it every 1-3 years. The test is your truth.
Sealer types & what they actually cost
| Type | How it works | Dry time | Cost per kitchen | Lasts | Best for |
|---|---|---|---|---|---|
| Penetrating (impregnator) | Soaks into pores; invisible finish | 24-48 hours | $15-$30 | 1-3 years | Most DIY jobs; dark granite |
| Topical (film-forming) | Forms protective layer on surface | 2-6 hours | $20-$40 | 2-4 years | Light granite; high-traffic areas |
Penetrating sealers are what most people use at home. They don’t change the granite’s appearance and work on polished or honed finishes. Topical sealers add a slight sheen and are easier to see during application, which helps beginners avoid streaks—but they can feel slippery if over-applied.
A quart of penetrating sealer covers roughly 100-200 square feet according to manufacturer specifications, so one bottle handles most kitchens.
DIY vs. professional sealing: What the cost difference actually buys you
Sealing granite yourself costs $20-$50 for materials and takes about an hour of active work. Professional countertop sealing typically runs several hundred dollars per kitchen, though rates vary widely by region and counter square footage.
The DIY approach works for most homeowners who follow instructions carefully. You’re applying the same penetrating sealers pros use, just without the volume discounts and practiced technique. The professional option makes sense if you’ve already over-applied sealer and caused cloudiness (stripping and resealing requires specialized products), or if you have textured granite finishes like leathered or flamed stone that need specialty treatment.
For standard polished granite in good condition, the DIY route delivers the same protection at a fraction of the cost—provided you avoid over-application.
What you’ll need
Materials:
- Granite sealer (penetrating formula for most jobs)
- Lint-free microfiber cloths (pack of 3-5)
- Rubber gloves
- Painter’s tape
Tools:
- Spray bottle (optional, if sealer instructions call for misting)
Don’t use:
- Paper towels (leave lint)
- Old t-shirts (also lint)
- Sponges (uneven application)
Before you start
- Read your sealer’s instructions completely. Brands vary on soak time and number of coats.
- Clear everything off the counters.
- Wipe granite with a damp cloth, then let it dry for at least 2-3 hours. On humid days, wait longer. Sealing damp granite traps moisture on the surface instead of letting the sealer penetrate.
- Open windows or turn on a fan—most sealers release VOCs.
- Tape off edges where granite meets backsplash or cabinet tops if you want clean lines.
Step 1: Apply sealer in small sections
Pour a small amount of sealer (about a tablespoon) onto your microfiber cloth—not directly onto the granite. Work in a 2-3 foot section at a time.
Rub the sealer into the granite using small circular motions. You want a thin, even coat. It should look slightly wet but not puddled. If you see pooling, you’ve used too much; wipe it up immediately with a dry cloth.
Step 2: Let it soak
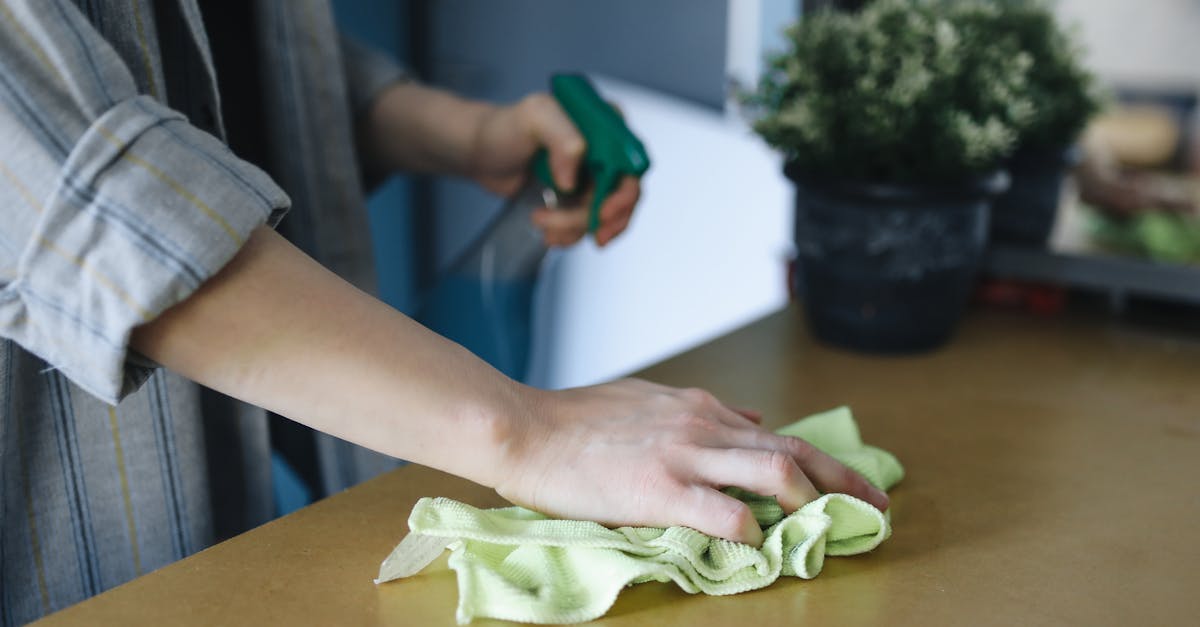
Most penetrating sealers need 3-5 minutes of soak time per coat. Check your bottle. During this time, the sealer is filling the microscopic pores in the granite. Don’t wipe it off too soon or it won’t bond properly.
Step 3: Wipe away excess
After the soak time, use a clean, dry microfiber cloth to wipe away any remaining sealer on the surface. The granite should look dry, not glossy. If it looks wet or shiny after wiping, you’ve over-applied—keep buffing with a dry cloth until the shine disappears.
Move to the next section and repeat Steps 1-3 until the entire counter is done.
Step 4: Apply a second coat if needed
Some sealers recommend two coats; some don’t. Check your instructions. If a second coat is called for, wait the recommended time (usually 30 minutes to 2 hours) between applications, then repeat the process.
Step 5: Let it cure completely
Don’t use the counters for 24-48 hours. The sealer needs this time to fully cure and bond with the granite. Spills or heavy use before it’s cured can smudge the seal or leave permanent marks.
After 48 hours, do the water-absorption test again in an inconspicuous spot. Water should bead up. If it still absorbs, the granite may need a second coat or a more heavy-duty sealer.
The mistake that ruins the finish: over-application

This is the problem I see most often in DIY sealing jobs. Too much sealer doesn’t mean better protection—it means cloudy, streaky, or sticky-feeling counters that look worse than before you started.
What over-application looks like: The granite has a hazy film, feels tacky to the touch, or shows white streaks that won’t wipe away. It happens because excess sealer dried on the surface instead of soaking into the pores.
How to avoid it: Use less sealer than you think you need. A thin coat works. If the granite looks wet after you’ve wiped it, keep buffing with a dry cloth. The final result should look bone-dry.
If you’ve already over-applied: Wipe it down immediately with mineral spirits on a clean cloth (test in a hidden corner first). If the sealer has fully cured and left a permanent haze, professional refinishing can strip and reseal the counter, though the cost will likely exceed what you’d spend replacing the sealer itself several times over.
Cleaners that damage your seal—and what to use instead
Sealer protects granite from staining, but using the wrong cleaners will degrade that protection faster than normal wear. Many common household products actively break down granite sealers or etch the stone surface.
| ❌ Avoid | Why it’s a problem | ✅ Use instead |
|---|---|---|
| Vinegar, lemon juice, citrus cleaners | Acidic; etches stone and degrades sealer | pH-neutral stone cleaner or plain water |
| Ammonia-based glass cleaners (Windex, etc.) | Strips sealer coating over time | Stone-safe spray or damp microfiber cloth |
| Bleach, Lysol, bathroom cleaners | Too alkaline; damages sealer bond | Mild dish soap diluted in water |
| Abrasive scrubbers (Scotch-Brite pads, steel wool) | Scratches surface and removes sealer | Soft microfiber cloth or non-scratch sponge |
| All-purpose cleaners (409, Fantastik) | Often contain harsh solvents | Stone-specific cleaner |
Oregon State University Extension recommends pH-neutral cleaners specifically formulated for natural stone, or a solution of mild dish soap and water for daily maintenance. This Old House emphasizes that even “natural” cleaners like vinegar can cause permanent etching on granite and marble.
The fastest way to need resealing sooner than expected: spray your granite with vinegar or Windex daily. Stick to stone-safe products and your sealer will last its full expected lifespan.
How to know when to reseal—by granite type
Ignore generic timelines. Your resealing schedule depends on three factors: granite porosity, finish type, and traffic level.
Polished dark granite (black, deep gray, brown): Test annually. Typically needs resealing every 3-5 years. Dense stone with low porosity and a polished finish resists absorption naturally.
Polished light granite (white, beige, light gray): Test every 6-9 months. Typically needs resealing every 2-3 years. Lighter stones tend to be more porous.
Honed, leathered, or textured granite (any color): Test every 6 months. Typically needs resealing every 1-3 years. Non-polished finishes have more surface area exposed to absorption.
High-traffic areas: Spots near the sink, stove, or main prep zone may need resealing before the rest of the counter. Test these areas separately.
The water-absorption test remains your definitive answer. If water beads up, your granite is still sealed regardless of how long it’s been.
Daily habits that extend sealer life
Sealer protects against penetration, not etching or heat damage. These habits keep granite looking good between sealing sessions:
- Wipe spills within 15 minutes, especially acidic liquids like citrus, vinegar, wine, or coffee.
- Use coasters under glasses and bottles.
- Clean with pH-neutral stone cleaner or plain water with a drop of mild dish soap. Skip vinegar, bleach, and ammonia-based sprays.
- Use trivets for hot cookware. Granite won’t crack from heat, but sudden temperature changes can cause micro-fractures that compromise the seal.
- Dry the sink area after washing dishes to prevent standing water from wearing down the sealer prematurely.
These habits prevent stains even better than resealing frequently. If you’re also dealing with water damage around your sink, How to Fix a Leaky Kitchen Sink Faucet in 6 Steps before it undermines your sealed counters.
When to call a professional
Sealing granite is low-stakes DIY, but there are a few scenarios where a pro is worth the cost:
- You’ve over-applied sealer and the cloudiness won’t come off. Professional refinishing can strip and reseal.
- Your granite is severely stained despite regular sealing. It may need professional poultice treatment (a clay-based stain remover applied overnight).
- You have leathered, brushed, or flamed granite. These textured finishes need specialty sealers; a fabricator’s recommendation is safer than guessing.
- You spilled something acidic before the sealer cured. A pro can assess whether it’s surface-level or permanent.
Product recommendations
Disclosure: This article contains affiliate links. If you purchase through these links, FixerDaily may earn a commission at no additional cost to you.
I’ve used or researched these based on performance, cost, and availability. Prices checked as of August 2026.
Best budget penetrating sealer: Aqua Mix Sealer’s Choice Gold (~$25-$30/quart, available at Lowe’s) Works on all granite types, minimal odor, widely available at home improvement stores. Reseal every 1-3 years depending on traffic.
Best premium penetrating sealer: Granite Gold Sealer (~$35-$45/quart, see Granite Gold) Faster dry time (24 hours instead of 48), lasts longer than budget options, and lower VOCs. Good for high-traffic kitchens.
Best for dark or honed granite: Miracle Sealants 511 Impregnator (~$22-$32/quart, available at Home Depot) Brings out color without adding shine. Works well on matte finishes. Reseal every 1-3 years.
Sealing granite is one of those tasks that sounds more complicated than it is. The water test tells you if you actually need to do it, a quart of sealer covers most kitchens, and the application takes about an hour if you don’t overthink it. Reseal when the test says to—not when a calendar tells you to—and avoid the household cleaners that degrade your work. Your counters will stay stain-free without constant maintenance.
For more kitchen fixes that don’t require a contractor, check out How to Fix a Sagging Cabinet Door in 5 Steps and How to Replace Cabinet Hinges in 30 Minutes.