
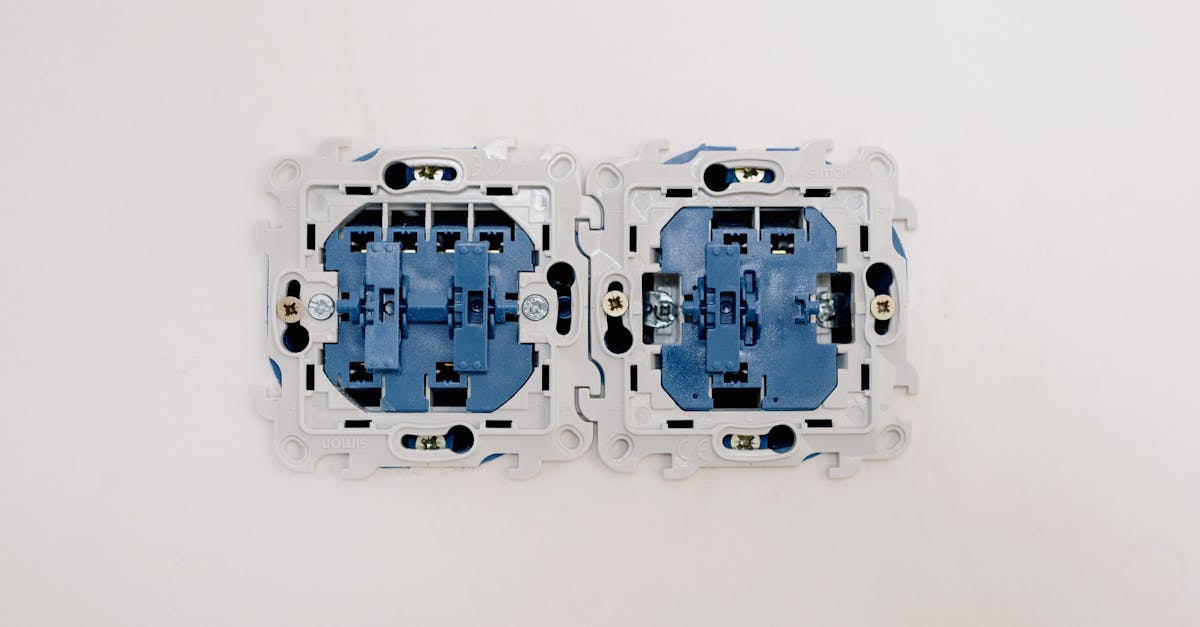
A faulty light switch will either fail completely or start arcing — that soft crackling sound when you flip it means the contacts are wearing through and the switch is months from dead. Replacing one takes 15 minutes and costs under $5 for a standard toggle, or $20–$50 if you’re upgrading to a dimmer. But before you buy anything, confirm the switch is actually broken — half the “dead switch” calls I’ve diagnosed turned out to be tripped breakers or bad bulbs, not failed switches at all.
I’ve replaced switches in rental units, my own 1970s house, and helped friends troubleshoot why their new dimmer kept flickering on LED bulbs. The most common mistake isn’t a wiring error — it’s skipping the voltage test and assuming the breaker you flipped actually killed the circuit. I’ve found live wires on breakers labeled “spare” more than once. The second most common mistake is installing an under-rated dimmer on a high-wattage fixture, which creates a fire hazard the National Fire Protection Association (NFPA) specifically warns against in the National Electrical Code.
Affiliate Disclosure: We may earn affiliate commission on products linked below — we link only to brands we’ve tested or verified.
Is Your Switch Actually Faulty? Diagnose First
Before you replace anything, rule out these more common causes:
The light won’t turn on at all:
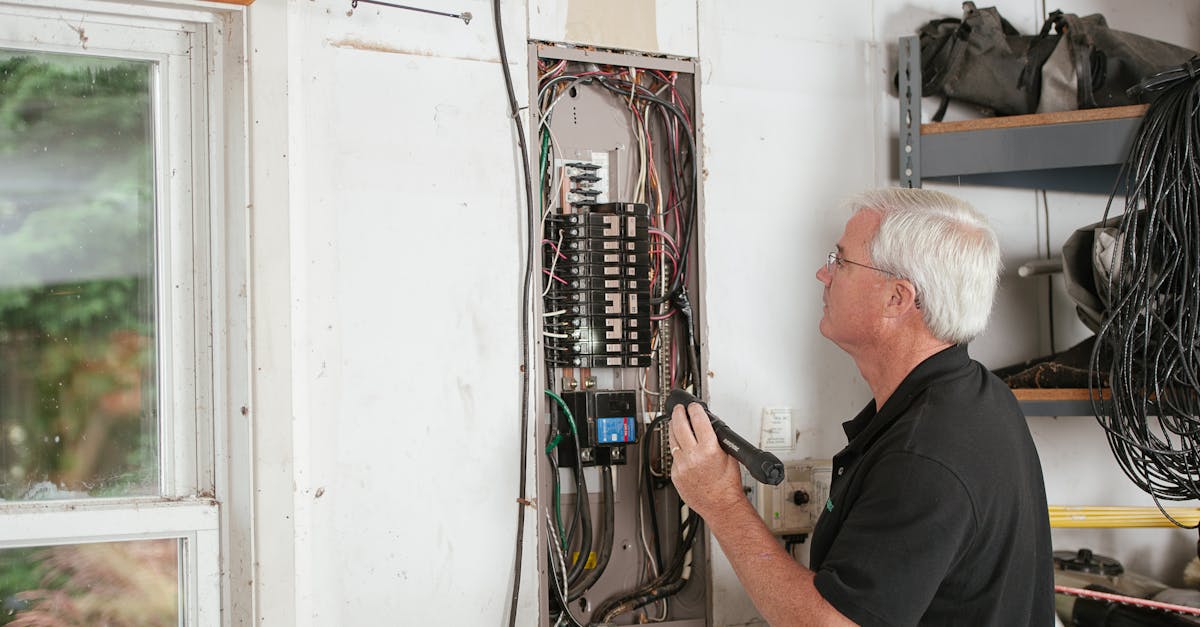
- Check if other lights on the same circuit work. If nothing works, you likely tripped a breaker — check your panel.
- If other lights work, replace the bulb first. Dead bulbs outnumber dead switches ten-to-one.
- If a new bulb doesn’t fix it, check the fixture itself — loose wiring at the light socket is more common than switch failure in fixtures older than 15 years.
The switch crackles, sparks, or feels warm: This is a real failure. The contacts inside are arcing, which means carbon buildup and eventual breakdown. Replace the switch — it’s a few months from dead and a potential fire risk.
The switch works intermittently: Could be a loose wire at the switch terminal (fixable by tightening the screw) or a failed internal contact (replace the switch). Turn off the breaker, remove the switch plate, and check if any terminal screw is loose. If the connections are tight and it still fails intermittently, the switch is done.
You want dimming where you didn’t have it before: This isn’t a repair — it’s an upgrade. You’ll need to confirm your circuit can handle it (see dimmer load ratings below) and verify you’re not working with a 3-way circuit, which requires specialty dimmers.
If you’ve ruled out bulbs, breakers, and fixture wiring and the switch is still dead or arcing, proceed to replacement.
What You’ll Need
Tools:
- Non-contact voltage tester (Klein Tools NCVT-3 or equivalent, $10–$15) — non-negotiable
- Screwdriver set (Phillips and flathead)
- Your phone’s camera (for documenting wire positions)
- Wire strippers (optional, only if reconnecting damaged wires)
Materials:
- Replacement switch (toggle or dimmer — see decision table below)
- Electrical tape (optional, for securing wire nuts)
Prerequisites:
- Access to your breaker panel
- Ability to identify which breaker controls the switch
Toggle vs. Dimmer: What’s the Difference?
| Feature | Standard Toggle | Dimmer Switch |
|---|---|---|
| Cost | $0.70–$5 | $20–$50 |
| Install Time | 10-15 minutes | 15-20 minutes (bulkier body) |
| Works on 3-way circuits? | Yes (if labeled 3-way) | No, unless it’s a 3-way dimmer |
| Max Load | 15A (1800W) typical | 600W–1000W (varies by model) |
| Brightness control | On/off only | Adjustable |
| LED/CFL compatible? | Always | Only if labeled LED/CFL-compatible |
| Best for | Closets, bathrooms, outdoor lights | Living rooms, bedrooms, dining rooms |
Use a toggle switch if you just need reliable on/off function. Use a dimmer switch if you want brightness control — but confirm you’re replacing a single-pole switch, not a 3-way. If you have two switches that control the same light from different locations, you’re dealing with a 3-way circuit, and standard dimmers won’t work. You’ll need a specialty 3-way dimmer or an electrician to rewire.
Dimmer Load Ratings: Why They Matter
Dimmers have maximum wattage ratings — typically 600W or 1000W for residential models. Exceeding this rating causes the dimmer to overheat, which can damage the switch, trip the breaker, or in worst cases start a fire. UL testing standards require dimmers to shut down or fail safely under overload, but relying on that is poor practice.
To calculate your fixture load: Add up the wattage of every bulb the switch controls. A chandelier with eight 60W incandescent bulbs pulls 480W — fine for a 600W dimmer. But if you’re controlling two fixtures on the same switch, or a fixture with high-wattage halogens, you can easily exceed 600W. In that case, buy a 1000W dimmer or use a toggle switch instead.
LED/CFL caveat: LED bulbs draw far less power (a 10W LED produces the same light as a 60W incandescent), so LED fixtures rarely exceed dimmer ratings. But — and this is critical — you must use an LED-compatible dimmer, or you’ll get flickering, buzzing, and shortened bulb life. Standard incandescent dimmers use leading-edge phase-cut technology that causes LED driver circuits to malfunction. Lutron and Leviton both manufacture LED-specific dimmers and publish compatibility charts on their sites. Check the dimmer packaging for “LED/CFL compatible” labeling before you buy.
Before You Start: The Safety Protocol
Standard US household circuits carry 120 volts — enough to cause serious shock. OSHA defines voltages above 50V AC as a shock hazard, so turning off the breaker and confirming it’s off is not optional.
- Turn off the breaker you think controls the switch.
- Flip the switch to confirm the light doesn’t turn on.
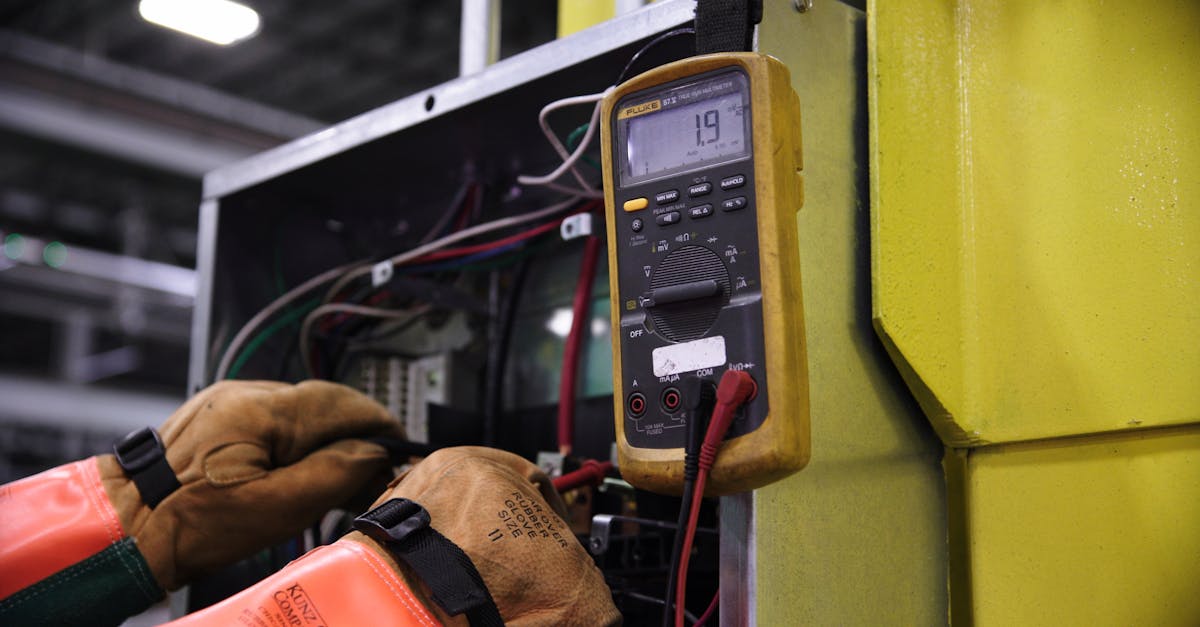
- Test for voltage with a non-contact tester before touching any wire. Hold the tester near the switch plate and listen for the beep or look for the LED. If it lights up or beeps, the circuit is still live — try another breaker.
I use a Klein Tools NCVT-3 because it works through plastic and gives both audible and visual alerts. It’s saved me from live wires at least four times when breaker labels were wrong.
Step 1: Document the Existing Wiring
Before you disconnect anything, take a photo of how the wires are currently attached. Your phone camera is the cheapest insurance you can buy for this job.
Unscrew the switch plate (the plastic or metal cover) and set it aside. Unscrew the switch itself from the electrical box — usually two long screws at the top and bottom. Pull the switch out gently; the wires will still be attached.
You should see:
- A black or red wire (hot) attached to a brass-colored screw
- A white wire (neutral) attached to a silver-colored screw, or sometimes bundled in the back of the box
- A bare copper or green wire (ground) attached to a green screw or the metal box
If you see three or more wires attached to the switch (not counting the ground), you have a 3-way circuit. Stop here if you’re planning to install a standard dimmer — it won’t work. Either stick with a 3-way toggle or buy a 3-way-compatible dimmer.
Step 2: Disconnect the Old Switch
Loosen the terminal screws and pull the wires free. If the wires are inserted into push-in terminals on the back of the switch, insert a small flathead screwdriver into the release slot next to each wire and pull.
Don’t cut the wires unless they’re damaged or corroded. You’ll reuse the same connections on the new switch.
Step 3: Connect the New Switch
Match the wire colors to the new switch terminals:
- Black or red wire (hot) → brass screw (usually labeled “hot” or “line”)
- White wire (neutral) → silver screw (if present; some switches don’t use neutral)
- Bare copper or green wire (ground) → green screw
For toggle switch installation, the process is identical whether you’re installing a standard toggle or a 3-way toggle — just match the wire positions from your photo.
For a dimmer switch, the wiring is the same, but the switch body is bulkier. If you’re working in a shallow box (common in older homes), you may need to fold the wires more carefully to fit everything back in. Some compact dimmers (like Leviton’s SureSlide series) are designed for tight boxes.
Tighten the terminal screws firmly, but don’t overtighten — cracking the switch body is a common mistake. The wire should not pull free with moderate tugging, but you shouldn’t need to wrench it down.
Step 4: Secure the Switch and Restore Power
Push the switch back into the electrical box, making sure no bare wire is exposed outside the terminals. Screw the switch to the box. Reattach the switch plate.
Go back to the breaker panel and flip the breaker back on. Test the switch. If it’s a toggle, the light should turn on and off cleanly. If it’s a dimmer, test the full range — it should dim smoothly without flickering or buzzing.
If the light flickers, buzzes, or doesn’t respond at all, turn the breaker back off and recheck your connections. The most common issue is the hot wire connected to the neutral terminal by mistake.
Troubleshooting Common Issues
The switch doesn’t control the light at all. You likely swapped the hot and neutral wires. Turn off the breaker, swap the black and white wire positions, and test again.
The dimmer switch hums or buzzes. This usually means you’re using an incandescent-rated dimmer with LED or CFL bulbs. LED bulbs require trailing-edge (reverse phase-control) dimmers, while most cheap dimmers use leading-edge technology designed for incandescent bulbs. The phase mismatch causes the LED driver circuitry to produce audible hum or high-pitched whine. Check the dimmer packaging — it should explicitly say “LED/CFL compatible.” Lutron’s compatibility tool lets you cross-reference specific bulb models with compatible dimmers. If your bulbs aren’t on the list, replace either the dimmer or the bulbs.
The dimmer causes LED bulbs to flicker, especially at low brightness. Another LED compatibility issue. Some LED bulbs have minimum load requirements — if you’re dimming a single 10W LED bulb, the dimmer may not have enough load to regulate properly, causing flicker. Solutions: add more bulbs to the circuit (increase total load), buy a dimmer rated for low-wattage LED loads, or use non-dimmable LEDs with a toggle switch instead.
The switch is warm to the touch after installation. This is not normal. Turn off the breaker immediately. Warmth means a loose connection, a short, or an overloaded dimmer (see load ratings above). Unscrew the switch and inspect the terminals — if any wire is loose or if bare wire is touching the box, that’s your problem. Tighten loose connections and wrap any exposed wire with electrical tape. If you’re using a dimmer, recalculate your fixture load — you may have exceeded the dimmer’s rating. If the warmth persists after fixing connections and verifying load, call an electrician.
I installed a dimmer but the light only goes to 50% brightness, never full bright. You may have installed the dimmer on a 3-way circuit by mistake. Standard dimmers don’t work on 3-way circuits — they’ll dim, but they won’t go to full brightness or will shut off unpredictably. You’ll need to replace it with a 3-way dimmer or revert to a toggle switch.
When to Call a Professional
You should contact a licensed electrician if:
- The switch box is hot to the touch or shows scorch marks (possible short or overloaded circuit)
- You identify 3-way or 4-way wiring and want dimmer functionality (requires specialized dimmer models and sometimes rewiring)
- The wires are damaged, corroded, or you can’t identify which is hot
- Your fixture load exceeds available dimmer ratings and you want dimming capability (may require circuit splitting)
- The circuit is in a bathroom or kitchen and you’re not sure if it’s GFCI-protected (specialized rules apply per NEC Article 404)
- Your jurisdiction requires licensed electrician sign-off on residential electrical work (common in parts of Florida, California, and NYC)
The line between “DIY-safe” and “call a pro” is whether you can see a clear hot-neutral-ground trio and the switch works a single light from one location. Anything more complicated — multiple lights on one switch, two switches controlling one light, or wiring that doesn’t match the standard color scheme — is worth a service call.
FAQ
Can I replace a light switch without turning off the breaker?
No. Household circuits carry 120 volts, and even a brief contact with a live wire can cause serious shock. Always turn off the breaker and test with a voltage tester before touching any wire.
How do I know if I need a 3-way dimmer instead of a standard dimmer?
If two switches control the same light from different locations, you have a 3-way circuit. Standard dimmers won’t work — you’ll need a 3-way-compatible dimmer (which costs $40–$80) or stick with toggle switches.
What’s the difference between a $2 toggle switch and a $30 smart switch?
Functionally, they’re identical for basic on/off control. The smart switch adds WiFi or Zigbee connectivity so you can control it from your phone or voice assistant. If you’re not planning to integrate it into a smart home system, the $2 toggle is fine.
Can I use any dimmer with LED bulbs?
No. You need a dimmer specifically rated for LED/CFL compatibility. Standard incandescent dimmers will cause flickering, buzzing, or premature LED failure. Check the dimmer packaging and cross-reference with the bulb manufacturer’s compatibility chart.
How do I calculate if my fixture will overload a dimmer?
Add up the wattage of every bulb the switch controls. If the total is under the dimmer’s rating (usually 600W or 1000W), you’re fine. For LED bulbs, use the actual wattage (usually 8–15W per bulb), not the incandescent-equivalent rating.
Replacing a light switch is one of the first electrical jobs I recommend to anyone getting comfortable with DIY — it’s low-risk if you follow the safety protocol, and it builds the diagnostic instincts you need for more complex work. If you’re ready to tackle outlets next, How to Replace Outlet Covers (No Power Shutoff Needed) uses the same breaker-off-and-test procedure. For voltage tester recommendations, best voltage testers for home use covers non-contact models in more detail.