
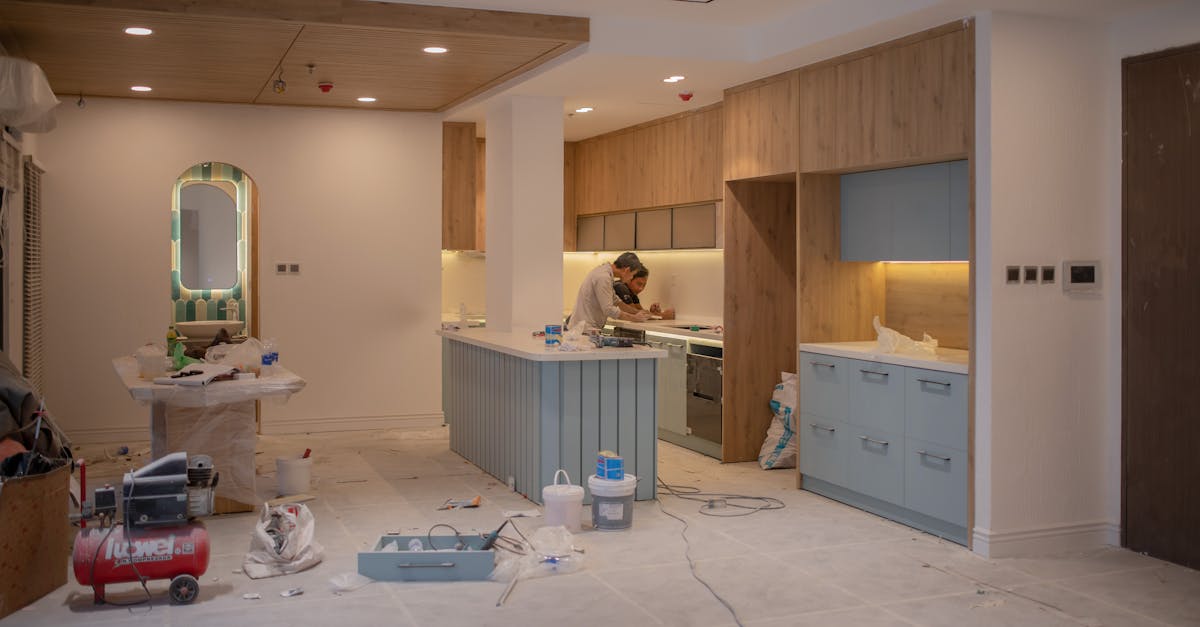
A no-sand cabinet refinish costs $200–$400 in materials and gives you a fresh color with half the labor of a full sand-and-paint job. The trade-off: expect 2–3 years of daily kitchen wear before the finish shows edge wear or chips. A properly sanded and primed cabinet lasts 5–7 years but takes twice as long. For context, professional cabinet refinishing costs $1,500–$3,000, and replacement doors run $2,000+. If your cabinets just need a color change or a tired surface refreshed, the no-sand method makes sense as a short-cycle refresh.
The method replaces sandpaper with liquid deglosser, which chemically dulls the existing finish so paint can grip. It works when your cabinets are structurally sound, the current finish isn’t heavily chipped, and you’re okay with repainting every few years instead of once a decade. If your cabinets have deep gouges, peeling veneer, or you’re refinishing a high-traffic island that takes daily abuse, skip to the “When to call a professional” section—this method has real limits.
Affiliate disclosure: This article contains product recommendations. FixerDaily may earn a commission if you purchase through links to these products.
What you’ll need
Tools:
- 2–3 angled sash brushes (2–2.5 inches)
- 6-inch foam roller for large flat surfaces
- Lint-free cloths (tack cloths and microfiber)
- Screwdriver (for removing doors and hardware)
- Spray bottle
- Sanding block and 220-grit sandpaper (for spot smoothing only)
- Hygrometer and thermometer (for checking ambient conditions)
Materials:
- Liquid deglosser—Klean-Strip Green Krudkutter ($8/qt), Citristrip ($12/qt), or DAP Fast ‘N Final ($10/qt)
- Cabinet paint—Benjamin Moore Advance ($60/qt) or Sherwin-Williams ProClassic ($55/qt) for best durability, or Rust-Oleum Cabinet Transformations ($40) for beginners
- Primer (if using standard trim paint; often optional with cabinet-specific paint)
- Painter’s tape
- Drop cloths or plastic sheeting
- Nitrile gloves and cotton work gloves
- Safety glasses
- P100 respirator
Prerequisites:
- Cabinets with solid, smooth finishes (no heavy chips or crazing)
- Ventilation—open windows, box fan pointing outward
- Ambient conditions: 50–85°F and 50–85% relative humidity
- 2–3 full days (most of that is dry time between coats)
Before you start
Check your ambient conditions
Deglosser and cabinet paint both require specific temperature and humidity to cure properly. Most products specify 50–85°F and relative humidity below 85%. High humidity slows cure time and can cause the paint to stay tacky for weeks; low humidity (below 30%) can prevent deglosser from working correctly, leaving a slick surface that paint won’t grip.
Check your kitchen’s temperature and humidity with a basic hygrometer ($10–$15 at hardware stores). If you’re painting in winter with forced-air heat running, humidity may drop below 30%—run a humidifier in the room. If you’re painting in summer with high humidity, run a dehumidifier and fans. This isn’t optional; I’ve seen cabinets peel within six months because the paint never fully cured in a humid basement kitchen.
Identify your existing finish type
Not all cabinet finishes accept deglosser equally. Knowing what you’re working with prevents wasted materials and peeling paint:
- Oil-based enamel or latex paint — Deglossers work well. The surface will dull noticeably after application.
- Polyurethane or conversion varnish — Resistant to chemical deglossing. Test first; if the surface stays glossy after deglosser application, you’ll need to sand.
- Lacquer — May soften excessively or turn gummy with some deglossers. Test in an inconspicuous spot; if it doesn’t dry matte within the recommended time, sand instead.
- Stained wood (no clear coat) — Not suitable for this method. Stain won’t grip deglossed surfaces reliably.
To test: apply deglosser to the inside of a cabinet door, let it dry fully per product instructions, then run your hand over it. It should feel matte and slightly rough, not slick or tacky. If it’s still glossy or feels gummy, your finish isn’t compatible—plan to sand or hire a professional.
Ventilation is non-negotiable
Deglosser and cabinet paint both release volatile organic compounds that cause headaches and respiratory irritation in enclosed spaces. Open every window in the kitchen, run a box fan pointing outward, and keep doors to adjacent rooms closed. The EPA warns that VOC exposure in poorly ventilated spaces causes dizziness and respiratory distress. Wear a P100 respirator rated for organic vapors—OSHA chemical safety standards recommend this level of protection when working with solvents indoors.
Lead paint check
Cabinets built before 1980 are likely to have lead paint. If your cabinets are old or you’re unsure of the existing finish, do not sand or degloss without testing. Lead paint dust is toxic, especially around children. Contact your local health department for testing options, or assume lead paint is present and treat it as such: do not sand, use only wet-wipe methods, and dispose of materials as hazardous waste. If you suspect lead, hire a professional for stripping and disposal. The EPA has lead safety guidance with testing resources and certified contractor directories.
Wear nitrile gloves when handling deglosser (it’s caustic) and a respirator when applying it. If deglosser or paint contacts your eyes, flush immediately with water for 15 minutes and call poison control.
Step 1: Prep the space
Remove cabinet doors and hardware. Painting doors flat on sawhorses gives you better control, fewer drips, and a smoother finish than painting in place. Label each door with painter’s tape (noting which cabinet it came from) for easy reinstallation.
Lay drop cloths under and around cabinets. Use plastic sheeting to protect countertops. Clear counters completely—paint mist travels farther than you’d expect.
Step 2: Clean thoroughly
Wipe all surfaces with a damp cloth to remove dust and debris. For grease—especially on cabinets above the range—use a degreaser or trisodium phosphate (TSP) solution. Rinse thoroughly with clean water and let dry at least 2 hours.
This step matters more than you’d think. Grease acts as a release agent; paint won’t stick to it. I’ve seen no-sand refinishes peel within six months because the cleaner skipped the degreaser. The surface looked clean, but finger oils and cooking residue prevented adhesion.
Step 3: Apply liquid deglosser

Put on gloves, glasses, and respirator. Ensure the fan is running and ambient conditions are within spec (50–85°F, moderate humidity).
Apply deglosser with a brush or lint-free cloth, working in sections. Follow the product instructions exactly—most recommend applying liberally, letting it sit 10–20 minutes, then wiping down with a clean cloth. Deglosser softens and dulls the existing finish, making it matte and paintable. You’re not stripping the finish off; you’re deglossing it.
Do not scrape aggressively. Do not rush the dwell time. If the instructions say wait 15 minutes, wait 15 minutes. Cutting this short is the most common reason no-sand cabinet painting fails.
Allow the deglosser to dry per product specs—typically 1–4 hours. The surface should feel dry and matte, not tacky. If it’s still glossy, your finish type isn’t compatible; see the compatibility guidance above.
Step 4: Spot-smooth and de-dust
Run your hand over the deglossed surfaces. Feel any bumps, dried drips, or dust nibs? Sand only those spots with 220-grit sandpaper on a sanding block. Do not sand the entire surface—you’ll undo the deglosser.
Wipe everything down with a tack cloth to remove dust. Any dust left behind will be visible as texture in the final coat.
Step 5: Prime (if needed) or apply first paint coat
If you’re using cabinet-specific paint like Benjamin Moore Advance or Sherwin-Williams ProClassic, primer is often optional—check the product data sheet. If you’re using standard trim paint, apply a coat of primer first.
Work in thin, even strokes with the angled brush. Thin coats dry faster, level smoother, and are less likely to sag than thick ones. Use the foam roller on large flat surfaces (door faces, drawer fronts) and the brush on edges, frames, and details.
Allow the coat to dry fully—usually 12–24 hours depending on temperature and humidity. In high humidity, expect longer cure times.
Step 6: Apply second and third coats
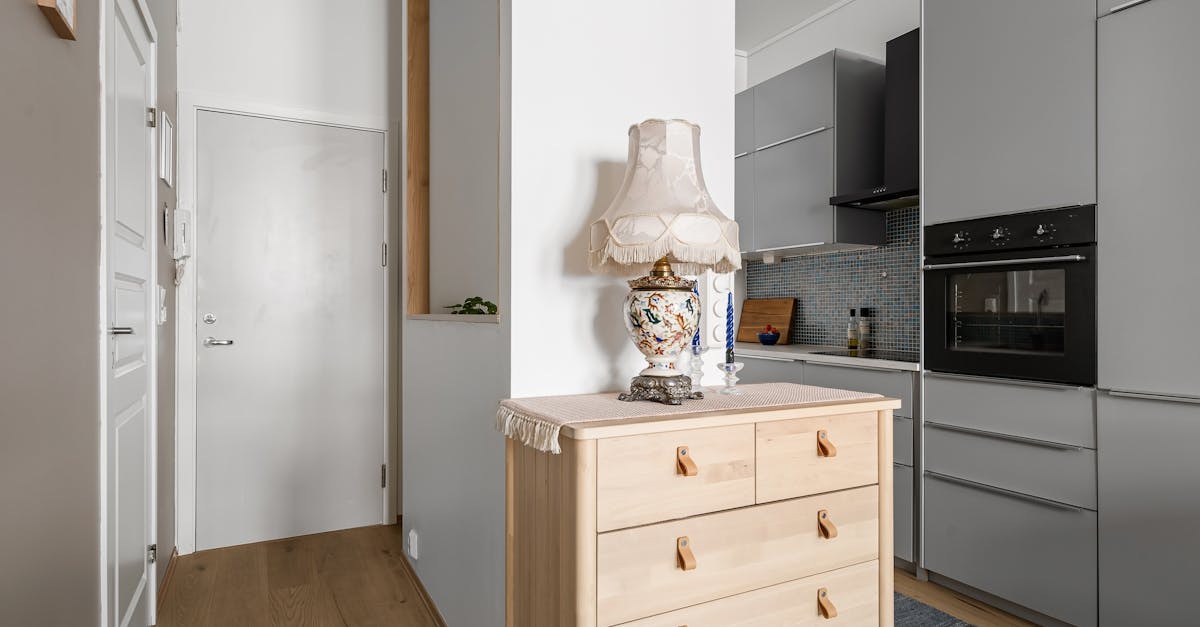
Lightly sand between coats with 220-grit if the surface feels rough. Wipe with a tack cloth.
The second coat usually provides full opacity. A third coat adds durability, which matters for a no-sand finish where adhesion isn’t as strong as it would be with sanding.
Wait the full recommended recoat time between layers. If the paint feels tacky-dry but the can says wait 16 hours, wait 16 hours. Rushing recoats causes wrinkling and drag marks.
Verify it worked
After the final coat has cured (usually 7–14 days, longer in high humidity), test a high-touch area—a drawer front or door near the sink. Press your thumbnail into the paint at an angle. It should resist marking. If it dents easily or feels soft, it hasn’t fully cured; give it more time.
Reinstall hardware and doors. Close and open each door to confirm smooth operation. If doors stick, you may have applied paint too thickly along edges; sand lightly and retest.
Troubleshooting
Problem: Paint is peeling at edges or seams within weeks.
Cause: Inadequate deglosser coverage or cleaning, incompatible finish type, or recoating too soon. Paint didn’t bond to the existing finish.
Fix: Strip the peeling section, re-clean, re-degloss, and repaint. If peeling is widespread, you’ll need to strip everything and start over with sanding.
Problem: Paint feels tacky or soft after a week.
Cause: High humidity during drying, poor ventilation, or thick coats.
Fix: Increase airflow and run a dehumidifier if humidity is above 70%. If the issue persists beyond two weeks, the paint may not cure properly; consider stripping and repainting with a different product or waiting for better ambient conditions.
Problem: Brush marks are highly visible in the finish.
Cause: Low-quality brushes, paint applied too thickly, or paint that doesn’t self-level.
Fix: Sand lightly with 320-grit, wipe clean, and apply another thin coat with a high-quality brush. Benjamin Moore Advance and Sherwin-Williams ProClassic both self-level well if applied correctly.
Problem: Drips and sags.
Cause: Too much paint on the brush or roller.
Fix: Sand drips smooth once fully dry, wipe with tack cloth, and recoat thinly.
Problem: Deglosser left the surface gummy or tacky.
Cause: Finish type incompatibility—usually lacquer or certain polyurethanes.
Fix: Wipe the surface clean with mineral spirits, let dry completely, and sand the cabinets instead of relying on deglosser.
When to call a professional
You should sand—or hire someone to sand—instead of using this method if:
- Your cabinets have heavy chips, cracks, or peeling in the existing finish. Deglosser won’t fix structural finish problems.
- The cabinets are stained wood with no paint or clear coat. Stain doesn’t grip deglossed surfaces reliably; you’ll get uneven coverage.
- You’re refinishing a high-traffic island or prep area where durability is critical. A sanded, primed, and professionally painted surface lasts longer than a no-sand finish.
- The existing finish is lacquer or conversion varnish and your test spot didn’t degloss properly. Professional stripping is the reliable path.
- You suspect lead paint. Professional stripping and disposal are required.
- You need the cabinets to last 7+ years without touch-ups. A full sand-prime-paint job (DIY or professional) is the better investment.
If cabinet boxes are particleboard and the veneer is peeling or swollen from water damage, refinishing won’t help. That’s a replacement job.
FAQ
Can I use regular wall paint instead of cabinet paint?
No. Wall paint isn’t formulated for the adhesion, durability, or washability that cabinets need. It will chip and wear quickly. Use paint labeled for cabinets or trim—products like Benjamin Moore Advance or Sherwin-Williams ProClassic offer the best durability for no-sand projects.
How long does a no-sand refinish actually last?
Expect 2–3 years of daily wear before the finish shows edge wear or chips and needs a refresh. Durability depends on cabinet location (high-traffic islands wear faster than perimeter cabinets) and how heavily you use them. A properly sanded and painted cabinet can last 5–7 years. Given the cost difference—$200–$400 for DIY no-sand vs. $1,500–$3,000 for professional refinishing—the shorter refresh cycle is often worth it for kitchens that just need a color update.
Do I really need to remove the doors?
No, but it’s much easier. Painting doors flat on sawhorses gives you better control, fewer drips, and smoother results than painting vertically while mounted. If you paint in place, expect more visible brush marks and longer work time.
What’s the difference between deglosser and paint stripper?
Deglosser dulls the existing finish chemically so paint can adhere; it doesn’t remove the finish. Paint stripper removes the finish entirely. For a cabinet refresh where the existing finish is sound, deglosser is faster and less messy.
Why does humidity matter so much?
Cabinet paint and deglosser cure through chemical reactions that depend on specific moisture levels in the air. Too much humidity slows curing and can leave paint tacky for weeks; too little prevents deglosser from working properly. The 50–85% range ensures both products perform as designed.
If you’re also sealing gaps between cabinets and backsplash as part of this refresh, FixerDaily has kitchen caulking guidance for product recommendations. Many people pair a cabinet painting project with upgrading under-cabinet lighting—the combination makes a dramatic difference for relatively low cost.