

The gap between your baseboard and wall isn’t a sign you hired the wrong contractor — it’s what happens when wood moves, houses settle, and humidity swings through the seasons. Caulking those gaps takes about an hour per room and costs $15-$40 in materials, but only if you use the right caulk for your surface. Use the wrong type and you’ll be recaulking in six months.
This is a beginner-friendly project that makes a room look finished without requiring any power tools or advanced skills. You’ll need steady hands and patience, but the payoff is immediate: clean lines, no dust buildup in the gaps, and trim that looks like it was installed by someone who cared.
What Caulk to Use for Trim: The Decision That Actually Matters
Most caulking guides tell you to “pick a caulk” without explaining why one fails where another works. Here’s the framework that cuts your decision time in half:
| Your Situation | Best Caulk | Why | Cure Before Painting | Cost per Tube |
|---|---|---|---|---|
| Baseboards on hardwood/tile, interior walls | Acrylic latex (paintable) | Easy cleanup, paintable, low odor. Shrinks slightly over time. | 2-4 hours | $3-$5 |
| Baseboards over carpet | 100% silicone OR polyurethane | Acrylic latex absorbs moisture from carpet and fails. Silicone/poly resist moisture. | Silicone: 24-48 hours; Polyurethane: 12-24 hours | $4-$10 |
| Bathroom or kitchen trim | Silicone or polyurethane | High humidity destroys acrylic latex. Silicone lasts longest; polyurethane is paintable. | Silicone: 24-48 hours; Polyurethane: 12-24 hours | $4-$10 |
| Gaps that keep reappearing (settling house) | Polyurethane | More elastic than acrylic latex; accommodates minor movement without cracking. | 12-24 hours | $6-$10 |
| Closets, mechanical spaces (appearance doesn’t matter) | Standard silicone | Cheap, durable, doesn’t need paint. | N/A (not paintable) | $4-$6 |
The rule: If the surface can get wet or holds moisture (carpet, bathroom, laundry room), don’t use acrylic latex. It will peel within a year.
I learned this the hard way after caulking an entire apartment’s baseboards with cheap acrylic latex — including over the bedroom carpet. Six months later, the carpet-adjacent caulk was peeling in strips. The stuff on hardwood and tile? Still perfect. Moisture is the deciding factor.
Paint Compatibility: What the Tube Doesn’t Tell You
“Paintable” caulk doesn’t mean you can paint it immediately. Sherwin-Williams technical guides specify that even fast-cure acrylic latex needs 2-4 hours before painting, while silicone and polyurethane require 24-48 hours of full cure. If you paint too early, the paint won’t bond to the caulk surface — it’ll peel off in sheets within weeks.
Primer requirements:
- Acrylic latex: No primer needed over painted surfaces. If caulking raw wood, prime first.
- Silicone: Not paintable. Paint beads up and won’t adhere.
- Polyurethane: Paintable without primer, but benefits from a coat of Benjamin Moore Fresh Start or similar acrylic primer if you’re using oil-based topcoats.
The most common failure I see: someone caulks with silicone, tries to paint it anyway, and wonders why the paint won’t stick. Silicone repels everything. If you need it to match your trim color, buy paintable polyurethane instead.
Moisture Performance and Code Compliance
Elastomeric sealants (including the caulks you’re buying at the hardware store) are tested under ASTM C920 standards, which measure adhesion, elongation, and moisture resistance. For interior trim, you want a Class 25 sealant (±25% joint movement) minimum. Most acrylic latex caulks fail this standard in high-humidity environments, which is why they crack and peel in bathrooms and over carpet.
Building code considerations for kitchens and bathrooms: Gaps wider than 1/2 inch in moisture-prone areas (kitchens, bathrooms, laundry rooms) may trigger International Building Code requirements for vapor barriers and moisture-resistant backing. If you’re caulking a gap that wide, you’re not just covering a cosmetic issue — you’re potentially masking a moisture-infiltration point. Use polyurethane or silicone rated for continuous moisture exposure, and if the gap appeared suddenly or keeps reappearing, get a contractor to assess the framing and vapor barrier integrity before you seal it up.
For gaps over 1/2 inch anywhere in the house, fill with closed-cell foam backer rod first, then caulk over it. Caulk alone will sag and crack in wide gaps.
What You’ll Need
Tools:
- Caulking gun ($12-$18 for a dripless model — worth it over the $3 single-use kind)
- Painter’s tape (blue, not masking tape)
- Putty knife or caulk-smoothing tool (a $2 five-in-one tool works)
- Utility knife (to cut tube tips)
- Wet rag or sponge
- Drop cloth or plastic sheeting (especially for carpet)
- Gloves
Materials:
- Caulk (1 tube covers 30-50 linear feet; most rooms need 2-3 tubes)
- Backer rod (only if you have gaps wider than 1/2 inch)
Before You Start
Check the temperature. Caulk won’t cure properly below 50°F or above 85°F. If you’re working in a cold room, turn up the heat and wait an hour before you start.
Identify what you’re actually fixing. Small gaps (under 1/4 inch) are normal expansion/contraction and caulk handles them perfectly. Gaps wider than 1/2 inch or baseboards visibly pulling away from the wall signal settling or foundation movement — caulk is a temporary cosmetic fix, not a solution. If you see gaps that weren’t there six months ago and they’re spreading, get a foundation inspection before you spend money on caulk.
Step 1: Prep the Gap
Vacuum out dust, debris, and any old paint chips from the gap. If you’re recaulking over old caulk, scrape it out with a putty knife — you can caulk over silicone or polyurethane if it’s intact, but never over failed acrylic latex (it traps moisture underneath and the new caulk won’t stick).
Run painter’s tape along both edges of the gap — 1/4 inch above the baseboard on the wall, and 1/4 inch below the gap on the baseboard or floor. This keeps caulk off your wall and carpet and turns a potentially messy job into a clean one. If you’re working over carpet, lay down plastic sheeting to catch drips.
Step 2: Load and Test the Gun

Cut the tube tip at a 45° angle about 1/4 inch from the end. Puncture the inner seal with the spike on your caulking gun. Load the tube and squeeze a test bead onto a scrap surface to confirm the flow is steady and the gun is working.
Step 3: Run the Bead
Hold the gun at a 45° angle and move along the gap in one smooth, continuous motion. Apply steady pressure and aim for a bead that slightly overfills the gap — you’ll smooth it down in the next step. Don’t stop mid-wall or you’ll create a visible seam.
Step 4: Smooth the Caulk
Immediately after applying the bead (within 30 seconds), drag a wet putty knife or caulk-smoothing tool along the bead in one smooth pass. This presses the caulk into the gap and removes the excess. Re-wet the tool frequently and work in one direction — don’t scrub back and forth or you’ll damage adhesion.
Peel the painter’s tape while the caulk is still slightly wet (not fully cured) for a crisp edge. If you wait until it’s fully dry, the tape will pull up dried caulk with it.
Step 5: Let It Cure
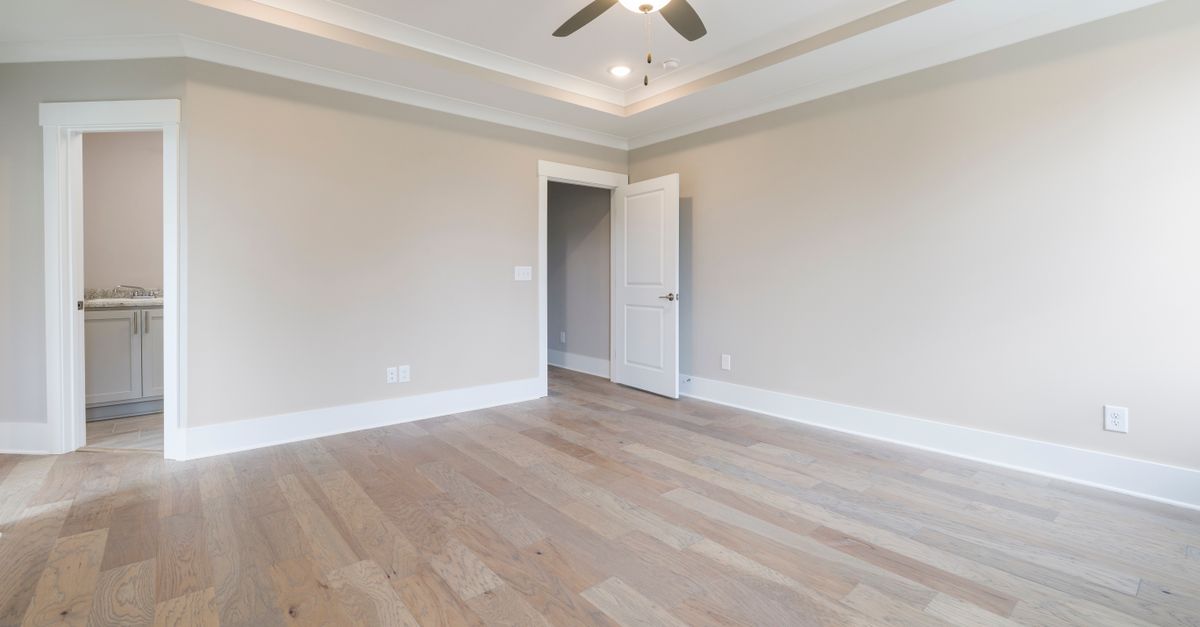
Check the tube for cure times. Acrylic latex is usually touch-dry in 1-2 hours and fully cured in 24 hours. Silicone takes 24-48 hours. Polyurethane varies by brand (12-24 hours). Do not paint over caulk until it’s fully cured — this is the most common paint-adhesion failure point. This Old House recommends waiting the full manufacturer-specified cure time plus an extra 4-6 hours if you’re painting in high humidity or temperatures below 60°F.
Caulking Baseboards Over Carpet: The Real Problem
Here’s what most guides won’t tell you: acrylic latex caulk fails over carpet because carpet holds moisture. The caulk absorbs that moisture, loses adhesion, and peels within 6-12 months. I’ve recaulked the same baseboard-to-carpet junction three times before I figured this out.
When to caulk over carpet:
- Small gaps (1/8 inch or less) where you’re trying to block dust or bugs from getting under the baseboard.
- You’re using 100% silicone or polyurethane caulk (NOT acrylic latex).
How to do it:
- Vacuum the gap thoroughly and make sure it’s bone-dry.
- Use 100% silicone caulk (GE Silicone II runs about $5/tube and meets ASTM C920 Class 25 standards). If you want it paintable, use polyurethane instead (OSI QUAD or similar, around $8-$10/tube). We may earn a small commission from linked product brands; this doesn’t change your price.
- Smooth gently — silicone is stickier and harder to shape than acrylic latex.
- Accept that silicone won’t blend with paint. It stays glossy and translucent. If that bothers you, go with polyurethane.
Honest take: If the gap is wider than 1/4 inch or the baseboard is visibly separating from the wall, caulking over carpet is a band-aid. You’re masking settling, humidity swings, or foundation movement. The caulk will fail and you’ll be redoing this every 1-2 years. For renters, it’s still worth doing because it blocks dust and bugs and the caulk peels off cleanly when you move out (no deposit loss).
Troubleshooting
Caulk is peeling within months. You used acrylic latex over carpet or in a high-humidity area. Scrape it out and replace with silicone or polyurethane.
The bead looks lumpy or uneven. You didn’t smooth it fast enough or you over-worked it. Acrylic latex and polyurethane skin over quickly — you have about 30 seconds to smooth. Silicone gives you a bit more time but gets stickier as you work it.
Caulk is cracking along the center of the bead. The gap was too wide and the caulk sagged before it cured. For gaps over 1/2 inch, use foam backer rod first to fill most of the gap, then caulk over it.
Paint isn’t sticking to the caulk. You painted before the caulk fully cured, or you used silicone (which isn’t paintable). Wait the full cure time listed on the tube plus 4-6 hours, and make sure you bought paintable caulk. If you’re applying oil-based paint over polyurethane caulk, prime the caulk first with an acrylic bonding primer.
Paint is peeling off the caulk in sheets. Classic adhesion failure. You painted too early or applied incompatible paint. Scrape off the paint, wait 48 hours, prime if needed, then repaint.
When Caulking Isn’t Enough
If you see any of these, caulking is a cosmetic patch, not a fix:
- Large gaps (over 1/2 inch) or baseboards pulling away from the wall: This signals settling or foundation movement. Get a foundation inspection.
- Gaps that reappear after caulking: Your house is moving. Recaulking every few years is normal maintenance, but large or spreading movement needs a contractor’s assessment.
- Water stains or soft, spongy baseboard: Moisture damage. Fix the moisture source (roof leaks, grading issues, HVAC condensation) before caulking, or the problem will just spread.
- Black or pink mold in the gap: Don’t caulk over it. Clean with diluted bleach (1 part bleach to 10 parts water), dry thoroughly, then caulk.
FAQ
Can you caulk baseboards over existing caulk?
Yes, if the old caulk is silicone or polyurethane and it’s still intact. Scrape out any failed or peeling caulk first. Never caulk over failed acrylic latex — it traps moisture and the new caulk won’t stick.
How long does caulk last on baseboards?
Acrylic latex lasts 5-10 years on interior hardwood/tile trim if applied correctly. Silicone lasts 10-20 years. Polyurethane falls in between at 8-15 years. Caulk over carpet or in high-humidity areas fails faster (1-5 years depending on type).
Do I need to prime before caulking?
No, not for most interior trim jobs. Caulk sticks directly to painted wood, drywall, and most finished surfaces. If you’re caulking raw wood or previously unpainted trim, check the caulk tube — some brands recommend priming first.
What’s the difference between caulk and spackle?
Caulk is flexible and seals gaps that move (like the junction between baseboard and wall). Spackle is rigid and fills holes in drywall. Don’t use spackle for baseboards — it cracks as the wood expands and contracts.
Does all caulk shrink?
Acrylic latex shrinks slightly (5-10%) as it cures. Silicone and polyurethane shrink minimally (1-3%). If you see major shrinkage or the caulk pulling away from the edges, you either didn’t fill the gap enough or you bought cheap caulk that doesn’t meet ASTM C920 standards.
This is one of those jobs that looks insignificant until you do it, and then every room you haven’t caulked looks unfinished. The entire project costs less than $40, and if you match the caulk type to the surface and wait the full cure time before painting, the results last years. I’ve lived in enough rentals to know that clean baseboard lines make a place feel cared-for — and if you’re selling or moving out, it’s the kind of detail that signals “maintained” without requiring receipts.
For the next step after caulking, check out how to paint trim and baseboards to get a factory-fresh finish on the whole run.