

I’ve painted over three ceiling water stains in rental properties I’ve fixed up, and two of them stayed gone. The third one bled through six months later because I skipped the diagnostic step and painted over a stain that wasn’t actually dry yet. Cost me another $40 in materials and a Saturday I didn’t get back.
This article contains product recommendations. If you purchase through our links, we may earn an affiliate commission at no extra cost to you.
The good news: ceiling water stain coverage is a straightforward weekend project if—and this is the part most guides skip—you’re certain the leak is fixed, the area is completely dry, and you’re not painting during a humid stretch. Paint the wrong stain at the wrong time or in the wrong conditions and you’re just postponing the problem.
Before you buy primer: diagnose the stain
This is the step that separates a successful paint job from money wasted. You need to know which of three scenarios you’re dealing with:
Cosmetic stain (safe to paint):
- Flat, tan or brown discoloration
- Completely dry to the touch
- No soft spots when you press firmly
- No smell
- Stain hasn’t changed size in weeks
Active or recent water damage (do not paint yet):
- Damp or wet drywall
- Soft spots or spongy texture
- Musty smell
- Stain is dark, expanding, or has crisp edges
- Paint bubbling or peeling nearby
Structural damage (call a pro):
- Ceiling is sagging or bowed
- Stain is larger than 3 feet across
- Black or green spots (mold)
- Drywall is crumbly or crumbling
- You can see framing or insulation
If you’re in the second category, you need to fix the leak and wait 2-4 weeks minimum for the drywall to fully dry before painting. If you’re in the third, this isn’t a DIY project. I learned this the expensive way on a bathroom ceiling that turned out to have mold behind it—what I thought was a $50 paint fix turned into a $1,200 drywall replacement.
A moisture meter is $20-30 at any hardware store and takes the guesswork out. But here’s what the instructions don’t tell you: that 12% “dry enough to paint” reading comes from equilibrium moisture content (EMC) standards for interior building materials. It’s not a magic number—it’s a target that assumes normal indoor humidity of 30-50%. If you’re painting during a humid summer or in a consistently damp climate, your “dry” reading might be 14-15% and you’ll never get it lower without a dehumidifier. According to building science research on moisture and durability, drywall requires 30+ days to reach moisture equilibrium with indoor conditions after significant water exposure.
The short version: don’t just check the stain. Check the room’s humidity too.
What you’ll need
Tools:
- 9-inch paint roller with ½-inch nap
- Extension pole (6-12 feet, adjustable)
- 2-inch angled paintbrush
- Paint tray
- 120-grit and 220-grit sandpaper
- Sanding block or pole sander
- Ladder or step stool
- Painter’s tape
- Drop cloth
- Moisture meter (optional but worth it)
Materials:
- Shellac-based stain-blocking primer (1 quart minimum)—Kilz Original or Zinsser BIN
- Matte ceiling paint, latex (1-2 quarts)
- Spackling compound (if filling damaged areas)
Total cost: $38-72 depending on paint quality and whether you already own the tools.
Prerequisites:
- Confirmed leak is fixed
- Area is completely dry (moisture meter reading in equilibrium with ambient humidity)
- You can safely access the ceiling with a stable ladder
- Indoor relative humidity below 75% (use a dehumidifier if needed)
Before you start: safety and ventilation
Shellac primers work better than anything else on water stains, but they smell strong. Open every window in the room and the door. If you have a ceiling fan, run it on exhaust. I also keep a box fan in the doorway blowing out. You’ll want breaks—plan on stepping outside every 20-30 minutes.
Wear safety glasses and a dust mask during sanding. If your home was built before 1980, you may have lead paint or asbestos in the ceiling texture. Do not sand if you suspect either—call a pro for testing or use an encapsulation method instead. This is non-negotiable.
Use a stable ladder on level ground. Three points of contact at all times. Don’t reach beyond your comfortable range—move the ladder.
Step 1: Confirm the area is dry and check humidity
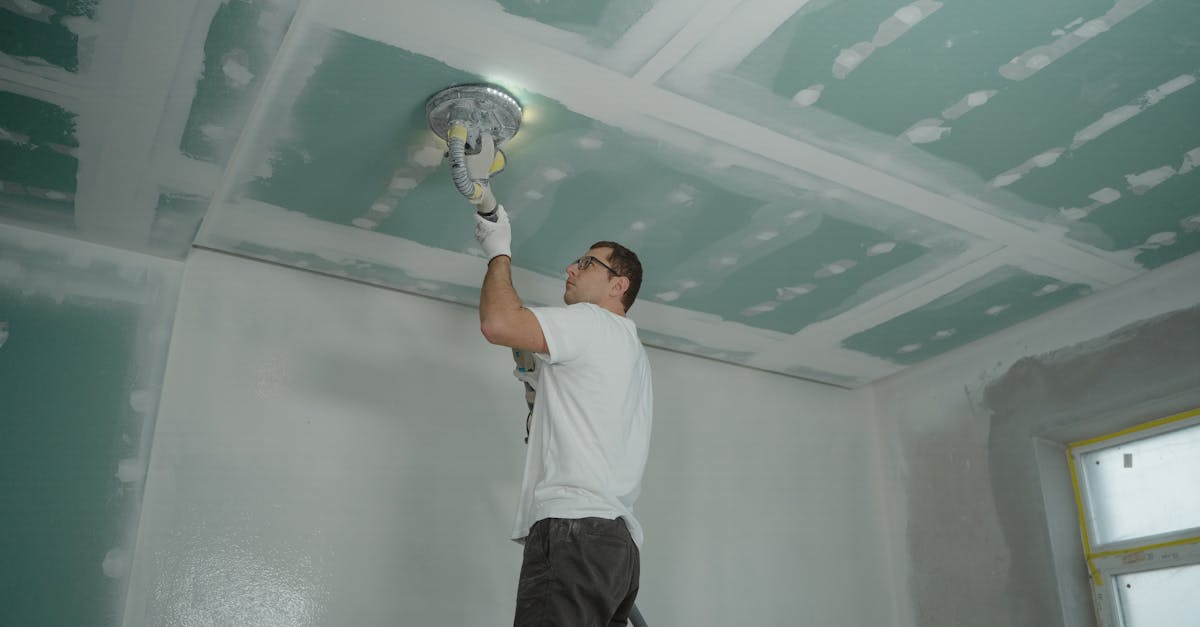
Press firmly on the stained area and surrounding drywall. It should feel solid, not soft or spongy. If you have a moisture meter, test the stain and the area 2-3 feet around it. For typical indoor conditions (30-50% relative humidity), readings around 12% or below indicate the drywall is dry enough to paint. In humid climates or seasons, you may see 14-15% even when the material is at equilibrium—what matters is that the reading is stable over several days and matches the surrounding ceiling.
Here’s the critical humidity context most guides skip: sustained relative humidity above 75% during and after painting is a leading cause of stain reappearance and paint failure. High humidity slows drying, keeps the drywall from fully equilibrating, and creates conditions where tannins and mineral deposits can migrate back through the paint layer. If you’re painting in summer or in a naturally humid space (bathroom, basement), run a dehumidifier for 48 hours before you paint and keep it running until the final coat dries. That $40 dehumidifier rental can save you from redoing the entire job.
Trace the stain back to its source if you haven’t already. Ceiling stains usually come from roof leaks (check the attic for wet insulation or stains on rafters), plumbing leaks (bathroom or kitchen above), or HVAC condensation. If you can’t find the source or aren’t sure it’s fixed, don’t paint. You’ll just be doing this again in six months.
Step 2: Prep the surface
Sand the stained area and about 6 inches beyond it with 120-grit sandpaper until the surface is smooth and matte. You’re not trying to remove the stain—you’re creating a surface the primer can grip. Wipe away dust with a damp cloth and let it dry completely.
If the water damage created any texture differences, low spots, or peeling paint edges, fill those with spackling compound. Let it dry per the label (usually 2-4 hours), then sand smooth with 220-grit. The goal is a flat, uniform surface.
Tape off any trim or edges with painter’s tape if the stain is near a wall.
Step 3: Prime with two coats of shellac-based primer
This is the step that actually blocks ceiling water stain coverage. Regular latex primer will not work—water stains contain tannins and mineral deposits that bleed through latex within months. Shellac-based primers like Kilz Original or Zinsser BIN penetrate and seal those compounds at a molecular level.
Here’s why shellac works when latex fails: shellac-based primers dry through alcohol (solvent) evaporation rather than water evaporation. That means they work even in high-humidity conditions where latex primers stay tacky, fail to cure properly, or allow moisture-driven stain migration. In humid climates or during humid seasons, shellac is the only reliable choice. Latex primers depend on water evaporation and form only a surface barrier—water-soluble tannins eventually bleed through. Shellac creates a chemical seal.
Shake the can thoroughly—shellac primers settle and stirring alone won’t remix them properly.
Pour primer into your tray, load the roller, and apply a thin, even coat. Work in 3×3-foot sections. Don’t overload the roller or you’ll get drips. Shellac dries fast—30 to 60 minutes depending on humidity—but it’s tacky, so don’t touch it to test.
You need two coats of primer on water stains. One coat might look fine at first, but tannin bleed-through is common within 6-12 months on single-coat jobs. I’ve seen it happen, and so has every painter I’ve asked.
Wait at least one hour between primer coats (overnight is better if you have the time). Apply the second coat the same way as the first.
Step 4: Paint with matte ceiling paint

Once the second primer coat is fully dry—at least one hour, preferably overnight—you’re ready for ceiling paint.
Use matte (flat) finish ceiling paint, not semi-gloss. Semi-gloss shows every roller mark, drip, and imperfection. I use Sherwin-Williams ProClassic or Behr Premium Plus depending on budget. Both work fine over properly primed stains.
Apply two thin coats rather than one thick coat. Thin coats dry faster, level better, and don’t drip. Wait 2-4 hours between paint coats per the label.
Most water damage paint solutions look fully covered after one primer and one paint coat if you’ve used shellac primer. If you can still see a shadow of the stain after the first paint coat dries, apply a second.
Verify it worked
Let the final coat dry for 24 hours, then inspect the area in natural daylight and with the room lights on. The repair should be invisible. If you see any discoloration, that’s likely incomplete primer coverage—add another primer coat and re-paint.
Check back in two weeks. If the stain reappears, one of three things happened: the leak isn’t actually fixed, the area wasn’t fully dry when you painted, or the relative humidity in the room stayed above 75% and prevented proper curing. You’ll need to address the underlying issue before repainting.
Troubleshooting
Problem: Stain is bleeding through the primer The primer coat was too thin or you used latex instead of shellac. Add a second (or third) coat of shellac primer. Don’t switch to latex mid-project.
Problem: Paint is bubbling or peeling within days The surface was still damp when you painted. This means the leak may not be fixed or the drying time wasn’t long enough. Scrape off the loose paint, let the area dry completely (use a moisture meter), and start over.
Problem: Primer or paint won’t stick to the stain The stain area may have residue or oils from the water damage. Wipe it down with a TSP (trisodium phosphate) solution, rinse, let dry completely, then re-prime.
Problem: Strong odor lingers for days Shellac primers off-gas for 24-48 hours. Keep ventilating the room. If the smell is musty rather than chemical, that’s mold, not primer—stop and call a professional.
Problem: Primer stays tacky for more than 2 hours Room humidity is too high. Shellac dries faster than latex, but extreme humidity (above 80%) can still slow it down. Run a dehumidifier, improve ventilation, and wait longer between coats.
When to call a professional
You should not DIY this project if:
- The stain is still wet or damp (fix the leak first, wait for complete drying)
- You see or smell mold—according to EPA mold guidance, mold coverage over 10 square feet requires professional remediation
- The ceiling is sagging, bowed, or soft to the touch (structural issue)
- The stain is larger than 3 feet or there are multiple stains (indicates a bigger problem)
- You cannot safely access the area
- The home was built before 1980 and you suspect asbestos in the ceiling texture or lead paint
If you’re unsure whether the leak is actually fixed, hire a moisture inspector ($150-300) before spending money on materials. If you suspect structural damage, a home inspector can assess it for $300-500.
The most common mistake: painting first, asking questions later. The correct order is leak repair (1-4 weeks depending on contractor availability) → drying time (2-4 weeks minimum depending on moisture level, airflow, and humidity) → painting (one day). Skip the waiting and you’re repainting within the year.
FAQ
Can you paint over water stains on a ceiling?
Yes, but only if the leak is fixed and the area is completely dry. Painting over active or damp water damage leads to paint failure, mold growth, and wasted materials. Use a shellac-based stain-blocking primer like Kilz Original or Zinsser BIN—latex primers allow tannins to bleed through.
What primer blocks water stains?
Shellac-based primers (Kilz Original, Zinsser BIN) are the only reliable option for water stains. They dry through solvent evaporation rather than water evaporation, which makes them effective even in high-humidity conditions. Latex and oil-based primers form surface barriers that water-soluble tannins eventually bleed through.
Do water stains come back after painting?
They will if the underlying leak isn’t fixed, if the area wasn’t fully dry before you painted, or if you painted during sustained high humidity (above 75% RH) without adequate ventilation or dehumidification. They can also reappear if you used latex primer instead of shellac, or if you only applied one primer coat on a stubborn stain.
How long does ceiling water damage take to dry?
2-4 weeks minimum for most drywall, but full moisture equilibration can take 30+ days depending on the extent of saturation, airflow, and ambient humidity. A moisture meter shows the area is approaching equilibrium when readings stabilize over several days and match the surrounding ceiling. Don’t rely on touch alone—drywall can feel dry on the surface but still hold moisture deeper in.
The cosmetic fix is easy. The hard part is the honesty check beforehand—making sure you’re painting a solved problem, in the right conditions, and not just covering up an active one. I’ve done it both ways, and the version where you wait for everything to dry and check the humidity costs less in the long run.