
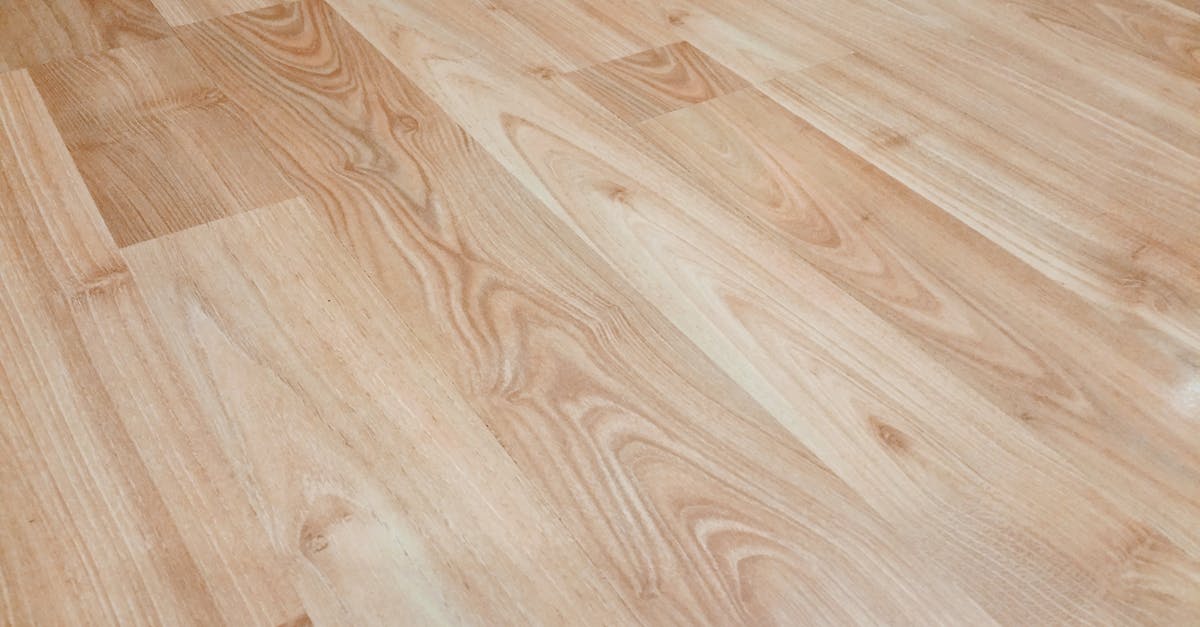
A small adhesive repair can prevent a major floor replacement—but only if you catch the lift early and diagnose the cause correctly. I’ve fixed laminate floor peeling in three different rooms of my house, and the repair that works depends entirely on whether you’re dealing with adhesive failure, moisture damage, or something worse hiding under the surface.
Most online guides jump straight to “rip it out and replace it,” but that’s not always necessary. If the lifting is localized, the subfloor is sound, and you address the root cause, you can often restore a solid floor for the cost of a tube of adhesive and a weekend afternoon.
Disclosure: This article contains affiliate links to products we recommend. If you purchase through these links, we may earn a commission at no additional cost to you.
Diagnose before you fix
Laminate floor buckling and peeling happen for three reasons, and each one needs a different repair:
Adhesive failure — The plank lifts at the edges but the subfloor underneath is dry, hard, and level. This is the easiest fix: re-glue and clamp.
Moisture expansion — The plank swells from the center and lifts, often with a cupped or crowned shape. The subfloor may feel damp or smell musty. This requires drying first, then assessing if the plank will settle back down on its own.
Subfloor damage — The subfloor itself is soft, spongy, discolored, or smells like mold. Stop here and call a professional. Hidden rot compromises structural integrity and is beyond hobbyist-level repair.
Here’s how to tell which one you have: Press down on the lifted area. If it compresses easily and springs back up, that’s moisture expansion. If it feels rigid but has separated from the floor, that’s adhesive failure. If the floor feels spongy or gives more than it should, that’s a subfloor issue.
Check perimeter spacing first. Before you assume adhesive or moisture problems, inspect where your laminate meets the walls. Remove a baseboard section and look at the gap between the flooring edge and the wall. Laminate needs room to expand and contract—if baseboards are touching or nearly touching the laminate edges, you’ve found your cause. Proper correction requires removing trim, creating adequate clearance around all perimeter edges, and reinstalling molding with space for movement.
What you’ll need
Your tool list depends on which repair path you’re taking. Don’t buy everything at once—diagnose first.
For adhesive-failure repair (Path 1):
- Flathead screwdriver or thin pry bar
- Waterproof laminate adhesive (Titebond III or equivalent)
- Bar clamps or heavy weights (books, sandbags, toolbox)
- Damp cloth
- 24-48 hours of cure time
For moisture-driven buckling (Path 2):
- Moisture meter (essential for diagnosis)
- Dehumidifier (if room humidity is elevated)
- Wet-dry vacuum (if there’s standing water)
- Several days of drying time
For plank replacement (Path 3):
- Circular saw or jigsaw
- Pry bar
- Replacement laminate plank (exact match—same product and color lot)
- Laminate adhesive
- Drill with bits
- Sandpaper (80-120 grit)
- Clamps
Before you start
Verify the subfloor is sound. If you press down on the floor near the lifted area and it feels soft, spongy, or you smell mold, stop. You’re looking at subfloor rot or moisture damage that needs professional assessment. Laminate is a symptom, not the disease.
Check your warranty. Most laminate warranties exclude damage from moisture, improper installation, or humidity outside the manufacturer’s recommended range. According to Mohawk Flooring’s installation guidelines, maintaining proper humidity levels is critical for warranty coverage. If you’re still within warranty and the buckling isn’t moisture-related, contact the manufacturer before you start repairs—DIY work may void coverage.
Clear the area. Move furniture and rugs at least three feet away from the damaged section. You’ll need room to work and clamp.
Path 1: Re-gluing lifted edges (adhesive failure)

This works when the plank has peeled at the seams but the subfloor underneath is dry and firm. I used this method on a plank near my kitchen doorway that separated after two years of foot traffic—total cost was under twenty dollars and an afternoon.
But first: verify the problem is actually adhesive. Before you invest time re-gluing, check both subfloor moisture and room humidity. Use a moisture meter on the subfloor where the plank lifted—the reading should be low and consistent with surrounding areas. Check room humidity as well; it should be within the manufacturer’s recommended range (typically moderate levels). If either is elevated, the plank is actively expanding from moisture—adhesive alone will fail within days. Dry the space first, then reassess whether the plank re-settles on its own.
Step 1: Lift the separated edge
Use a flathead screwdriver or thin pry bar to gently pry up the peeling plank. Work slowly along the seam—if you meet strong resistance, the issue may not be adhesive failure. Force will crack the plank.
Step 2: Clean both surfaces
Wipe out old adhesive, dust, and debris from both the plank’s underside and the subfloor with a damp cloth. Let everything dry completely for 15-30 minutes. Adhesive won’t bond to dirty or wet surfaces, and you’ll be back here in six months if you skip this step.
Step 3: Apply new adhesive
Run a thin, even bead of waterproof laminate adhesive (Titebond III is what I use) along the subfloor where the plank will sit. Don’t over-apply—excess will squeeze out and cure as a hard bump under the plank.
Step 4: Press and clamp
Press the plank firmly back into place. Wipe away any squeeze-out immediately with a damp cloth. Set bar clamps across the seam or place heavy weights (I use a toolbox and a stack of textbooks) evenly along the lifted area.
Step 5: Wait for full cure
Leave the clamps or weights in place for 24-48 hours. Don’t walk on the repaired area during this time. I know it looks fine after an hour, but the bond isn’t fully cured and you’ll compress the adhesive unevenly.
Verify it worked: After removing the clamps, press down on the formerly lifted area. It should feel flush with the surrounding floor and not spring back up. If it lifts again within a few days, the problem is moisture or subfloor movement, not adhesive.
Path 2: Drying moisture-driven buckling
Laminate floor buckling from moisture looks different than adhesive failure—the plank swells and lifts from the center, often creating a raised crown or cupped shape across multiple boards. This happened in my bathroom after a slow toilet leak I didn’t catch for two weeks.
Step 1: Measure the moisture
Use a moisture meter to test the subfloor and measure room humidity. According to the USDA Forest Products Laboratory, wood-based flooring materials are hygroscopic and respond to ambient humidity conditions. Elevated readings indicate you’ve found the problem.
Step 2: Identify and stop the source
Moisture comes from somewhere: a spill you didn’t catch, a leaky pipe, high room humidity, or groundwater wicking through concrete. Find it and fix it. Running a dehumidifier without stopping the source is like bailing out a boat with the drain plug missing.
Step 3: Dry the area
Stop foot traffic on the buckled section. Run a dehumidifier in the room targeting manufacturer-recommended humidity levels. If there’s standing water, vacuum it first with a wet-dry vac. Open windows if outdoor humidity is lower than indoor.
Step 4: Wait and monitor—with realistic timelines
Laminate planks can shrink back down if the moisture was temporary, but the timeline depends on how high your humidity is. Measure room humidity in the afternoon when it peaks.
If humidity is moderately elevated, cupped planks typically re-settle within about a week. Higher humidity levels mean longer drying times—expect ten to fourteen days. If humidity remains very high despite your drying efforts, replacement is likely necessary. The EPA’s guidance on indoor air quality recommends controlling indoor moisture to prevent material damage and mold growth. If humidity won’t drop, address the source (exhaust fans, dehumidifier, leak repair) before attempting fixes.
Check daily—you’re looking for the crown or cup to flatten out as the planks release moisture.
If buckling recedes: You’re done. Maintain humidity control going forward and the floor should stay flat.
If buckling persists after extended drying: The plank has permanently expanded or the subfloor has shifted. Proceed to Path 3 (replacement) or call a professional if the damage is widespread.
Key point: You cannot force a buckled plank flat. It must dry and settle on its own. Sanding it down or clamping it will damage the wear layer and create an uneven surface.
Path 3: Replacing damaged planks

If the plank is warped, cracked, or still buckled after drying, replacement is the only fix. This is the most involved repair and requires cutting out the damaged plank without wrecking the surrounding floor.
Step 1: Isolate and mark the damaged plank
Most laminate is tongue-and-groove. To remove one plank without pulling up the entire row, you’ll need to cut it out. Mark the plank’s centerline and drill a starter hole near the middle.
Step 2: Cut out the center section
Use a jigsaw to cut out the plank’s center, leaving about an inch of material along all four edges. Keep the saw blade shallow—you’re cutting laminate, not the subfloor.
Step 3: Pry out the edges
Use a pry bar to carefully remove the remaining border strips. Work from the center outward to avoid chipping adjacent planks. Save one of the pieces to verify the replacement matches.
Step 4: Prep and install the replacement
Lightly sand the new plank’s underside and edges to match the original finish. Apply adhesive to the subfloor and all four edges of the cavity. Slide the new plank into place, press down, and clamp for 24 hours.
Step 5: Finish the seams
If you had to trim the replacement plank’s tongue or groove to fit, sand the cut edge smooth so it doesn’t catch when you walk over it.
Cost and time: Plan on several hours for a single plank if this is your first time. The learning curve is real—my first replacement took five hours because I drilled the starter hole too deep and nicked the subfloor.
Common mistakes
Using regular wood glue instead of waterproof adhesive — Regular PVA glue reactivates when wet. Use Titebond III or laminate-specific adhesive rated for moisture.
Sanding down buckled planks to level them — This destroys the protective wear layer and exposes the core to more moisture. The plank won’t shrink below the swell point just because you sanded it.
Ignoring the humidity source — If you re-glue a lifted plank but don’t control moisture, buckling will recur and spread. Fix the leak, improve ventilation, or run a dehumidifier before you repair the floor.
Skipping the perimeter gap check — According to Building Science Corporation’s flooring guidance, floating floors need expansion space at all edges. If you fix lifted planks without addressing inadequate perimeter clearance, the problem will return as soon as seasonal humidity rises.
Replacing one plank with a different color lot — Laminate shades vary by production batch. A mismatched replacement will stand out. If you don’t have leftover stock from the original install, replace a multi-plank section to minimize the visual seam.
Over-tightening clamps — Too much pressure deforms the plank or squeezes adhesive out unevenly, leaving voids. Clamp until the plank is flush with neighbors, then stop.
When to call a professional
Stop and hire someone if:
-
The subfloor is soft, spongy, discolored, or smells musty. This indicates rot or mold and compromises structural integrity. A contractor can assess subfloor replacement scope and health risks.
-
Buckling covers a large portion of the room. Widespread damage suggests a systemic moisture problem or major installation defect. Spot repairs will fail if the root cause persists.
-
Laminate was installed over concrete without a vapor barrier, and you now have moisture issues. Concrete wicks groundwater; without a barrier, failures will continue. Per Clemson University Extension guidance, moisture barriers are essential under laminate on concrete slabs. A pro can evaluate whether re-installation with proper barriers is feasible.
-
You suspect the buckling is caused by an active leak (plumbing, roof, window). Water damage can hide mold and structural issues. Get a water-damage specialist to assess before touching the flooring.
Prevention
Laminate lifting is almost always preventable:
-
Maintain manufacturer-recommended humidity levels. Use a humidifier in winter and a dehumidifier in humid seasons. Flooring manufacturers specify humidity ranges in their warranties for a reason.
-
Wipe spills immediately. Laminate is water-resistant, not waterproof. Liquid pooling for more than a few minutes will seep through seams.
-
Use felt pads under furniture. This prevents point-load crushing and allows the floor to expand and contract evenly.
-
Ensure the subfloor is level before installation. Uneven subfloors cause planks to rock, which breaks the adhesive bond over time.
-
Verify adequate expansion gaps during installation. The floor needs clearance at all perimeter edges—walls, doorways, cabinets, and transitions. Without it, seasonal expansion has nowhere to go except up.
FAQ
Why is my laminate floor lifting at the edges?
Edge lifting is usually adhesive failure—the bond between the plank and subfloor has broken down due to age, foot traffic, or improper installation. But check perimeter spacing first; if baseboards are touching the laminate, inadequate expansion gaps are your root cause. If the subfloor is dry and firm and spacing is adequate, you can fix adhesive failure by re-gluing and clamping the lifted section.
Can you fix laminate floor buckling?
Yes, if you catch it early and the subfloor is sound. Moisture-driven buckling may resolve on its own after controlled drying—expect about a week for moderately elevated humidity, longer if humidity is higher. Permanent buckling requires plank replacement. If buckling is widespread or the subfloor is damaged, you’ll need professional assessment.
How much does it cost to fix lifted laminate flooring?
DIY repair costs are modest for adhesive and tools if you already have clamps. Professional repair runs several hundred to a few thousand dollars depending on the extent and whether subfloor work is needed. Plank replacement is more expensive than re-gluing because it involves cutting and fitting.
Is laminate floor buckling covered by warranty?
Usually not. Most manufacturers exclude damage from moisture, improper installation, or humidity outside their specified range. Check your warranty before starting repairs—DIY work may void remaining coverage.
For related flooring issues, see How to Fix Squeaky Floors: 4 Methods That Actually Work if your lifted planks are also making noise, or flooring repair replacement cost for a deeper cost breakdown when deciding whether to repair or start over.