

A sagging cabinet door usually gets one fix: tighten the screws. That works about half the time. The other half, you tighten everything, the door looks fine for a day, then it’s back to dragging on the frame or refusing to close flush. That’s because “sagging hinge” isn’t one problem—it’s at least six different problems that look identical from across the room.
I’ve fixed this on rental cabinets where the landlord wouldn’t return calls, and on my own 1970s kitchen where every door decided to give up at once. The fix that works depends entirely on which root cause you’re dealing with, and you can figure that out in about two minutes without pulling the door off.
Diagnose first, fix second
Before you grab a screwdriver, spend 90 seconds identifying which problem you actually have. Open the cabinet door fully and check:
1. Loose hinge screws — The hinge plate wiggles when you push it, or you can see a tiny gap between the plate and the cabinet frame. The screws turn easily but don’t feel stripped. This is the easiest fix.
2. Stripped screw holes — You try to tighten a screw and it just spins without catching. The wood around the hole is soft or crumbly, or you can pull the screw out with your fingers. Common on particle-board cabinets or anywhere water damage has softened the wood.
3. Misadjusted European hinges — If you have modern concealed hinges (Blum, Salice, Grass brands), they have small cam screws on the mounting plate for fine-tuning alignment. These get bumped or drift over time. The door closes but sits crooked or has an uneven gap.
4. Damaged hinge cup mortise — The round hole in the door edge where the hinge cup sits is cracked, elliptical instead of round, or has stress lines radiating from it. This happens from over-torqued screws or repeated re-drilling and is different from a bent hinge. The hinge itself might be fine, but the hole it sits in is compromised.
5. Bent or worn hinges — The hinge cup has a visible crack, the metal arm is bent, or the hinge feels gritty when you open and close the door. If the hinge has a soft-close mechanism that stopped working, it’s usually worn out.
6. Missing or worn shims — The cabinet box itself is slightly twisted or out of square—common in older homes or anywhere the house has settled. The door was installed without a shim to compensate, or the shim has compressed. You’ll notice the gap between door and frame is uneven top to bottom.
7. Seasonal wood movement — The door was tight in winter, loose in summer, or vice versa. Wooden cabinet boxes and doors swell and shrink with humidity changes (University of Minnesota Extension covers wood movement in detail). This one doesn’t get “fixed”—it gets adjusted or accepted.
Run through that checklist and you’ll know exactly which fix to use.
What you’ll need
Tools:
- Phillips-head screwdriver (or drill with Phillips bit on low torque setting)
- Drill bit set (for stripped-hole repair)
- Tape measure (optional, for shim thickness)
Materials (depending on diagnosis):
- Wooden toothpicks (for stripped holes—free or $1)
- Wood filler or two-part epoxy (for severe damage, $5-12)
- Replacement cabinet hinges if bent (Blum 35mm hinges run $8-12 each)
- Plastic or wood shim stock ($6-10 for a variety pack)
Most of the time you’re looking at zero dollars and five minutes. Worst case, you’re replacing a hinge for $10 and spending 20 minutes.
Fix 1: Tighten loose hinge screws
If the screws are loose but the holes aren’t stripped, this is a three-minute job.
- Open the door fully so you can reach both the top and bottom hinges.
- Using a Phillips-head screwdriver, tighten each screw clockwise until you feel light resistance—stop there. Over-tightening strips the hole, especially on soft woods or particle board. If you’re using a drill, set it to the lowest torque setting.
- Close the door and check the alignment. The door should sit flush with the frame and close smoothly.
- If the door sags again within 24 hours, the holes are probably stripped even if the screws felt like they were tightening. Move to Fix 2.
I’ve learned the hard way that “a little tighter” on cabinet screws usually means “now it’s stripped.” Snug is enough.
Fix 2: Repair stripped screw holes

This is the fix most guides skip, and it’s the one that saves you from buying new hinges when you don’t need them. But you need to know when particle board is too far gone to repair.
For first-time or second-time stripped holes:
- Unscrew the loose hinge screw completely and set it aside.
- Take 2-3 wooden toothpicks, dip the tips in wood glue if you have it (not required), and insert them into the stripped hole. Break them off flush with the surface.
- Let the glue dry for 5 minutes if you used it, then re-insert the hinge screw. The toothpicks give the threads something to bite into. Tighten gently.
The toothpick trick works on probably 80% of stripped cabinet holes and costs nothing. I keep a box of toothpicks in the junk drawer specifically for this.
Know when to stop:
If you’ve already refilled the same hole three or more times, or if the wood around the screw hole feels soft, spongy, or crumbly when you press it with your fingernail, the particle board is degraded beyond what toothpicks can fix. At that point you’re looking at one of two options:
-
Wood filler method: Remove the hinge entirely, fill the stripped hole with two-part epoxy or wood filler rated for structural repairs, let it cure per the product instructions (usually 2-4 hours for epoxy, overnight for filler), then drill a new pilot hole slightly smaller than the screw diameter and re-install the hinge. This works if the surrounding material is still solid.
-
Relocate the hinge: If the particle board is too compromised, move the hinge up or down by half an inch to fresh wood. You’ll need to fill the old screw holes with wood filler for appearance and drill new mounting holes. This is more work but gives you solid material to screw into.
The frustration cycle of “fixed it, now it’s sagging again” almost always means you’re past the toothpick threshold and need a more permanent repair.
Fix 3: Adjust European hinge cam screws
If you have modern concealed hinges—the kind with a round cup mortised into the door edge and an adjustable mounting plate on the cabinet frame—you have built-in adjustment capability that most homeowners don’t know exists. Blum and Salice hinges include cam adjustment screws for fine-tuning height, depth, and side-to-side alignment without moving a single mounting screw.
Before you buy a replacement hinge for $10-15, try this:
- Open the door and locate the adjustment screws on the hinge mounting plate. Most European hinges have two or three small screws with arrows or +/- symbols next to them. These control different directions of movement.
- The side-to-side screw (usually the one closest to the door edge) adjusts how far the door sits from the cabinet frame. Turn it 90° counterclockwise and close the door to see the change.
- The depth screw (usually in the middle) adjusts how far forward or back the door sits. The height screw (if present) raises or lowers the door slightly.
- Make small adjustments—a quarter turn at a time—and test the door after each change. Most alignment problems resolve with less than a full rotation.
I’ve fixed probably two dozen “sagging” doors this way without replacing a single hinge. The adjustment screws get bumped during cleaning or drift over time, and a 30-second tweak brings everything back into alignment. You only need a replacement hinge if the mechanism itself is damaged.
Fix 4: Repair damaged hinge cup mortise
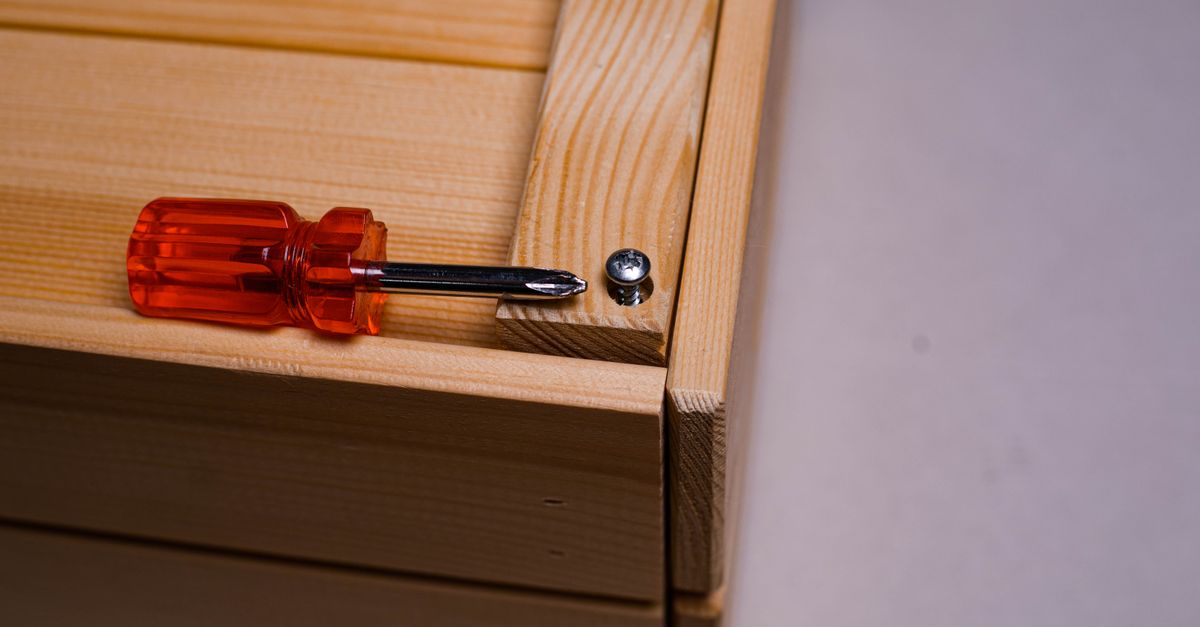
This is a failure mode people often miss: the hinge itself is fine, but the round hole (mortise) it sits in has been damaged. Over-torqued screws during installation or repeated drilling can crack the wood around the cup or enlarge the hole so it’s no longer round.
Look closely at the mortise edge. If you see stress cracks radiating out from the cup, or if the hole is elliptical instead of circular, you’re dealing with mortise damage. The hinge will keep sagging no matter how many times you tighten it because the cup doesn’t seat properly.
To repair minor mortise damage:
- Remove the hinge cup from the door.
- Clean out any loose wood chips or debris from the mortise.
- Mix a small amount of two-part epoxy and apply it to the damaged areas of the mortise edge. Let it cure fully (usually 4-6 hours).
- Once cured, use fine-grit sandpaper to smooth the epoxy flush with the wood. Test-fit the hinge cup—it should sit snug and round in the mortise again.
- Reinstall the hinge.
For severe mortise damage:
If the mortise is cracked all the way through or the wood is splintered beyond repair, you need to re-mortise the hole—cutting a new, clean mortise slightly offset from the damaged one. This requires a 35mm Forstner bit and careful measurement, and at that point you’re approaching cabinet-repair-specialist territory unless you’re comfortable with precision drilling. Fine Homebuilding has detailed mortising techniques, but this is one where I’d consider calling someone if I didn’t already own the bit.
Fix 5: Replace a bent or worn hinge
If the hinge itself is damaged—cracked cup, bent arm, or rough movement—you need a new hinge. The good news is most kitchen cabinets use standard 35mm European cup hinges, which are easy to swap.
- Open the door and unscrew both hinges from the cabinet frame (not the door yet). Lift the door free and set it on a padded surface.
- Note the hinge brand if visible—Blum, Grass, and Salice are the most common. Measure the cup diameter with a tape measure (almost always 35mm for kitchen cabinets).
- Unscrew the old hinge cup from the door and the mounting plate from the cabinet frame.
- Install the replacement hinge in the same position. If the screw holes are worn or enlarged, use the toothpick method from Fix 2 before installing the new hinge.
- Reattach the door to the cabinet and check alignment. Most Euro hinges have adjustment slots in the mounting plate—you can shift the door left/right by a few millimeters without moving screws.
Blum CLIP top hinges run about $8-12 each and are available at most hardware stores or online. If you’re replacing one hinge, consider replacing both (top and bottom) so they age at the same rate.
Fix 6: Add or adjust shims
If your cabinet box is slightly out of square—common in older homes or anywhere the foundation has settled—a 1-2mm shim behind the hinge mounting plate brings everything back into alignment.
- Remove the hinge from the cabinet frame (leave it attached to the door).
- Cut a small piece of plastic or wood shim stock to fit behind the mounting plate. Start with 1mm thickness.
- Place the shim between the mounting plate and the cabinet frame, then re-install the hinge screws through the shim.
- Close the door and check alignment. If it’s still off, try a slightly thicker shim or move the shim to the opposite hinge (top vs. bottom).
This fix is especially useful on tall cabinet doors where the door itself is straight but the frame has twisted slightly over time.
Fix 7: Adjust for seasonal wood movement
If your sagging cabinet door won’t close in summer but closes fine in winter (or vice versa), you’re dealing with wood expansion and contraction. Solid wood and even plywood absorb moisture from the air and swell in humid months, then shrink when the heat comes on in winter.
You have two options:
- Accept it. A door that binds slightly in August and has a 1mm gap in January is normal for wood cabinets. If it still latches and doesn’t scrape, you’re done.
- Adjust for the worst case. Loosen the hinge screws slightly during the binding season, or add a very thin shim during the gap season. You’re splitting the difference so the door works year-round instead of perfectly in one season and poorly in the other.
I adjusted my cabinets for summer because that’s when company comes over and I don’t want doors hanging open. The winter gap is invisible unless you’re looking for it.
When to call a professional
You can handle loose screws, stripped holes, hinge adjustment, hinge replacement, and shimming yourself. These are cosmetic-to-minor fixes with no safety risk.
Call a cabinet installer or repair specialist if:
- Multiple doors on the same cabinet are sagging (suggests the cabinet box itself is damaged or the installation was wrong)
- The cabinet frame is cracked, split, or visibly warped
- You see water damage—soft wood, discoloration, or swelling—near the hinges (fix the leak first, then the hinge)
- The door frame itself is twisted or damaged (requires more than hinge work)
- You need to re-mortise a hinge cup and don’t have the tools or experience for precision drilling
Cabinet repair specialists charge $75-150 for a service call in most areas. If you’re looking at replacing multiple hinges and the cabinet is older, that service call might save you time, but the hinge work itself is well within DIY range.
Why does my cabinet door sag after I tighten the screws?
The screw holes are probably stripped, meaning the screw turns but doesn’t grip the wood. Try the toothpick repair in Fix 2—insert toothpicks into the hole to give the threads something to catch. If the same hole has been refilled multiple times or the surrounding wood feels spongy, the particle board is too degraded and you need the epoxy method or hinge relocation.
How do I know if I need to replace the hinge or just adjust it?
If you have European concealed hinges (Blum, Salice, Grass), try turning the cam adjustment screws first—this fixes alignment problems without replacing anything. If the hinge itself feels gritty, the cup is cracked, or the screws won’t tighten (they spin freely), you need a new hinge.
Can I use regular wood screws instead of the original hinge screws?
Not recommended. Cabinet hinge screws are typically #8 x 5/8” with a specific thread pitch designed for particle board or plywood. Using a different screw diameter or thread can strip the hole or crack the hinge mounting plate. If you’ve lost a screw, take the hinge to a hardware store and match it exactly.
If tightening, adjusting, and toothpicks don’t solve it, you’re almost certainly looking at a bent hinge, mortise damage, or a frame issue. Replacement hinges are cheap and swapping them takes less time than a second round of diagnosis. For related fixes on water damage contributing to hinge problems, see How to Fix a Leaky Kitchen Sink Faucet in 6 Steps if moisture is a factor, or How to Replace Cabinet Hinges in 30 Minutes for deeper coverage of specialty hinge types and installation techniques.