

A cabinet door that won’t close is usually a 1/4-turn fix—not a replacement job. The problem is that most people start adjusting random hinge screws without diagnosing which of four root causes they’re dealing with, which wastes time and risks stripping the screw holes entirely.
This guide walks you through the diagnosis first, then shows you exactly which screw to turn and how far to turn it. Most fixes take 20 minutes and cost nothing. I’ve adjusted cabinet hinges in three different rentals, and the pattern is always the same: identify whether the problem is hinge creep, door swelling, cabinet tilt, or worn hinges, then make one or two precise adjustments.
What you’ll need
Tools:
- Phillips head screwdriver (or power drill with Phillips bit)
- Level (2-3 feet long)
- Measuring tape or ruler
- Paint pen or pencil
Materials:
- Nothing, unless hinges are damaged (then: replacement cup hinges, $3-8 each)
Prerequisites:
- Cabinet door that won’t stay closed or has visible gaps
Diagnose the root cause first
Before you touch a screwdriver, figure out why the door won’t close. There are four possibilities, and each needs a different fix.
1. Hinge creep (most common): The hinges have gradually loosened over months of use. The door sags slightly, and the gap at the top is wider than the gap at the bottom when you try to close it. This is the easiest fix.
2. Door swelling: The wood door has absorbed moisture—common in kitchens near sinks or dishwashers. If the gap at the bottom of the door is tighter than the top, or the door feels harder to push closed than it used to, you’re dealing with swelling. The USDA Forest Products Laboratory documents that wood expands approximately 0.3% per 4% increase in moisture content—small percentage changes that translate to real binding when a door sits in a tight frame.
3. Cabinet out of level: The cabinet box itself tilts or rocks. Place your level on the cabinet shelf or countertop. If it shows more than 1/16 inch of tilt per foot, the entire cabinet needs leveling before hinge adjustment will help.
4. Hinge wear: The cabinet hinges are cracked, bent, or the screw holes have enlarged so much that tightening does nothing. You’ll see visible damage or the screw spins freely without gripping.
Quick diagnosis test: Close the door gently and measure the gap on both sides, top and bottom. The Kitchen Cabinet Manufacturers Association specifies a consistent 1/16-inch to 1/8-inch gap all around as standard tolerance—this clearance allows for wood movement and prevents binding. If the top gap is wider than spec, your hinges are loose. If the bottom is tighter or won’t close at all, the door has swollen. If gaps are uneven left-to-right, check cabinet level.
Tools and precision matter more than force
Cabinet door adjustment is all about small, controlled movements. The single biggest mistake I see—and the one I made myself the first time—is over-tightening hinge screws. When you strip a screw hole in particleboard or MDF (which is what most cabinet boxes are made of), the repair is expensive and often requires a professional.
Tighten in 1/4-turn increments only. Close the door and check the gap after each adjustment. If you feel resistance stop and the screwdriver starts spinning freely, you’ve stripped the hole—stop immediately.
Step 1: Identify your hinge type
Most modern cabinets use one of two hinge types:
Cup hinges (also called European hinges): These have a round cup that mounts inside a drilled hole on the door’s edge. The hinge arm attaches to the cabinet frame with two screws. You’ll see the hinge arm when the door is open. Blum and Salice are the two dominant manufacturers, and their adjustment systems are nearly identical.
Older surface-mount hinges: Visible on the outside of the door. These have limited or no adjustment capability—if they’re loose, you tighten the mounting screws, and if that doesn’t work, you replace them.
For cup hinges, you’ll see two or three adjustment screws on each hinge. They control different movements:
- The screw closest to the door edge adjusts depth (how far the door sits from the cabinet frame)
- The middle screw adjusts lateral position (left/right)
- On three-screw models, the third screw adjusts height (up/down)
Blum’s technical documentation specifies that their standard 35mm cup hinges offer ±3mm lateral adjustment, ±2mm height adjustment, and 3-5mm depth adjustment depending on the model. Salice’s specs are similar. This means you have roughly 1/8 to 1/4 inch of movement in each direction—enough to correct most alignment issues without removing the hinge.
Step 2: Adjust the top hinge first

For hinge-creep cases (sagging door, top gap too wide), start with the top hinge.
Find the depth-adjustment screw—it’s usually the one nearest the door edge, perpendicular to the cabinet frame. Turn it clockwise 1/4 turn to pull the door tighter to the frame.
Close the door and check the gap. If it’s better but not perfect, make another 1/4 turn. If the gap is now too tight at the top, turn it back 1/8 turn.
Don’t skip checking between adjustments. It’s tempting to crank the screw several full turns and “see what happens,” but that’s how you strip holes.
Step 3: Adjust the bottom hinge if needed
If the top gap is correct but the bottom still won’t close, move to the bottom hinge and repeat the depth adjustment. In my experience, about 60% of loose cabinet doors only need the top hinge adjusted; the rest need both.
If adjusting both hinges’ depth screws doesn’t fix the problem, check whether the door is twisted. Stand directly in front of the closed door and sight down the edge. If one corner pulls away more than the others, you’ll need to adjust the lateral screws to correct the twist.
Step 4: Fine-tune with lateral adjustments
Once the door closes evenly, check the gaps on the left and right sides. The door should sit evenly within the cabinet frame opening. If it’s shifted too far left or right, adjust the lateral screws (usually the ones parallel to the cabinet frame) on both hinges in the same direction. Again: 1/4 turn, check, repeat.
Dealing with seasonal swelling
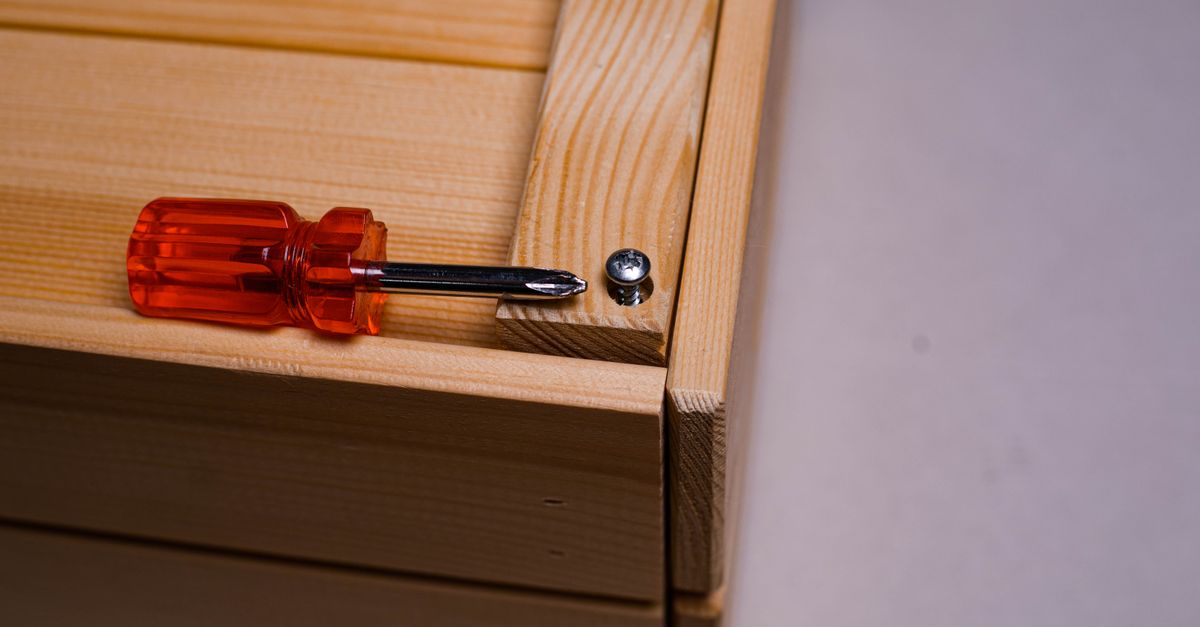
If you’ve confirmed the door is physically swollen (bottom edge tight, top edge fine, and tightening hinges doesn’t help), you’re dealing with wood movement, not loose cabinet hinges. This happens in humid climates or kitchens with poor ventilation.
Wood doesn’t just swell arbitrarily—it responds to moisture content in predictable ways. Research from the USDA Forest Products Laboratory shows that dimensional changes in wood are directly tied to moisture: most cabinet species expand about 0.3% for every 4% increase in moisture content. A 24-inch-tall door gaining 8% moisture content (summer humidity spike) can swell by roughly 1/8 inch—enough to bind against the frame.
Short-term fix: You can sand the leading edge of the door very lightly with 120-grit sandpaper to create clearance. Remove the door first (lift it while unscrewing the hinge arms), sand just enough to close smoothly, then seal the freshly exposed wood with polyurethane or cabinet touch-up sealer to slow moisture reabsorption.
Long-term reality: Wood expands and contracts seasonally. Cabinet manufacturers design their products with tolerance for this movement—that’s why the KCMA standard allows a 1/16-inch to 1/8-inch gap rather than demanding zero clearance. If the door closes fine in winter and sticks in summer, that’s normal behavior, and forcing a perfect fit year-round means you’ll have gaps in dry months. Many people accept a slightly wider gap during humid months rather than fight the wood’s natural behavior.
If you rent, this is especially relevant—sanding a door is reversible, but it’s also optional. A door that doesn’t latch perfectly but stays closed under its own weight is often “good enough” until the humidity drops.
Common mistakes to avoid
1. Over-tightening: I mentioned this already, but it’s worth repeating because it’s the most expensive mistake. Particleboard screw holes don’t forgive. If you feel the screw suddenly lose resistance and start spinning, you’ve stripped it. Stop, back the screw out, and either move to a fresh hole location (if the hinge has slotted screw holes) or look into screw-hole repair kits.
2. Adjusting the wrong hinge: If the top of the door sags, adjust the top hinge. If the bottom drags, adjust the bottom hinge. Adjusting the opposite end won’t fix the problem and will create new gaps.
3. Skipping the level check: If your cabinet rocks when you push on it, no amount of hinge adjustment will keep the door closed. Level the cabinet by shimming the feet or adjusting the legs (most modern cabinets have adjustable feet).
4. Mistaking swelling for loose hinges: Tightening hinges on a swollen door just puts more stress on the hinge screws. Measure the gaps first.
When to call a professional
- The cabinet frame is visibly warped or tilted more than 1/4 inch, and shimming doesn’t help
- The door itself is warped (sight down the face—if it bows more than 1/4 inch, it’s warped)
- Multiple screw holes are stripped and no adjustment screws hold
- You see water damage, mold, or soft spots on the cabinet box
For warped doors specifically, How to Fix a Warped Cabinet Door covers your options, but many warped doors need replacement.
If you’re replacing hinges anyway
If your cabinet hinges are damaged or you’ve stripped too many screws, replacement is straightforward. Standard cup hinges cost $3-8 each at hardware stores or online. Blum Blumotion and Salice soft-close models run $8-15 per hinge and eliminate door-slamming entirely—worth it if you have kids or you’re tired of the noise.
Measure your existing hinge’s mounting holes (standard is 35mm cup diameter and specific drilling patterns) before buying. If you’re unsure, take one hinge with you to the store. How to Replace Cabinet Hinges in 30 Minutes walks through the full process.
FAQ
How do I know if my cabinet hinges are adjustable?
Cup hinges (the round type that mount inside the door edge) are almost always adjustable. You’ll see two or three screws on the hinge arm that control depth, lateral position, and sometimes height. Older surface-mount hinges visible on the cabinet face usually aren’t adjustable—you can only tighten or replace them.
Can I fix a cabinet door that swings open on its own?
Yes, if it’s caused by loose hinges. Follow the adjustment steps above to pull the door tighter to the frame. If the cabinet itself is tilted (check with a level), the door will swing open due to gravity—level the cabinet first. If hinges are tight and the cabinet is level but the door still swings, the door may be warped or the hinges may be worn out.
Why does my cabinet door only stick in summer?
Wood absorbs moisture and swells in humid weather. Kitchens are especially prone to this near sinks and dishwashers. If the door closes fine in winter and sticks in summer, that’s seasonal wood movement—normal and expected. You can sand the edge for clearance, but the gap will return in dry months. Many people just live with a slightly tighter fit in humid seasons.
Most cabinet door problems are a 20-minute fix once you know which screw to turn. Start with diagnosis, make small adjustments, and don’t force anything. If the door is actually warped or the cabinet is structurally damaged, you’ll know within five minutes—and calling someone at that point saves you from making it worse.