

A slow drip from an outdoor faucet wastes roughly 200 gallons of water per month — that’s $60 to $120 a year in most areas, for something you can usually fix in fifteen minutes with a $3 washer. The hard part isn’t the repair; it’s figuring out where the leak is actually coming from and which type of faucet you’re dealing with.
Most outside spigot leaking problems come down to one of three spots: the spout itself, the packing nut where the handle meets the body, or the wall connection. But the fix depends entirely on what type of faucet you have — compression, cartridge, ball, or frost-proof — and each one has a completely different internal structure. Attempting a compression-faucet washer swap on a frost-proof model with a buried valve seat wastes an afternoon and solves nothing.
Identify your faucet type first
Before you grab tools, figure out which type you’re working with:
Compression faucet: Single handle, turns multiple rotations to open. When you shut it off, you feel resistance at the end as the washer compresses against the valve seat. This is the traditional outdoor spigot design and the easiest to repair yourself.
Frost-proof (freeze-proof) faucet: Looks like a compression faucet from outside, but the stem extends 6-12 inches into the wall and the actual shutoff valve is inside the heated part of your house. The exposed portion stays empty and can’t freeze. Common in cold climates (USDA zones 5 and colder). Many have “anti-siphon valves” built in — required by plumbing code in most areas to prevent contaminated water from backflowing into your drinking supply.
Cartridge or ball faucet: Less common outdoors. Single-lever operation, smooth motion with no multi-turn threads. If you have one, manufacturer-specific repair instructions are your best bet — Moen, Delta, and Kohler each use proprietary cartridge designs.
If your faucet has a vacuum breaker cap on top (a small plastic cylinder above the handle), you have an anti-siphon valve. That’s a separate component that can fail independently of the main faucet — more on that below.
What you’ll need
Tools:
- Adjustable wrench (6-10 inch)
- Screwdriver set (Phillips and flathead)
- Bucket or towel
Materials:
- Replacement washer kit (common sizes: 1/2”, 5/8”, 3/4”, 7/8”) — $3-8
- Plumber’s tape (PTFE/Teflon tape) — $2-3
- Replacement O-ring or packing nut washer (if needed) — $2-5
Optional:
- Penetrating oil (WD-40 or Liquid Wrench) for stuck connections
- Plumber’s grease (usually included in washer kits)
For frost-proof or cartridge models:
- Manufacturer-specific repair kit (Moen, Kohler, Delta, etc.) — $12-25
Affiliate disclosure
This article contains product recommendations. FixerDaily may earn a small commission if you purchase through our links, at no cost to you. We recommend products based on durability and value, not commission.
Before you start
Turn off the water supply. Find the shutoff valve for the outdoor faucet — it’s usually under a sink inside the house or near the main water line. Turn it clockwise until it stops. Don’t force it.
Open the outdoor faucet fully and let the water drain out. If water keeps flowing after thirty seconds, the shutoff valve isn’t working. Stop and call a plumber — you can’t safely disassemble a pressurized faucet.
Place a bucket or towel under the faucet to catch residual water during disassembly.
Step 1: Diagnose where the leak is coming from
Turn the faucet off and watch where water appears:
Dripping from the spout (the opening where water comes out): The internal washer is worn on a compression faucet, or the internal cartridge/poppet seal has failed on a frost-proof model. This is the most common leak — 15 to 20 minutes for compression types, 30-45 for frost-proof.
Seeping around the packing nut (where the handle meets the faucet body): The packing nut is loose or its internal seal has failed. Usually a 5-minute tighten; 20 minutes if you need to replace the seal.
Leaking at the wall connection (where the faucet exits the house): Internal seal failure or corrosion. This repair requires removing the entire faucet; moderate difficulty, 30-45 minutes. If water is entering the wall, call a pro.
Dripping from the vacuum breaker cap (the plastic cylinder on top of the handle): The anti-siphon valve has failed. This is a separate repair from the main faucet and requires replacing the vacuum breaker assembly — about 10 minutes, but code-required in many jurisdictions so don’t skip it.
Dripping from the hose attachment: The connector washer is worn. Unscrew the hose, replace the rubber washer inside the coupling (costs about a dollar), reattach. Done in five minutes.
Most leaks are spout drips. If that’s what you’ve got and you have a standard compression faucet, move to step 2. If you have a frost-proof model, skip to the frost-proof section below.
Step 2: Remove the faucet handle and stem (compression faucets only)
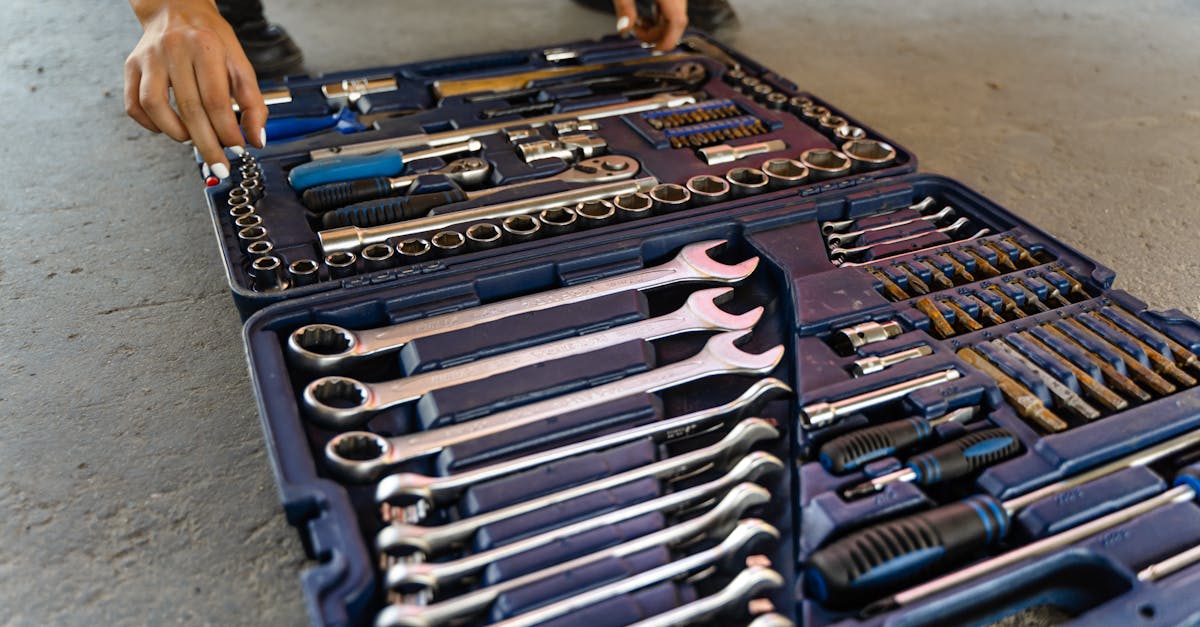
With the shutoff valve off and the line drained, use the adjustable wrench to unscrew the packing nut. This is the hexagonal nut closest to the wall, just under the handle. Turn it counterclockwise. If it’s stuck, apply penetrating oil, wait five minutes, and try again. Don’t force it — a cracked nut means replacing the whole faucet.
Once the packing nut is loose, pull the handle and stem straight out. You’ll see a threaded brass stem with a rubber washer at the far end, held in place by a small screw. Some water may drip out when you remove the stem; that’s normal.
Step 3: Replace the washer and O-ring
At the base of the stem, you’ll see a flat rubber washer held by a single screw. Use a flathead screwdriver to remove the screw. Pull off the old washer and note its size and thickness — bring it to the hardware store if you’re not sure which replacement to buy.
Clean any sediment or mineral buildup from the stem seat (the recessed area where the washer sits). Slide the new washer onto the stem, making sure it lies flat. If your repair kit includes plumber’s grease, apply a thin layer to the washer before screwing it back in. This helps it seal and extends its life.
Check the O-ring around the stem body (the rubber ring that sits in a groove partway up the stem). If it’s cracked or flattened, replace it. Pry it out with a flathead screwdriver, roll the new one into the groove.
Step 4: Reassemble and test
Insert the stem back into the faucet body. Hand-tighten the packing nut, then snug it with the wrench — about 1/8 turn past hand-tight. Do not crank it down. Over-tightening crushes the washer and you’ll be back here in six months.
Turn the shutoff valve back on slowly. Open the outdoor faucet and let water run for ten seconds to clear any air from the line. Close the faucet and watch all connection points for two minutes. No drips means you’re done.
If the spout still drips after washer replacement, the valve seat (the part inside the faucet body that the washer presses against) may be scored or corroded. That usually means replacing the faucet, though valve-seat grinders exist — I’ve never had luck with them.
Step 5: If the leak is at the packing nut

If water seeps from the base of the handle when the faucet is on, the packing nut itself needs attention. With the shutoff valve off, use the wrench to tighten the packing nut a quarter turn. Turn the water back on and test. If the leak stops, you’re done.
If it persists, unscrew the packing nut completely and check the rubber washer inside (different from the spout washer — this one sits inside the packing nut and seals around the stem). Replace it, reassemble, and test.
Frost-proof faucets: a different repair path entirely
Frost-proof spigots fail differently than standard compression faucets because the valve seat — the part the washer seals against — is buried six to twelve inches inside your wall, not accessible from outside. You can pull the stem out just like a regular faucet, but the washer at the tip doesn’t seal against anything you can service without opening the wall.
The actual failure point in a frost-proof faucet is usually the internal poppet seal or cartridge, which sits at the buried end of that long stem. According to manufacturer repair guides, this seal degrades from mineral buildup or age and starts allowing water past even when the faucet is “off.”
To repair a frost-proof faucet:
- Identify your faucet brand (Peerless, Woodford, Arrowhead, Mansfield — usually stamped on the body).
- Buy the manufacturer-specific repair kit, which includes a new poppet assembly or cartridge. Generic kits don’t work here.
- Turn off the water, remove the handle and stem per the kit instructions (similar process to compression faucets but with brand-specific threading).
- Pull out the old poppet or cartridge from the buried valve body.
- Install the new one per the kit diagram, reassemble, test.
If the faucet is old (15+ years), corroded, or unbranded, replacement is often faster and more reliable than hunting for obsolete parts. Frost-proof faucet replacement is still DIY-friendly — you’re swapping one threaded fitting for another — but it’s a 45-minute job instead of 15.
Anti-siphon valve failure: the leak that washer replacement won’t fix
If your faucet has a vacuum breaker (the plastic cap on top), that component can fail independently and cause a persistent drip from the top of the faucet body — not the spout. Anti-siphon valves are required by code in most areas to prevent backflow of contaminated water (say, from a garden sprayer with fertilizer) into your home’s drinking water supply.
When the internal spring or seal in the vacuum breaker degrades, water seeps out the vent holes even when the faucet is off. This looks like a packing-nut leak but tightening the nut won’t help.
To replace a vacuum breaker:
- Turn off the water.
- Unscrew the vacuum breaker cap (usually hand-tight, sometimes needs pliers).
- Pull out the old valve assembly — a small plastic or brass insert with a spring.
- Drop in the new assembly (available at hardware stores, usually $5-8).
- Screw the cap back on, turn the water on, test.
Don’t skip this repair. A failed vacuum breaker means your drinking water isn’t protected from contamination — that’s not just a leak, it’s a safety issue.
When to call a professional
Water is leaking into the wall. You may have interior moisture damage or a corroded supply line. A plumber can open the wall safely and assess the damage.
The shutoff valve won’t shut off completely. The valve itself is faulty and needs replacement. Don’t attempt faucet repair with water still pressurized.
The faucet is frozen solid. Water won’t flow and the handle won’t turn. Forcing it can crack the housing. A plumber can thaw the line safely or replace the spigot if it’s already cracked.
Multiple outdoor spigots are leaking at once. That suggests a main supply pressure issue or sediment problem, not individual washer failures.
Troubleshooting
The washer looks fine but the faucet still drips.
The valve seat (the brass fitting inside the faucet body) is likely scored. Run your finger around the seat — if you feel pitting or grooves, the seat needs resurfacing or the faucet needs replacement. Valve seat grinders exist but I’ve never gotten consistent results; replacement is cleaner.
Water leaks faster after I reassembled everything.
The washer isn’t seated properly or the packing nut is cross-threaded. Disassemble, check that the washer is flat and centered, and make sure the packing nut threads start straight when you screw it back in.
I can’t get the packing nut to budge.
Spray it with penetrating oil (WD-40, Liquid Wrench) and wait ten minutes. Use a wrench with a longer handle for leverage, but don’t force it to the point of rounding the nut. If it won’t move, the faucet is corroded and you’re better off replacing it than risking a cracked housing.
I replaced the washer on my frost-proof faucet and it still drips.
The accessible washer on the stem tip doesn’t seal the valve on frost-proof models — the buried poppet or cartridge does. You need a manufacturer-specific repair kit, not a generic washer.
FAQ
How long does an outdoor faucet washer last?
A washer typically lasts two to five years depending on water hardness, how often the faucet is used, and whether it’s winterized properly. If you drain the line before winter and don’t leave the faucet dripping, you’ll get closer to five. WaterSense guidance from the EPA recommends annual inspection of outdoor fixtures to catch wear before it becomes a leak.
Can I use any washer size?
No. Washers come in 1/2”, 5/8”, 3/4”, and 7/8” diameters. Using the wrong size means either no seal (too small) or the washer won’t fit in the seat (too large). Pull the old washer and match it exactly, or buy an assorted repair kit that covers common sizes.
Do I need to replace the whole faucet if the leak won’t stop?
Not always. If washer and O-ring replacement doesn’t solve it, the issue is usually the valve seat or, for frost-free models, the internal cartridge. Try a cartridge replacement if you can identify your faucet model — Kohler, Moen, and Delta all publish repair kits and instructions by model number. If the faucet body is corroded or cracked, replacement is the only fix — but that’s still DIY-friendly, just thirty minutes longer.
Is a dripping outdoor faucet really worth fixing?
Yes. EPA estimates show that household leaks waste nearly 1 trillion gallons of water annually nationwide, and outdoor faucets are among the most common culprits. A slow drip wastes 200+ gallons per month — that’s real money on your water bill and, in drought-prone areas, a meaningful waste of a limited resource. The repair takes less time than a hardware store run.
I learned this repair after a dripping spigot cost me three summers of weird water bills before I finally traced it. Turned out I had a frost-proof model and kept replacing the wrong washer — the accessible one on the stem tip instead of the buried cartridge. Once I figured out what I was actually looking at, the fix took less time than driving to the hardware store. If you’ve tackled a toilet repair before, this is the same diagnostic concept: find the failed seal, swap the rubber part, test before you trust.