

The loudest BANG you’ll hear in a rental apartment isn’t the door slamming—it’s the washing machine shutting off and sending a shockwave through every pipe in the building. I’ve lived through ten years of this in three different cities, and here’s what most guides won’t tell you up front: the type of noise tells you exactly what’s wrong, and which fix will actually work.
Most plumbing guides assume you already know whether you’re dealing with water hammer or loose pipes. This one starts with diagnosis—because buying a $30 water hammer arrestor won’t help if your problem is a loose strap, and vice versa. And it won’t help at all if your real issue is a closed-loop system that needs an expansion tank.
Listen First: Match the Noise to the Cause
Before you reach for tools, close your eyes and listen. The sound signature tells you almost everything:
Loud BANGING when water stops flowing (faucet turns off, washing machine finishes filling, toilet stops) → Water hammer or thermal expansion in a closed-loop system. The momentum of moving water creates a pressure spike when a valve closes suddenly—or heated water expands with nowhere to go.
Persistent KNOCKING or THUMPING (doesn’t stop, happens while water is running) → Loose pipes, high water pressure, or thermal expansion. Pipes are vibrating against framing or expanding when hot water flows through.
HISSING or HIGH-PITCHED SQUEALING → Trapped air in the lines or undersized pipes that can’t handle your water pressure.
CHATTERING or VIBRATION → High inlet water pressure (usually above 80 PSI) or a partially closed valve somewhere upstream.
Got your noise identified? Before you buy anything, run this confirmation test:
To verify water hammer: Slowly close your main water shutoff and listen. If the noise stops immediately when you close the valve, it’s water hammer. If you hear multiple bangs after shutoff, or noise continues during normal flow, the issue is loose pipes or high pressure—not water hammer. This 30-second test prevents buying the wrong parts.
Now check your pressure. Buy a cheap water pressure gauge at any hardware store ($8–15), screw it onto an outdoor faucet, and turn on the water. Normal residential pressure is 30–80 PSI per AWWA standards. If you’re over 80, that’s often your culprit—more on this below.
The Closed-Loop Question: Do You Need an Expansion Tank Instead?
Here’s the diagnostic category most guides skip: if your home has a check valve in the main shutoff or a pressure-reducing valve, you have a closed-loop system. When your water heater runs, heated water expands—but it has nowhere to go because the check valve prevents backflow to the municipal supply. The pressure spike sounds exactly like water hammer, but a water hammer arrestor won’t fix it.
How to tell if you have a closed-loop system:
- Look at your main water shutoff. If you see a pressure-reducing valve (bell-shaped brass fitting) or a backflow preventer/check valve (often required by code in newer homes), you’re closed-loop.
- Your water heater is creating thermal expansion pressure every time it heats.
The fix: Install a thermal expansion tank on the cold water inlet to your water heater ($40–80 for the tank, $150–250 installed if you hire a plumber). This gives expanding water somewhere to go. It’s code-required in closed-loop systems per International Plumbing Code Section 607.3, but many older homes were grandfathered in and never retrofitted.
If you’re not sure whether you have a closed loop, and your banging happens specifically when the water heater cycles or after hot water use, call a plumber to assess before buying arrestors.
What You’ll Need
Some links in this article are affiliate links. We earn a small commission if you purchase through them, at no extra cost to you.
Tools:
- Flashlight or work light
- Pipe straps or hangers (rubber-lined metal, nylon, or copper—$0.75–$2 each)
- Drill and bits (or hammer and nails if securing to wood studs)
- Adjustable wrench
- Water pressure gauge ($8–15)
Materials:
- Water hammer arrestors ($15–40 each, if your diagnosis points to water hammer)
- Thermal expansion tank ($40–80, if you have a closed-loop system)
- Foam pipe insulation sleeves ($0.10–$0.50 per foot, for vibration damping)
- Teflon tape (if you’re installing arrestors on threaded connections)
Prerequisites:
- Access to your pipes (basement, crawl space, or under-sink cabinets)
- Basic comfort with hand tools
- Patience to trace the noise to its source
Before You Start
Safety:
- If you smell gas at any point, leave the house immediately and call your gas utility. Never investigate gas line noises yourself.
- If your home was built before 1980 and you see white or gray insulation wrapped around pipes, do not disturb it—it may contain asbestos. Hire a licensed abatement contractor. The CDC’s asbestos guidance is clear: this is not a DIY project.
- Hot water pipes can be hot to the touch. Wear gloves if working near active hot water lines.
Code notes: The International Plumbing Code Section 605 requires pipe support every 4–6 feet horizontally and every 8 feet vertically. If your pipes are noisier than your neighbor’s, they’re probably missing straps.
Step 1: Trace the Noise

You need to know where the sound is coming from before you can fix it. Have someone turn a faucet on and off, or run the washing machine through a fill cycle, while you move around the basement or crawl space with a flashlight. The noise is loudest near the problem.
Pro tip from a decade of rentals: wrap a garden hose loosely around different sections of pipe and hold the end near your ear. It amplifies the vibration and helps you zero in.
Step 2: Fix Water Hammer (If That’s Your Noise)
Water hammer happens when flowing water stops abruptly—the water’s momentum creates a pressure spike that bangs the pipe against framing. It’s the single most common cause of noisy plumbing, and the fix is straightforward.
Solution #1: Install water hammer arrestors (most effective)
These are small shock absorbers for your plumbing. They screw onto the supply lines near fixtures with solenoid valves—washing machines, dishwashers, toilet fill valves—and contain a sealed air chamber that absorbs the pressure spike.
- Location matters: Install within 3 feet of the fixture causing the bang. Farther away, and the arrestor won’t catch the shock in time.
- Orientation: Vertical, with the air chamber on top. Check the product label.
- Cost: $15–40 per arrestor. Watts, Amtrol, and Caleffi all make reliable models. Buy 3/4” NPT threaded size for most residential lines.
Turn off the water supply to the fixture, unscrew the supply line, wrap Teflon tape around the threads, screw in the arrestor, then reconnect the supply line to the arrestor’s outlet. Turn the water back on and test.
Solution #2: Drain air chambers (older homes only)
If your house was built before 1960, you might have vertical air chambers—6-inch dead-end pipes filled with air at the end of branch lines. They work like arrestors but can “waterlog” over time (air dissolves into the water). To flush them:
- Turn off the main water supply.
- Open all faucets to drain the system completely.
- Close the faucets and turn the main back on.
This is temporary—lasts 6 months to 2 years—and doesn’t work in modern plumbing that lacks air chambers. If you don’t see stubby vertical pipes near your fixtures, you don’t have them.
Solution #3: Upgrade to anti-hammer appliances
If your washing machine or dishwasher is 10+ years old, newer models often have slow-close solenoid valves that reduce water flow gradually instead of slamming shut instantly. This is a long-term fix but not a quick one.
Step 3: Secure Loose Pipes
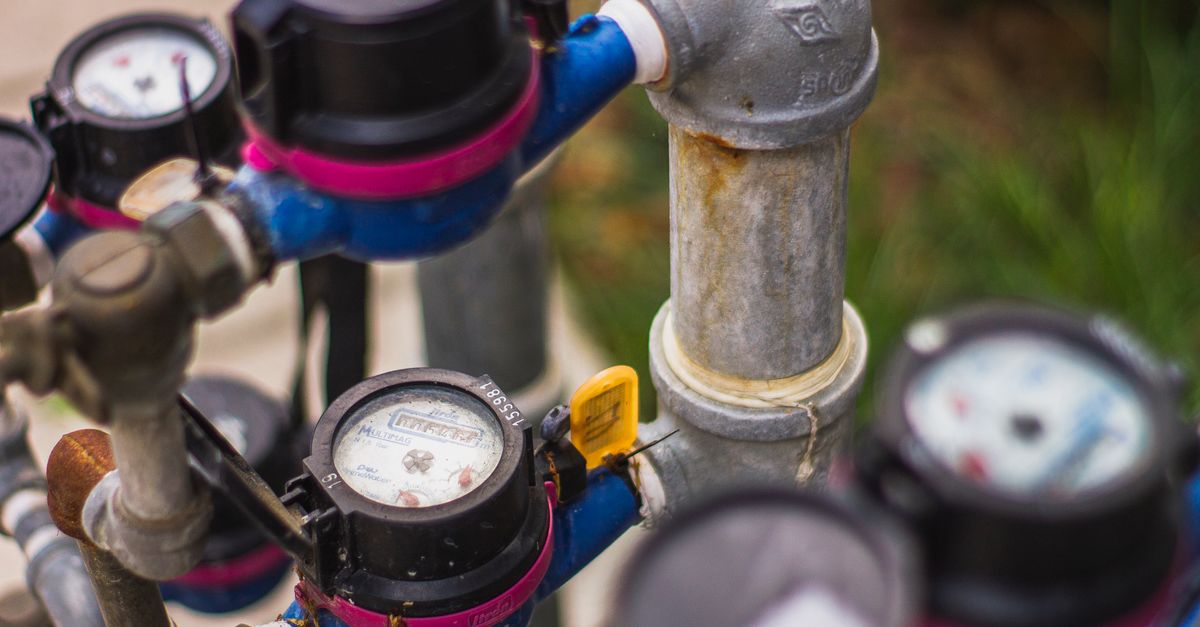
If your noise is knocking or thumping (not just banging when water stops), your pipes are vibrating against framing or each other. The fix is simple but takes some crawling around.
-
Locate the loose section. Look for pipes that are visibly shaking when water flows, or pipes touching wood studs or other pipes. They should have 1/16-inch clearance on all sides.
-
Install pipe straps every 4–6 feet on horizontal runs, and every 8 feet on vertical runs. Use rubber-lined metal straps or nylon straps—they’re quieter than bare metal and won’t scratch copper or PEX.
-
Tighten existing straps that have come loose. Snug is good; vice-grip tight will dent the pipe. Leave a tiny bit of play (about 1/16 inch).
-
Add foam insulation where pipes touch framing or other pipes. Wrap 1-inch closed-cell foam around the pipe, or slide on pre-made foam sleeves ($0.10–$0.50 per foot at any hardware store). This absorbs vibration and cuts down on noise transfer.
Special case: Thermal expansion knocking
Copper pipes expand about 1/8 inch per 50 feet when hot water flows through them. If you hear knocking from hot water lines specifically, the pipes need room to move.
- Fix: Reposition straps to allow 1/2-inch clearance on one side, so the pipe can expand without banging. Don’t over-tighten.
- This is where foam insulation also helps—it cushions the expansion movement.
Step 4: The Pressure Regulator Decision
If your pressure gauge shows readings consistently above 80 PSI, you’ve found a major culprit. High pressure doesn’t just cause noise—it shortens fixture life, stresses your water heater, and wastes water. The EPA’s WaterSense program notes that high pressure accelerates leaks and reduces appliance lifespan.
Here’s how to decide what to do:
Measure first: Testing is cheap ($10–15 for a gauge). Test at different times of day—municipal pressure can fluctuate. If you’re consistently above 80 PSI, keep reading.
Diagnose scope: Is one fixture noisy, or are all your fixtures loud and chattering? If only one fixture (say, the washing machine), the issue is likely water hammer at that fixture, not whole-house pressure. Install an arrestor there. If every faucet chatters and every valve sounds like a jackhammer, you need whole-house pressure regulation.
DIY limit: Pressure regulators require proper installation—bypass valve access, downstream shutoff for servicing, attention to corrosion potential per PHCC installation standards. Expect $200–400 for a licensed plumber to install and calibrate one. This is rarely DIY scope unless you’re experienced with main-line plumbing and local code.
What you can do yourself: Measure, diagnose, and call for quotes. What you shouldn’t do: install a regulator without understanding backflow code, thermal expansion requirements (you’ll need that expansion tank on your water heater), and proper bypass valve placement.
Verify It Worked
Run the fixture that caused the original noise. Turn off the washing machine mid-cycle, flush the toilet, close a faucet fast. Listen.
- Silence or a soft thump? You’re done.
- Still banging? Double-check arrestor placement (within 3 feet, vertical orientation) or revisit the closed-loop diagnosis.
- Still knocking? Look for straps you missed or thermal expansion issues on hot water lines.
When to Call a Professional
Stop and call a licensed plumber if:
- Water pressure is above 90 PSI. High pressure damages fixtures, bursts pipes, and strains your water heater. A plumber can install and adjust a pressure regulator (typically $200–400).
- You suspect a closed-loop system and banging happens during or after water heater cycles. You may need a thermal expansion tank, and installation involves working on the water heater’s cold inlet—best left to a pro.
- Noise is coming from inside walls and you can’t trace the source. You may need wall access or camera inspection.
- Banging persists after installing arrestors and strapping pipes. Could be a failing pressure regulator, defective check valve, or undersized pipes.
- The noise is accompanied by reduced flow, discolored water, or leaks. These point to valve failure or pipe damage, not just loose fittings.
- You suspect a gas line. Never DIY gas line diagnostics. Call your utility or a licensed gas plumber.
FAQ
Can I fix noisy plumbing without opening walls?
Yes, if your pipes are accessible in a basement, crawl space, or under-sink cabinets. Most water hammer and loose-pipe noise can be fixed by working on exposed sections. If the noise is trapped inside walls, you may need a plumber with a camera to locate the problem before opening drywall.
How much do water hammer arrestors cost?
$15–40 each for residential models. You typically need one per problem fixture—so if your washing machine and dishwasher both cause banging, you’ll install two. Watts and Caleffi are reliable brands available at most hardware stores.
Will foam pipe insulation stop all noise?
No. Foam helps with vibration and thermal expansion knocking, but it won’t fix water hammer (you need arrestors for that) or high water pressure (which requires a regulator). It’s a supporting fix, not a cure-all.
Do I need an expansion tank if I install a pressure regulator?
Yes. Adding a pressure regulator creates a closed-loop system—water can’t flow backward past the regulator to the municipal supply. Your water heater still generates thermal expansion, so you’ll need an expansion tank on the cold inlet to handle it. Most plumbers install both at the same time.
Is high water pressure dangerous?
Yes. Pressure above 80 PSI can damage fixtures, burst supply lines, and wear out your water heater faster. It also stresses washing machine hoses and dishwasher valves, shortening their lifespan. A pressure regulator is a worthwhile investment if you’re consistently above 80 PSI.
The best part about fixing noisy plumbing? Once you’ve done it, you know the signs. When you move into your next place and hear that first loud bang from the washing machine, you’ll already have a $20 arrestor and a drill in the car. It’s renter knowledge that travels.
For more DIY plumbing fixes that don’t require a contractor, check out running toilet repair and leaky faucet fix. And if you’re tracking home maintenance costs, home maintenance budget guide breaks down what’s worth DIYing versus hiring out.