
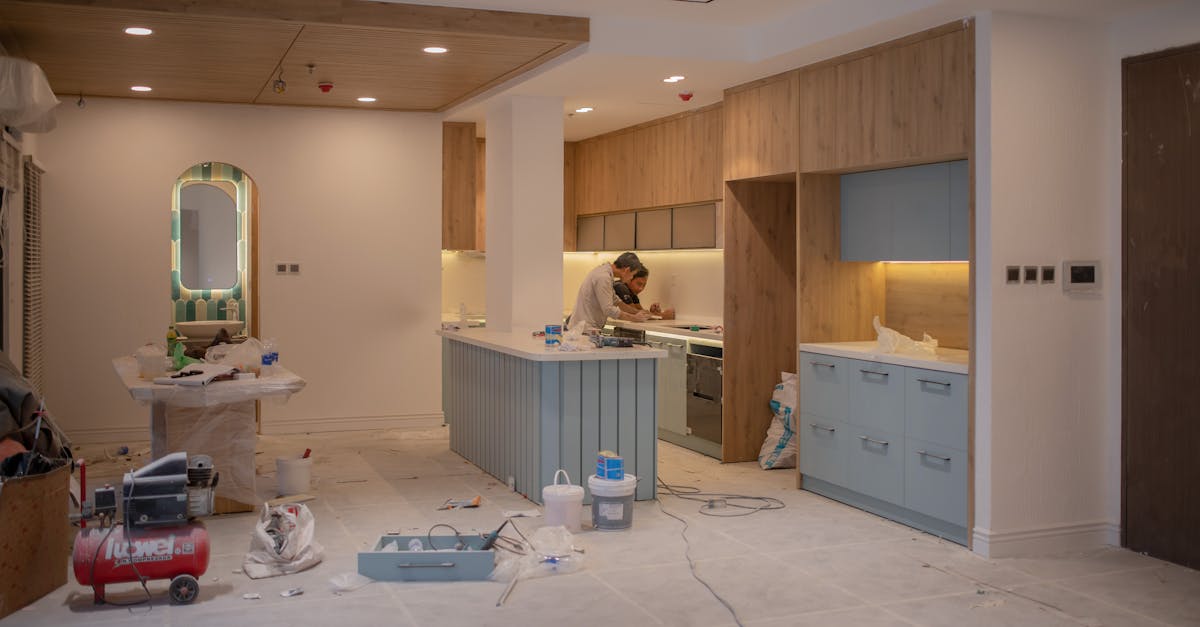
Painting kitchen cabinets gives you a kitchen refresh for $120–280 in materials instead of $5,000+ for replacement or $1,500–3,500 for a contractor. The job takes patience more than skill—most of the work is prep, drying time, and not rushing the cure.
This is the right project if your cabinets are structurally sound but dated or dingy, and you can work around the kitchen being partially out of commission for about a week. If your cabinets have water damage, peeling veneer, or broken frames, paint won’t fix them—you’re looking at repair or replacement instead.
What you’ll need
Tools:
- Angled sash paintbrushes (2-inch for frames, fine taper for detail)
- Mini foam rollers or 4-inch lambswool rollers
- Painter’s tape (3-inch, medium-tack)
- Drop cloths and plastic sheeting
- Drill with mixing paddle
- Sandpaper or sanding sponge (120-grit and 220-grit)
- Tack cloth or microfiber rags
- Respirator mask (P95 minimum for latex; organic-vapor cartridge for oil-based)
- Box fan or ventilation fan
Materials:
- Cabinet primer (1–1.5 gallons per 100 sq ft of cabinet face)
- Cabinet paint (1–1.5 gallons; see paint type section below)
- TSP substitute degreaser
- Spackling compound (for filling old hinge holes or dings)
- Painter’s tape
- Gloves
Prerequisites:
- Structurally sound cabinets (no water damage, intact veneer, working hinges)
- Ability to work around the kitchen for 5–7 days (doors stay open during cure)
- Good ventilation (operable windows or exhaust fan)
Choosing cabinet paint types
The paint you pick determines durability, cost, and how much ventilation you’ll need. Here’s what I’ve used and what each type does best.
Latex acrylic cabinet paint ($30–50/gallon): Water-based, low odor, easy cleanup, cures in 2–3 weeks. This is what most DIYers should use—brands like Benjamin Moore Advance or Sherwin-Williams ProClassic hold up well in kitchens and don’t require mineral spirits. Coverage is good; you’ll usually get two coats out of a gallon for 100 sq ft of cabinet face.
Oil-based enamel ($40–70/gallon): Harder finish, self-levels better (fewer brush marks), lasts 7–10 years. The trade-off is strong fumes, slow cure (3–4 weeks to full hardness), and mineral spirits cleanup. I used this on my own cabinets because I wanted maximum durability, but I had to move out of the kitchen for three days—not an option for everyone.
Acrylic-enamel hybrid ($35–55/gallon): Splits the difference—lower odor than pure oil-based, harder finish than pure latex. Good middle ground if you want durability but can’t handle oil-based fumes.
For sheen, go with satin (wipes clean, hides minor brush marks) or semi-gloss (very wipe-able but shows every imperfection). Skip matte in kitchens—it absorbs grease and can’t be scrubbed.
Cabinet painting cost breakdown
Here’s what you’ll actually spend for a typical 100 sq ft kitchen cabinet job:
- Primer and paint (2 coats): $80–150 for latex; $120–200 for oil-based
- Supplies (sandpaper, degreaser, tape, brushes, rollers): $40–80
- Total DIY cost: $120–280
Compare that to contractor quotes of $1,500–3,500 for the same job. You’re paying 10–20% of the contractor price, but investing 20–30 hours of your own time over a week. If your cabinets need repair, add another $50–150 for wood filler, new hinges, or hardware.
Before you start
Check for lead paint. If your cabinets were painted before 1978, they may contain lead. Do not sand, scrape, or drill suspect lead paint—it creates hazardous dust. Contact your local health department or EPA for testing guidance. Many states offer free or low-cost lead-test kits, and some regions run programs for safe lead-paint remediation. If lead is present, hire a certified lead-paint contractor; DIY on lead cabinets is a serious health risk.
Ventilation is non-negotiable. Open windows on opposite sides of the kitchen and position a box fan to pull air out. Cabinet paint fumes—even low-VOC latex—accumulate fast in enclosed spaces. If you start feeling lightheaded or the smell gets overwhelming, stop and increase airflow. Don’t run the kitchen stovetop or dryer during painting or drying; gas appliances near paint fumes are an ignition risk.
Wear a respirator, not a dust mask. A P95-rated respirator handles latex paint; oil-based requires an organic-vapor cartridge. I skipped this the first time I painted cabinets in a rental and spent the next day with a splitting headache—not worth it.
Plan for the kitchen to be partially out of service for a week. You can use the sink and appliances, but cabinet doors need to stay open for 3–5 days minimum after the final coat. Full cure takes 2–3 weeks; closing doors early causes sticking and finish damage.
Step 1: Prep and protect
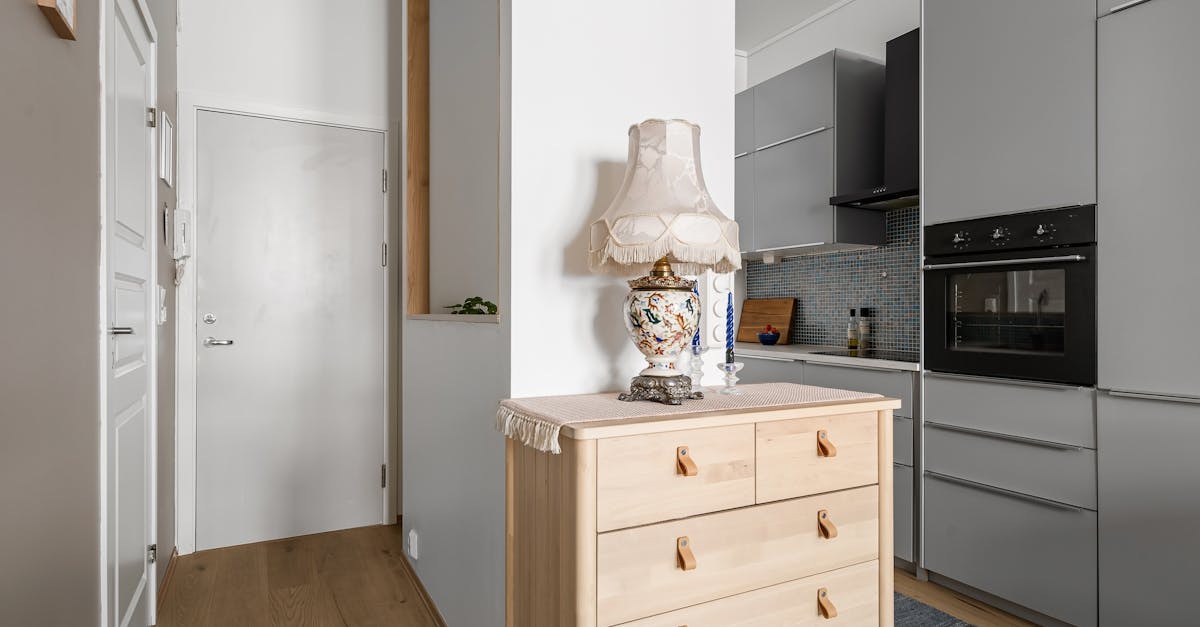
Clear everything out of the cabinets or consolidate into one section you won’t be painting yet. Remove all hardware—hinges, pulls, handles—and bag them with labels. I photograph each door before removing it, then label the back with painter’s tape and a marker so reassembly doesn’t become a puzzle.
Lay plastic sheeting under and around the cabinets, taped to the baseboards. Protect countertops with kraft paper or plastic sheeting—paint will find any gap. If your kitchen opens into other rooms, close it off with plastic barriers to contain fumes and prevent dust from settling on wet paint.
Turn off the HVAC if it’s central (stops dust circulation). Set up your fan to pull air out a window.
Step 2: Degrease and sand
This is the step that prevents paint failure six months from now. Kitchen cabinets accumulate a thin film of cooking grease that looks clean but blocks primer adhesion. Mix TSP substitute (trisodium phosphate) per the package instructions, wipe down every surface with a damp rag, then rinse with clean water and let dry completely—at least 2 hours, overnight is better.
Once dry, sand all surfaces with 120-grit sandpaper. You’re not sanding through the finish; you’re dulling the gloss so primer can grip. If there are dings, gouges, or old hinge holes you’re not reusing, fill them with spackling compound now and sand smooth once dry.
Vacuum everything, then wipe with a tack cloth to remove sanding dust. Any dust left behind will show up as grit in your paint finish.
Step 3: Prime
Stir the primer thoroughly with a drill-mounted mixing paddle—don’t shake the can; it introduces bubbles. Apply primer to frames with a brush and to flat surfaces (door faces, cabinet sides) with a mini roller. Work in thin, even coats; puddles and drips are hard to sand out later.
Primer typically dries in 2–4 hours for latex, longer for oil-based. Check the can for recoat time. Most cabinet jobs only need one coat of primer if you’re using quality paint, but a second coat can reduce the number of paint coats you’ll need on dark or stained cabinets.
Step 4: First paint coat
Stir the paint—don’t shake—and keep stirring between applications. Use a dry brush or roller; wet tools hold too much paint and cause drips. Apply thin, even strokes to frames and doors. On flat surfaces, use the mini roller and avoid overworking the paint—cabinet paint builds fast, and heavy application causes sag.
Let the first coat dry per the can label, typically 4–8 hours for latex. Overnight is safer. Resist the urge to close doors or lean anything against wet paint.
Step 5: Second coat (and third if needed)

If there are dust nibs or rough spots from the first coat, lightly sand with 220-grit, then wipe with a tack cloth. Apply the second coat using the same technique as the first. Most cabinet paint needs 2–3 coats for full coverage, depending on the color and your base cabinets.
Step 6: Cure and reassemble
This is where patience matters. Cabinet paint is dry to the touch in a few hours, but full cure takes 2–3 weeks. Wait a minimum of 48–72 hours after the final coat before reinstalling hardware or closing doors. I prop doors open or leave them off the hinges for at least five days. Closing them too early causes the paint to stick and mar.
Once cured, reinstall hardware and doors, clean up your plastic sheeting, and you’re done.
Verify it worked
After reassembly, open and close a few doors to confirm they don’t stick. Wipe down a cabinet face with a damp cloth—the finish should feel smooth and not tacky. If paint comes off on the cloth, it hasn’t cured; give it more time.
Troubleshooting
Problem: Paint is peeling or bubbling within a few weeks
You skipped degreasing or didn’t prime. Strip the failed area, degrease, sand, prime, and repaint. There’s no shortcut here.
Problem: Finish feels rough or gritty
Dust settled on wet paint. Sand lightly with 220-grit between coats and use tack cloth to remove dust before painting.
Problem: Doors stick after reassembly
You closed them before the paint cured. Carefully pry them open and prop them for another week. If the finish is damaged, you may need to sand and repaint the affected edges.
Problem: Brush marks are visible
You used too thick a coat or didn’t use self-leveling paint. Sand the surface smooth and apply thinner coats. Foam rollers on flat surfaces minimize brush marks.
When to call a professional
Call a pro if your cabinets have water damage, peeling veneer, or particle-board swelling—paint won’t fix structural failure, and you’ll waste money and time on a finish that won’t last. If your cabinets have a factory polyurethane or lacquer finish, sanding them requires commercial dust control and proper ventilation; attempting it in a home kitchen is a respiratory hazard.
If hinges are stripped or doors are misaligned, you’re looking at carpentry work, not just painting. And if your kitchen layout means you can’t leave doors open for 3–5 days, hire someone with a spray booth who can finish the job faster with less disruption.
When getting contractor quotes, ask if they use a polycrylic topcoat (adds durability), offer a warranty (check the length), and include hardware replacement if needed. Quotes under $1,200 often skip priming or use single-coat finishes—that’s a red flag.
FAQ
How long does it take to paint kitchen cabinets?
Expect 20–30 hours of active work spread over 5–7 days, plus 2–3 weeks for full cure. Day 1 is prep and degreasing (3–4 hours), Day 2 is sanding and priming (4–6 hours), and Days 3–5 are painting coats with drying time in between. The cure period after your final coat is when you wait before closing doors or moving items back in.
Do you have to remove cabinet doors to paint them?
No, but it makes the job easier and gives a better finish. You can paint doors in place if you prop them open and use careful brush work, but removing them lets you lay them flat (fewer drips), paint both sides if needed, and avoid accidentally closing a wet door. I always remove them.
What’s the best primer for kitchen cabinets?
For cabinets with existing gloss or dark stain, use a shellac-based or oil-based bonding primer like Zinsser B-I-N. For cabinets that are already light-colored or semi-gloss, a latex acrylic primer like Kilz 2 works fine and has lower odor. The key is matching your primer base to your paint base—oil primer with oil paint, latex with latex—or using a bonding primer between them.
How do you protect countertops while painting cabinets?
Lay kraft paper or plastic sheeting over the countertops and tape the edges down with painter’s tape. Make sure the coverage extends past the cabinet edges—paint drips travel. I use plastic sheeting because it’s cheaper and I can throw it away after; kraft paper works if you want something that won’t slide around as much.
Painting cabinets is one of the highest-return DIY kitchen projects you can do for the money, but only if the cabinets underneath are worth painting. If you’re also thinking about updating hardware, how to install cabinet hardware walks through drilling new holes and avoiding common mistakes. And if you discover water damage or broken hinges during prep, kitchen cabinet repair water damage covers what’s fixable and what’s not. For a deeper dive on paint brands and finishes, best cabinet paint brands compares durability and coverage across the top options.