How to Install Floating Shelves Without the Regret
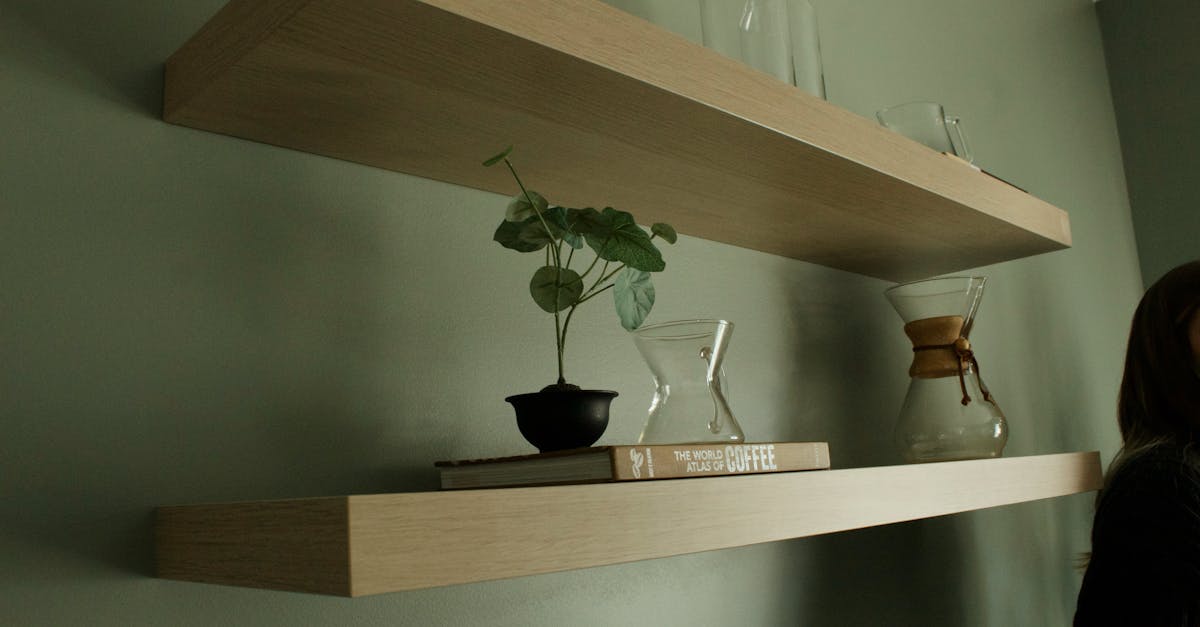
Floating shelves look clean, modern, and impossibly simple — until you’re standing in the hardware aisle wondering which of seventeen anchor types will keep your bookshelf from becoming a floor decoration. The difference between a shelf that holds for years and one that sags after three months comes down to matching the right wall mounting hardware to your wall type and understanding what stud finding actually requires.
This guide walks through the full floating shelf installation process with specific hardware names, weight capacity math, and the stud-finding technique that prevents the “I should have hired someone” moment six months later.
This article contains affiliate links. We recommend these products because we use them, and your purchase supports FixerDaily at no extra cost to you.
What you’ll need
Tools:
- Electronic or magnetic stud finder ($15–$40; Zircon MetalliScanner or Bosch Truvo)
- 24-inch level (spirit or digital)
- Drill with ⅛-inch bit for pilot holes
- Socket set or wrench (10mm–16mm, depending on bracket fasteners)
- Tape measure
- Pencil
Materials:
- Floating shelf brackets (Knape & Vogt 1191 or Everbilt steel brackets: $20–$50 per pair)
- Wall anchors or screws matched to wall type (see Hardware Selection below)
- Plastic or wood shims (for leveling if needed)
- Masking tape (for marking studs before drilling)
Know before you start:
- Your wall type: tap it with knuckles; hollow sound = drywall, solid = plaster or brick
- Rough shelf weight including contents (books = ~10 lb per running foot; decor = ~5 lb)
Before you start
Floating shelf installation hits moderate risk because drilling into the wrong spot can crack plaster, miss studs entirely, or punch through electrical wiring hidden behind drywall. Three essential safety steps:
- Turn off power to the wall if you’re drilling near outlets or switches. A non-contact voltage tester ($15–$25) confirms whether wiring runs behind your chosen spot.
- Wear safety glasses when drilling overhead or into masonry.
- Test-drill in an inconspicuous area first if you’re working with plaster-over-lath or an older home with unpredictable framing. This confirms what you’re dealing with before committing to bracket-sized holes.
Step 1: Find studs and mark their locations
Studs are vertical wood beams behind drywall or plaster, spaced 16 or 24 inches apart in most US homes. They’re the strongest anchor point for shelves over 30 pounds.
Use an electronic stud finder and scan horizontally along the wall at your desired shelf height. When the finder beeps or lights up, mark both edges of the stud with masking tape — studs are about 1.5 inches wide. Once you’ve found the first stud, measure 16 inches and then 24 inches from its center to predict the next stud location, then verify with the finder.
The knock-and-tap backup: Rap your knuckles along the wall. Hollow sound means no stud; solid thud suggests stud. Electronic finders can misread metal lath or dense drywall, so combining methods catches false positives.
Confirm with a test hole: Drill a small pilot hole where you expect the stud. If the bit goes in hard and stays straight, you’ve hit wood. If it breezes through, there’s no stud — fill the hole with a toothpick and wood filler. This step saves you from drilling bracket holes in the wrong place.
Step 2: Choose wall mounting hardware based on wall type and weight

The hardware determines whether your shelf holds 20 pounds or 100. Here’s the breakdown:
For stud mounting (preferred for shelves over 30 lb): Use screws that penetrate at least 1.5 inches into the stud. Floating shelf bracket kits like Knape & Vogt 1191 or Everbilt steel brackets ($20–$50 per pair) include softwood-rated screws and support 50–100+ pounds per bracket. This is ideal for book-heavy shelves 24–48 inches wide.
For drywall without studs (shelves under 30 lb): Heavy-duty toggle bolts (Hillman 40-lb rated, $1–3 each) are the strongest drywall option — install 2–3 per bracket depending on weight, and they’ll hold 50–75 pounds per anchor. Plastic expansion anchors ($0.50–$1 each) work for lighter decor shelves under 20 pounds. Key limitation: Drywall anchors fail when weight shifts. Shelves flex over time, and anchors pull free.
For plaster walls: Use expansion anchors rated for plaster, or adhesive-backed brackets like 3M Command strips (7.5–16 lb rated). Avoid toggle bolts in plaster — they can crack edges during tightening. Always test-drill a small hole first; plaster looks solid but may be cracked underneath.
For brick or block: Use lead sleeve or hammer-set masonry anchors. These support 50–100+ pounds per anchor but require a masonry bit and hearing protection.
Hardware selection rule: Calculate total shelf weight plus contents, then choose hardware rated for 2–3× that weight. For book-heavy shelves, assume 10 pounds per running foot; for decor only, 5 pounds per foot.
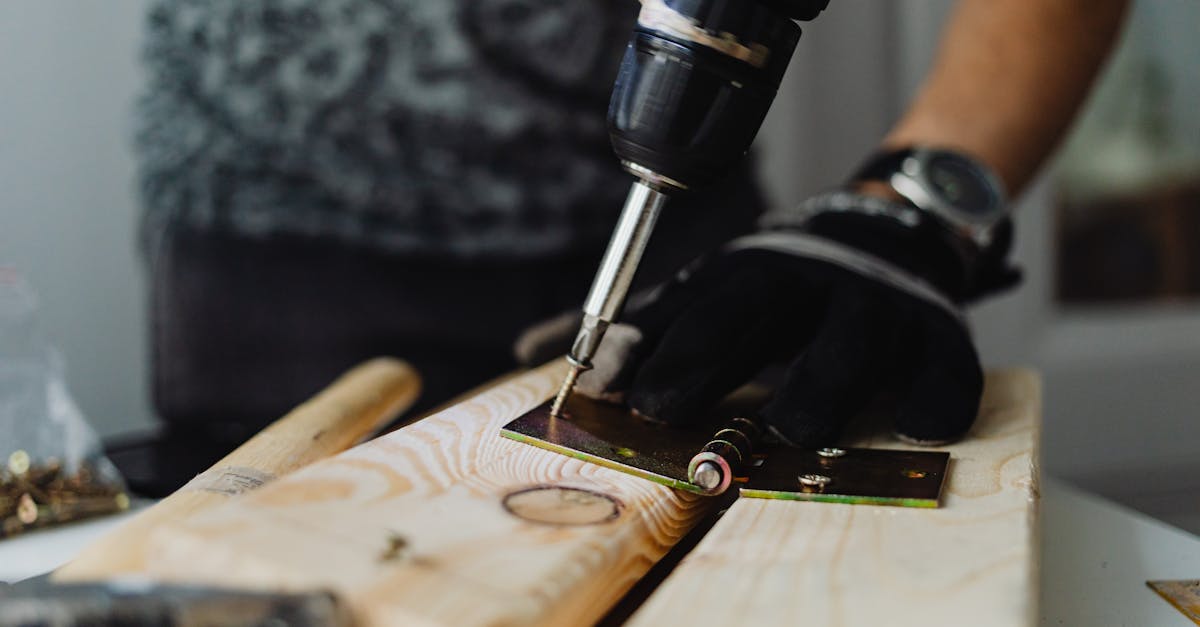
Step 3: Mark bracket placement and drill pilot holes
Hold the bracket against the wall at your marked stud location and use the level to ensure it’s perfectly vertical — not horizontal. Floating shelf brackets support weight vertically, and mounting them sideways redistributes the load in ways that cause failure.
Mark the screw holes with a pencil, remove the bracket, and drill pilot holes at each mark using a ⅛-inch bit. Pilot holes prevent the wood from splitting and keep screws aligned.
For drywall anchors, drill holes sized to the anchor spec (usually ¼ to ½ inch for toggle bolts).
Step 4: Install brackets and check level
Insert screws or anchors through the pilot holes and tighten until snug. Stop when the bracket sits firm against the wall — over-tightening strips threads in wood studs or pulls anchors through drywall.
Check level again before moving on. If the bracket isn’t perfectly level, use plastic or wood shims behind it to adjust. Small gaps between bracket and wall are normal in older homes where walls aren’t perfectly flat.
For a pair of brackets on one shelf, measure the exact distance between them and verify both are level independently and aligned with each other. Misaligned brackets mean the shelf won’t slide on.
Step 5: Slide shelf onto brackets and secure
Most floating shelf brackets have a channel or rod that slides into the back of the shelf. Align the shelf with both brackets and slide it on gently. If the fit is tight, don’t force it — check that both brackets are aligned and the shelf opening is clear of debris.
Once seated, secure with set screws or adhesive per the hardware instructions. Some brackets use hidden screws from underneath; others rely on friction fit.
Verify it worked
Load the shelf gradually with its intended contents. After 24 hours, confirm:
- The shelf is still level
- No visible sag at the center or ends
- Brackets haven’t pulled away from the wall
- No new cracks in plaster or drywall around fasteners
If the shelf sags even slightly under load, the hardware is under-rated. Remove contents and upgrade to stud mounting or heavier-duty anchors.
Troubleshooting
Problem: Stud finder reads studs everywhere or nowhere This happens in plaster-over-lath walls or homes with metal conduit. Switch to the knock-and-tap method and confirm with a test hole. If you still can’t locate studs reliably, use heavy-duty toggle bolts rated for your shelf weight instead.
Problem: Shelf won’t slide onto brackets The bracket channels may be misaligned. Loosen the screws slightly, adjust with a level, and retighten. If the shelf itself is warped, sand or plane the opening.
Problem: Anchors pulled through drywall You exceeded the anchor’s weight rating or used the wrong anchor type. Remove damaged anchors, patch the holes , and reinstall with toggle bolts or mount to studs instead.
Problem: Plaster cracked when drilling Stop immediately. Plaster over lath is brittle. Use a carbide bit at low speed and let the bit do the work — don’t press hard. If cracks spread, fill them with plaster repair compound before proceeding.
When to call a professional
Call a handyman or contractor if:
- Your wall is cracked plaster-over-lath and you see cracks spreading when you test-drill. This needs structural assessment before adding shelf load.
- You can’t locate studs after trying electronic finders, knock-and-tap, and test holes. Non-standard framing or steel studs require professional assessment.
- You’re installing shelves over tile, marble, or other high-value surfaces. Masonry drilling risks cracking, and mistakes are expensive.
- Your shelf will support more than 75 pounds per bracket or span more than 48 inches. Load-bearing shelves need structural verification, especially on exterior walls.
- The wall has active water damage or mold. Address the underlying issue before installing shelves — damp drywall won’t hold hardware.
FAQ
How do I know if my wall has studs?
Most interior walls in US homes built after 1950 have wood studs spaced 16 or 24 inches apart. Use an electronic stud finder to scan horizontally at shelf height, then verify with the knock-and-tap method. If the wall sounds solid everywhere, you may have plaster-over-lath instead of drywall; test-drill a small hole to confirm.
Can I install floating shelves without hitting studs?
Yes, but only for lighter shelves under 30 pounds total weight. Use heavy-duty toggle bolts rated for at least 2–3× your shelf weight. Drywall anchors alone won’t support book-heavy shelves long-term — they pull free as the shelf flexes under load.
What’s the strongest drywall anchor for floating shelves?
Toggle bolts rated for 50–75 pounds per anchor (like Hillman heavy-duty toggles) are the strongest option when studs aren’t available. Install at least two per bracket and calculate total shelf weight before choosing anchor quantity.
How far apart should floating shelf brackets be?
For shelves 24–36 inches wide, brackets should be spaced 16–24 inches apart or mounted at stud locations. Shelves over 36 inches need at least three brackets to prevent center sag. Follow the bracket manufacturer’s max span guidelines — over-spanning causes shelf flex even if the brackets are rated for the weight.
Once your shelves are up, maximize the vertical space with how to organize small closets . For renters, renter-friendly wall decor covers adhesive-backed options that won’t risk your security deposit.