How to Install Floating Shelves with Studs in 6 Steps
A floating shelf looks clean and modern when it’s level and holding weight without sagging. The difference between a shelf that stays up for years and one that tears out of the wall in a few months comes down to one thing: whether you anchored it to studs. Drywall alone can’t handle the load — even light décor will cause brackets to tear through over time.
I learned this the expensive way in my first rental. I mounted a floating shelf with drywall anchors, loaded it with books, and came home two weeks later to find it on the floor with a chunk of wall attached. The fix cost me part of my deposit. In my current house, every floating shelf goes into studs, and I’ve had zero failures in six years.
This guide walks you through how to find studs reliably, choose the right fasteners, and mount floating shelves that actually stay floating.
Affiliate disclosure: Some product links in this guide may be affiliate links. We earn a small commission if you purchase through them, at no extra cost to you.
What you’ll need
Tools:
- Electronic stud finder, capacitive type ($30–$40)
- Magnetic stud finder, backup option ($10–$12)
- 24-inch level
- Cordless drill/driver
- Drill bits (¼-inch for pilot holes)
- Pencil
- Measuring tape
- Socket wrench or drill driver bits (for lag bolts)
Materials:
- Floating shelf brackets (verify load rating on package)
- Lag bolts (¼-inch × 2.5-inch) or wood screws (#8 or #10, 2.5–3 inches long)
- Shims, if walls are uneven (optional)
- Your shelf unit
Safety gear:
- Safety glasses (protects from drywall dust and bit fragments)
- Dust mask (useful in older homes)
Before you start
Turn off any nearby electrical circuits before drilling near outlets or switches — you don’t want to hit live wiring. Stud finders with wire-detection modes help, but they’re not foolproof. Rule of thumb: don’t drill directly above or below an outlet.
Check your wall composition. This guide assumes standard drywall over wood studs, which is typical in most residential construction. If you have plaster, tile, or concrete walls, the installation process changes. See “When to call a professional” below.
Wear safety glasses. Drill bits can snap, and drywall dust gets everywhere.
Step 1: Find your first stud
Start with an electronic stud finder. Place it flat against the wall in a spot you know is between studs (usually midway between any two obvious points). Press and hold the power button until it calibrates — most models beep or flash when ready.
Slide the finder horizontally across the wall at your planned shelf height. Move slowly, about one to two inches per second. When the finder beeps or lights up, you’ve hit the edge of a stud. Mark that spot with a pencil.
Keep moving in the same direction until it beeps again — that’s the opposite edge. Mark it. The center point between these two marks is where your fastener goes. Standard studs are 1.5 inches wide.
If your electronic finder gives inconsistent readings, switch to a magnetic stud finder. Slide it across the wall until it sticks — that’s a fastener driven through drywall into the stud. Magnetic finders are slower but never give false positives.
Step 2: Verify stud spacing and locate your second stud
Measure 16 inches from the center of your first stud — that’s where the next stud should be in standard framing. Scan with your stud finder to confirm.
If you find it at 16 inches, you’re working with standard spacing. If it’s at 24 inches, your wall uses wider spacing — common in older homes or commercial construction. Plan bracket placement accordingly. Most floating shelf brackets need at least two studs for proper support.
Mark the center of your second stud. Use your level to make sure both marks are at the same height. If they’re not level, your shelf will slope.
Step 3: Mark bracket holes and drill pilot holes

Hold your shelf bracket against the wall with the mounting holes centered over your stud marks. Pencil through each hole.
Double-check that your marks are level before drilling. Set your 24-inch level across both and adjust if needed. An angled shelf is nearly impossible to fix once fasteners go in.
Select a drill bit slightly smaller than your fastener diameter — for ¼-inch lag bolts, use a ¼-inch or 3/16-inch bit. Drill straight into each marked spot, perpendicular to the wall. Angled holes miss the stud center and reduce holding strength. Drill to a depth of 2.5 to 3 inches.
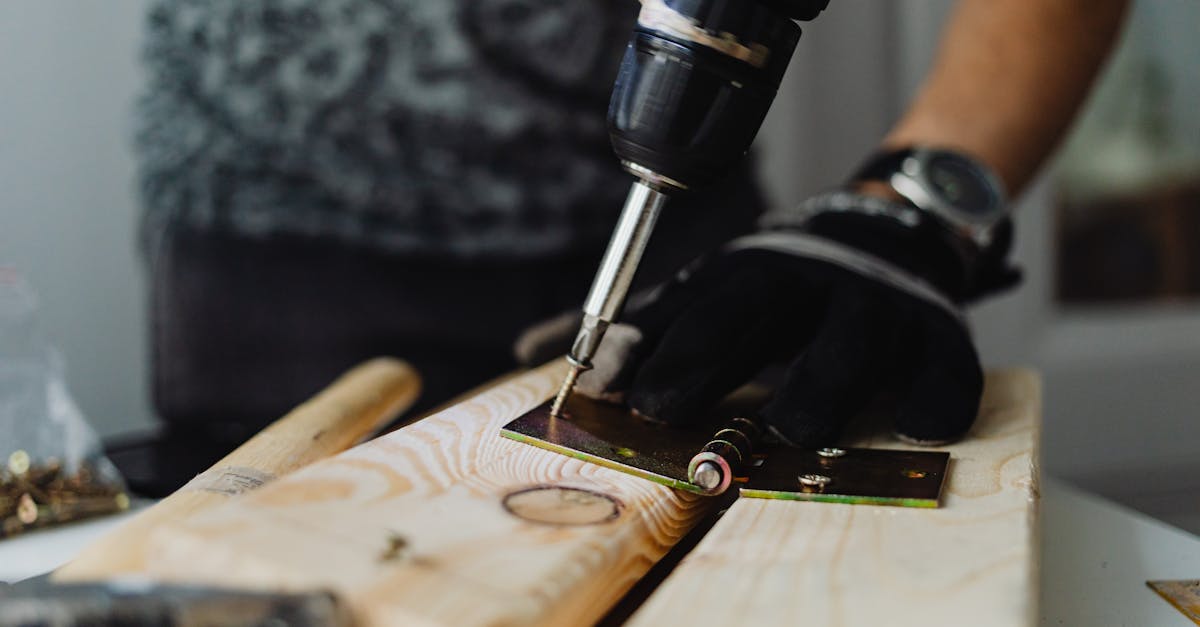
Step 4: Install fasteners into studs
Insert your lag bolts or wood screws by hand first, threading them into the pilot holes. This prevents cross-threading and lets you feel whether the fastener is catching solid wood.
Once hand-tight, use a socket wrench or drill driver to tighten. Stop when you feel firm resistance — you shouldn’t have to strain. Over-tightening strips threads or splits the stud, which ruins holding power.
Leave about ¼ inch of the bolt head exposed if your brackets slide onto the fasteners. If your brackets bolt through holes instead, tighten fully after mounting in the next step.
Step 5: Mount brackets and attach shelf
Slide or bolt your brackets onto the installed fasteners. Some designs hook over bolt heads; others thread through with nuts. Check your bracket instructions.
Before final tightening, set your level across both brackets. If one is higher than the other, loosen it and adjust. If your wall is uneven (common in older houses), use shims behind the lower bracket to bring it level.
Once level, tighten all fasteners completely. Give each bracket a firm tug downward — it shouldn’t move at all.
Place your shelf onto the brackets. Most floating shelves slide onto bracket rods or rest on bracket plates. The shelf should sit flush against the wall with no gaps.
Step 6: Weight test
Load the shelf gradually with test weight — books, canned goods, or water jugs work well. Start with half your intended maximum load and watch for movement, sagging, or bracket flex.
If the shelf stays level and stable, add the rest of your test weight up to maximum. Leave it loaded for 24 hours, then check again. The shelf should remain perfectly level with no visible sag.
If you notice any sagging or movement, remove the shelf immediately. Check that fasteners are fully seated in studs (not drywall) and that brackets are level. You may need longer fasteners or additional bracket support.
Verify it worked
Run your level across the top of the loaded shelf. It should read perfectly horizontal in both directions — side to side and front to back.
Gently pull down on the front edge with moderate force (don’t yank). There should be zero movement. If the shelf flexes or brackets shift, your fasteners didn’t catch the studs properly, or you need more bracket support for your load.
Troubleshooting
Problem: Stud finder gives inconsistent readings or finds “studs” everywhere
You’re probably scanning over metal pipes, electrical boxes, or existing fasteners. Move to a clear wall section away from outlets and switches. Recalibrate your finder on bare drywall, then scan again. If it still fails, switch to a magnetic finder — slower but more reliable.
Problem: Can’t find studs at 16-inch or 24-inch spacing
Older homes, remodeled walls, or unusual framing sometimes have irregular stud placement. Use a magnetic finder to locate actual fasteners, which point you to real studs. If studs are spaced more than 24 inches apart, you may need additional support — see “When to call a professional” below.
Problem: Shelf is level when empty but sags when loaded
Your fasteners may not be deep enough into the studs, or your brackets are under-rated for the weight. Remove the shelf, verify that each fastener penetrates at least 2 inches into solid wood, and check your bracket’s load rating. You may need heavier-duty brackets or additional fasteners per bracket.
Problem: Drilled into a stud but the fastener won’t catch
You may have hit the stud’s edge rather than the center, or you’re drilling into a metal stud — common in commercial buildings and some newer homes. Metal studs require self-tapping metal screws (#10 or #12) instead of lag bolts.
When to call a professional
DIY installation works well for standard floating shelves under 25 pounds per shelf on wood-framed drywall. Call a professional if:
- You can’t locate studs, or studs are spaced more than 24 inches apart (non-standard framing may need custom support)
- Your wall is plaster, tile, or concrete (requires different anchors and techniques)
- You’re mounting shelves for heavy items like TVs, tool collections, or more than 25 pounds total (structural engineer assessment may be needed)
- You hit electrical wiring or plumbing while drilling (stop immediately and call an electrician or plumber)
- Your wall shows cracks, soft spots, or water damage (fix the underlying issue before adding load)
FAQ
Do floating shelves need studs?
Yes, for any shelf that will hold more than a pound or two. Drywall anchors alone can’t support the cantilever load that floating shelves create — the shelf acts as a lever, multiplying force at the mounting point. Studs provide the solid wood backing that keeps brackets from tearing through drywall over time.
How far apart are wall studs?
Standard spacing is 16 inches center-to-center in most US residential construction. Older homes or commercial buildings sometimes use 24-inch spacing. Measure from the center of one stud to the center of the next to confirm your wall’s spacing before planning bracket placement.
Can you install floating shelves without studs?
Not for any real load. Heavy-duty toggle bolts or molly anchors rated for 50+ pounds can work for very light shelves (under 5 pounds total), but they’ll eventually sag or fail. Drywall isn’t designed to support cantilever weight. If studs aren’t available where you want the shelf, consider adhesive strips or freestanding units instead.
What weight can a floating shelf hold?
It depends on bracket design, fastener size, and stud quality. A properly installed shelf with two ¼-inch lag bolts into solid wood studs typically holds 25 to 50 pounds safely. Always check your bracket’s load rating — it’s usually printed on the package or in the instructions. When in doubt, test with weight before loading your actual items.
How deep should floating shelves be?
Common depths range from 8 to 12 inches. Deeper shelves (12+ inches) need longer bracket rods for proper support — check that your bracket length matches your shelf depth. Shallower shelves (6–8 inches) work well for décor but won’t hold books or heavier items as effectively.
Once your shelf is up and holding weight, it should stay that way for years without maintenance. I’ve got five floating shelves in my house — kitchen, bathroom, office — all installed this way, all still level after six years. The trick is the same every time: find the studs, use the right fasteners, and test the load before you trust it.